PUBG Mobile Aim Guide: Learn Where Your Crosshair Should Be Placed
Do you feel like you lose a lot of gunfights before they even start? Maybe you get a lot of damage off on a player yet they still manage to kill you in the end. Well, in this game guide you will be guided through a four-level process that can help you win more gunfights. This is a four-level crosshair placement course for you all today. Crosshair placement is something you may have heard a lot about and that is for a good reason. Crosshair placement is one of the few skills that separate people at the bottom from the people that are at the top.
Crosshair placement is a technique that has layers and when mastered it will take your aim and gun fighting ability to new heights. So what is crosshair placement for all of you who may be new to competitive first-person shooters? Let’s explain it as quickly as possible. One of the simplest ways it can be explained, good crosshair placement is to not have your crosshair floating around your screen as you walk around the map. Everywhere you walk you should always be pre-aiming a corner angle or a known hiding spot as you traverse the map.
Head Place:
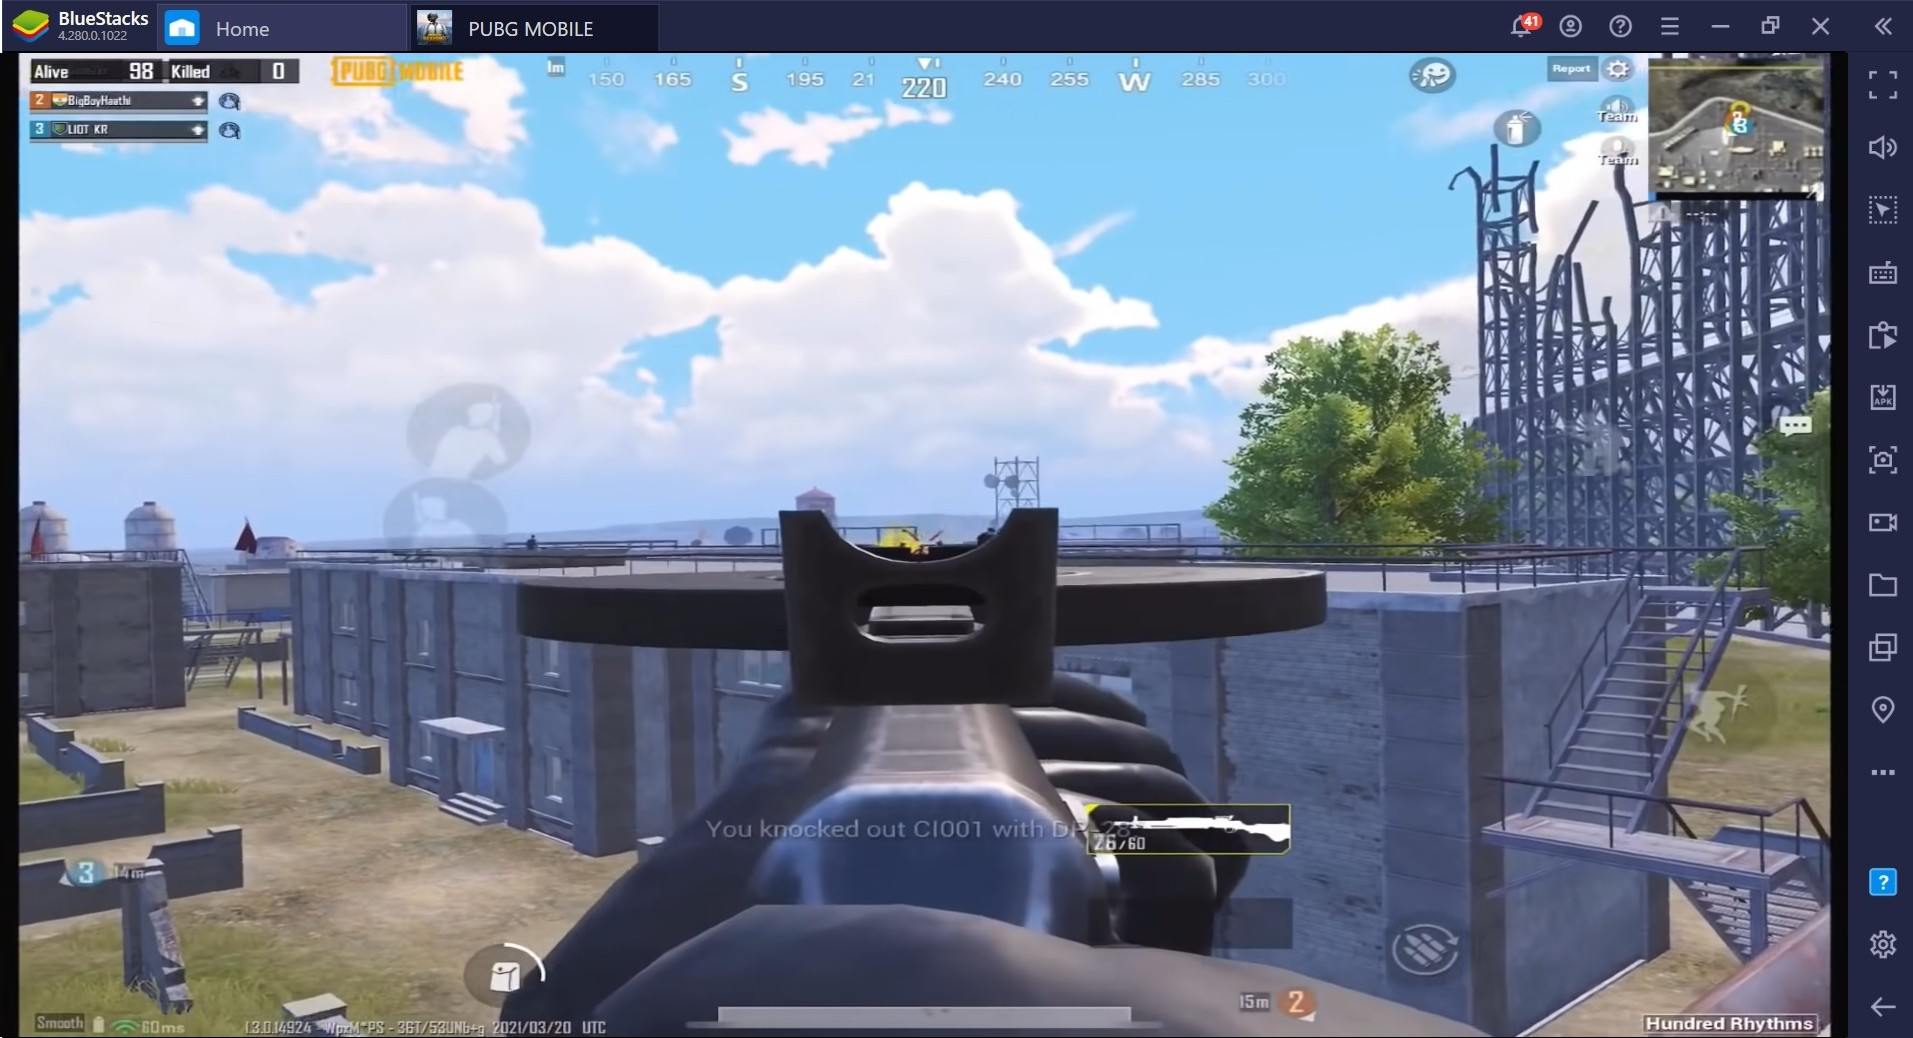
This gives you the best chance possible to land a clean frag on someone the moment they appear on your screen. So let’s talk about level one keeping your crosshair at a head level. Learning to aim at head height is a must learned skill inside of crosshair placement and it will allow your flicks to be more precise and accurate. This will net you a lot more one-tap headshots. When you play aiming at a head level will also allow you to control recoil better as it will give you the best and fastest opportunity to pull straight down.
Good crosshair placement also ties into having good game sense because you should be aware of what’s happening on your screen and around you at all times. The best way to practice aiming at head level involves two exercises. First, go to the practice mode and shoot at targets. You’re going to want to make sure that you flick your crosshair from time to time, so that the simulation is as real as possible. Basically, this drill of doing the aim challenge on hard mode will force you to keep your crosshair at head height at all times.
This will turn into a nice hand-eye coordination drill for you to practice your crosshair placement on. Another thing to note when you are practicing, the only way to one-shot these spots is through headshots. This will incentivize your hand to learn muscle memory to keep your crosser at head level at all times.
Aiming at head level is a hard skill to learn at first. You have to consciously force yourself to do it in order to train the motor skills in your hand when aiming with your mouse. Now go into a deathmatch and walk around while forcing yourself to only aim at head level. This is a great live-action drill because you can see in real time if your crosshair placement skills are holding up against real opponents. You should do a combo of the range and deathmatch for at least 30 minutes to an hour. Learning to aim at head level does not come easy for most people.
Angle Place:
Now let’s move on to level 2 which is learning how to properly pre-aim angles. This is the next level of crosshair placement. You will need to master is how to properly pre-aim angles. First off, pre-aiming is a big part of crosshair placement. The art of pre-aiming and angle can be visualized best when on defense. Imagine you’re playing defense on the map. As the walls go down and the round starts, you probably want to look for an easy kill on a player. The best way to set yourself up for a kill in the situation is to stand still and pre-place your crosshair at head level.
Here’s another neat little tip: don’t line your crosshair up. Give yourself a little wiggle room in case the enemy wide peeks. The entire time you’re pre-aiming an angle, make sure you are a safe distance away and only slightly expose yourself. When you pre-aim an angle on defense. You should always prioritize safety first when peaking an angle.
Make sure you aren’t in a position where you can get yourself easily killed or get hit by the enemy’s bullets. Lastly, you always want to be pre-aiming a common angle or area where an enemy will most likely be swinging from. Pre-aiming in its simplest form is placing your crosshair on a general area where you can expect the enemy to appear. Once the skill becomes second nature, you will find yourself getting way more kills than you didn’t expect to come your way.
Pre-Fire:
Now, let’s move on to level 3 which is learning how to pre-fire typical angles and hiding spots. The next level of crosshair placement is learning to pre-fire common angles and hiding spots. This will let you defend yourself and collect easy kills in the process. Pre-firing is a concept that many people have heard about and understand on a simple level. If you have played games like CoD, Battlefield, or Rainbow Six: Siege, you know that pre-firing can also function as wall-banging in those games.
Most times in PUBG Mobile if you know where an enemy player will usually camp or hide, you can pre-aim a spot on the wall and fire through the surface. Then you can land a nice kill on an unsuspecting enemy. In PUBG Mobile there aren’t that many surfaces that can be easily shot through but the same general concept of pre-firing and wall-banging applies. In the situation, you know that there would most likely be someone standing there as soon as the round starts. So you proactively take the initiative to beat the defender to a spot. You pre-aim the angle and send out pre-fire shots and end up netting yourself a clean kill.
This is the best example of using pre-firing to land yourself kills in areas where you know there is more than likely a 50% chance that an enemy will be standing. Here the more you learn the map, the more you will learn the typical angles players will usually hold. Even the cheeky areas that people will like to hide in. When you are looking to approach these areas, train yourself to pre-aim your crosshair on them. Be ready to pre-fire and angle, the closer you walk towards it.
Isolation:
Now let’s finish off with level fou: learning about how to isolate your angles and controlling your exposure. In this last level of crosshair placement, you will be learning about is isolating your angles. Controlling your exposure to enemy engagements and isolating angles is a map positioning technique. It involves limiting your exposure to angles that potential enemies can shoot at you from. Applying this technique to your own games also means avoiding exposing yourself to open areas of the map as much as possible. The goal of angle isolation is to limit your engagements to 1v1s.
In PUBG Mobile it’s very important to try to not fight multiple people at the same time. When you start to master this technique of limiting your exposure while traversing the map, you will find yourself confidently taking more one-on-one gunfights with people who will be at a disadvantage. This is because of the way you are positioning yourself before you take the fight. Learning to isolate your angles will take constant practice as it is a skill that is developed over time. The best way to practice this in your own games is to actively look for a cover that you can use to position yourself between you and your enemy.
Learning to do this subconsciously over time will allow you to set up engagements in peak corners with the utmost confidence. The main reason you would want to limit your exposure is to give enemies as few chances as possible to see you. The less information the enemy has in your position the better. This will allow you to be as stealthy as possible when moving around the map. You will be able to catch enemies by surprise. Catching an enemy with their guard down will lead to easy frags and will afford you quick map control with as few casualties as possible.
Nading:
Another tip is to use the throwables as much as possible to manipulate the lines of sight around the map. This will give you the best chance possible for limiting the angles you can be exposed to and shot from. A great example of using throwables to your advantage is how and where you place your smokes. Using smokes in PUBG Mobile will not only allow you to quickly and efficiently block off enemies but will also blur lines of sight and you will also be able to move in and around your smokes to isolate yourself.
Then you can catch your enemies off guard as you engage them from hard-to-see angles. When you learn how to use your throwables efficiently, you are far less likely to be swung on by an enemy unexpectedly. There will be even fewer chances that you will get shot from angles that you can’t see. One of the last tips for this guide is to never hold an isolated angle for too long. Plus, always reposition yourself after you land yourself a kill after winning an engagement. It is in your best interest to move away from the angle you are holding and to reposition yourself as quickly as possible.
Doing this routinely after fights will do two things for you. The First thing it will do is that it’s going to ruin the call-out that the enemy player gave to his team of your last known position. This can throw off enemy players as they will expose themselves as they hunt you down only to find out that you repositioned yourself somewhere else around the map. The second thing is going to prevent you from being reaped by an enemy player who is nearby looking to avenge their teammate. Repositioning yourself quickly after landing a frag will also save you from dying to the grenades thrown at your last known location.