Enjoy the Best Gameplay in Survivor.io on PC with Our BlueStacks Tools and Features

Survivor.io is very similar to Vampire Survivors in premise and concept, though it mixes things around by adding its own characters, weapons and equipment, and other unique elements. The result is that while the gameplay feels reminiscent of Vampire Survivors, the potential builds and general progression feels quite unique in Survivor.io.
Table of Contents
- Enjoy the Best Keyboard Controls
- Play With Full Gamepad Support
- Ensure a Smooth Framerate Even in the Most Chaotic Rounds
If you’re a veteran of Vampire Survivors, then you’ll know about the importance of having good controls and performance in these games. Luckily, if you’re playing Survivor.io on PC with BlueStacks, you can not only play on your large monitor and with the best performance, but you can also find a variety of tools and features to enhance your gameplay experience.
In this article, we’ll be taking a look at some of the ways in which you can enhance your performance in Survivor.io on PC by playing on BlueStacks.
Enjoy the Best Keyboard Controls
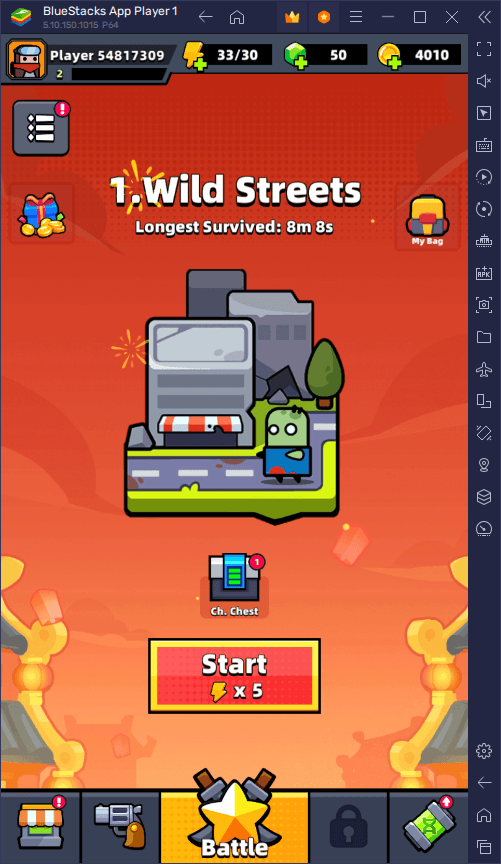
Survivor.io is all about precision and patience. Sure; there may be a horde of zombies and monsters encroaching upon you and threatening to eat away at your HP bar in an instant, and while your first reaction might be to run away in any direction, the best way to survive is actually to take your time and plan your moves carefully.
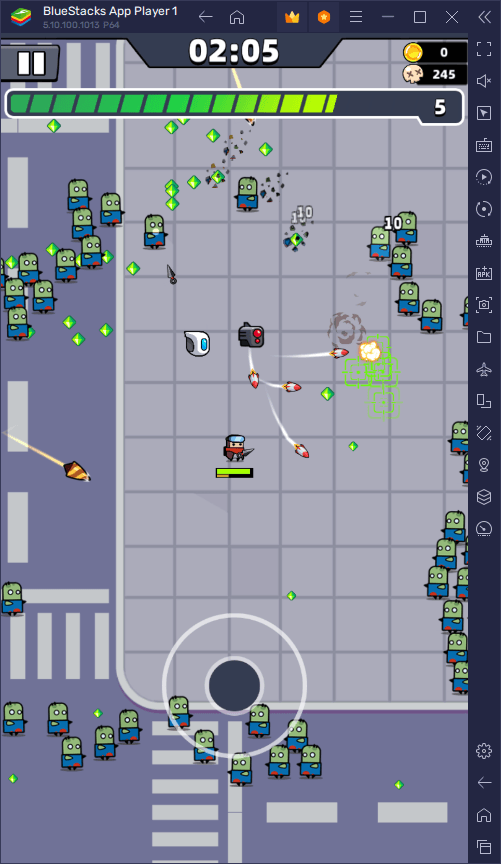
However, even when you find a route that will let you navigate the undead while avoiding taking damage, you still need a lot of precision and care to walk around bobbing and weaving between the countless enemies that you’ll encounter during your runs. And while Survivor.io is playable on your phone, the virtual joystick and controls of this platform can leave a lot to be desired when it comes to making precise movements. Luckily, if you play Survivor.io on PC with BlueStacks, you can get access to the Keymapping Tool, which will let you create your own control scheme using your mouse and keyboard-
To access the Keymapping Tool, you only need to press Ctrl + Shift + A while in-game, which will bring up the Advanced Editor screen. In this screen, you can view your current controls, modify them, delete them, or add new ones. In the case of Survivor.io, you only really need a good d-pad function, which is already implemented by default, allowing you to move your character with the WASD keys—feel free to modify these to your own liking.
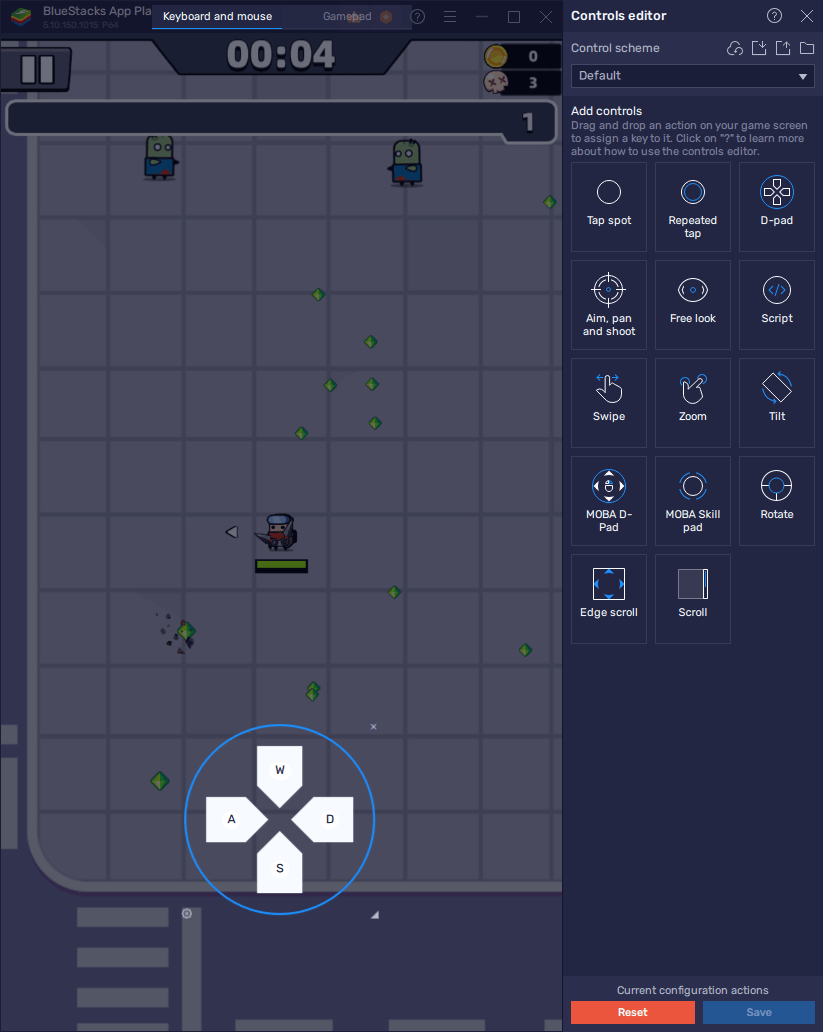
Once you’re done, you’ll be able to bob and weave through the enemies with ease using your keyboard to walk around instead of relying on clunky virtual controls. However, while your keyboard is much better than virtual controls, you’re still limited to moving in eight directions. In this sense, if you want the best precision, you’ll definitely want to consider the following…
Play With Full Gamepad Support
While a keyboard can be nice, you’ll find the best precision by playing with a gamepad. Luckily, BlueStacks has full gamepad support for your favorite mobile games, including Survivor.io. In this sense, you can easily hook up your controller to your emulator and enjoy a much more comfortable and intuitive gaming experience which, in this case of this game in particular, will also help you to move around with even more precision.
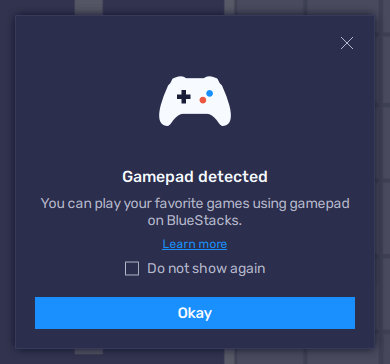
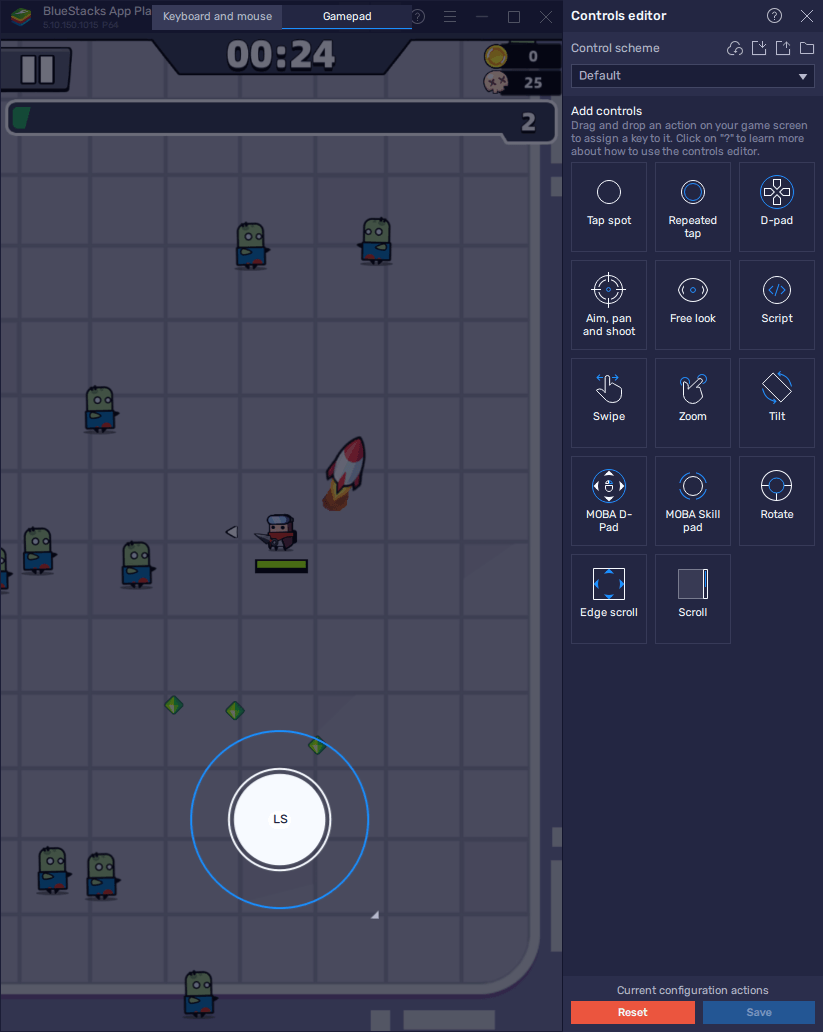
Setting up a controller on BlueStacks is very easy: All you have to do is hook up your device to your PC, either via USB or by bluetooth, and the emulator should recognize it instantly, which you can verify from the pop up that will appear when you connect your gamepad. Once connected, you can open the Advanced Editor screen once again by pressing Ctrl + Shift + A, and then click on the “Gamepad” tab in the upper section of the screen to swap to configure your controller bindings.
For Survivor.io, you only really need to set up a d-pad function, which you can bind to your controller by clicking on the gear icon beside the function. In this sub-menu, you can bind your character movement to either your left or right stick, or your controller d-pad. Once set up, you can start enjoying this game using your gamepad.
Keep in mind that, even though you can play through an entire round of Survivor.io using only your joystick, you’ll still need to navigate through a few menus in order to actually jump into the game itself. In these cases, if you’re playing on your desktop, you could simply use your mouse to enter the stage and then switch back to your gamepad to play.
Alternatively, when you’re playing on your gamepad, you can press the “Start” button to unlock the mouse cursor and move it around with your left stick. While this mode is activated, pressing the A/X button will simulate a mouse click on your cursor’s location. In this sense, you can easily start a round of the game using your controller, and then press “Start” once again to revert back to regular joystick controls.
Ensure a Smooth Framerate Even in the Most Chaotic Rounds
Just like with its gameplay, Survivor.io likes to keep its visual style quite simple. However, with so many enemies on the screen at any given moment, it’s no wonder that some of the weaker devices might struggle to maintain a constant frame rate. Luckily, this isn’t an issue if you’re playing on PC with BlueStacks, as our Android app player runs on virtually any machine and can provide the best performance at all times.
While you should be having a good experience right out of the box, you might need to perform a few adjustments to your emulator, as well as in-game, to ensure that you’re getting the best performance.
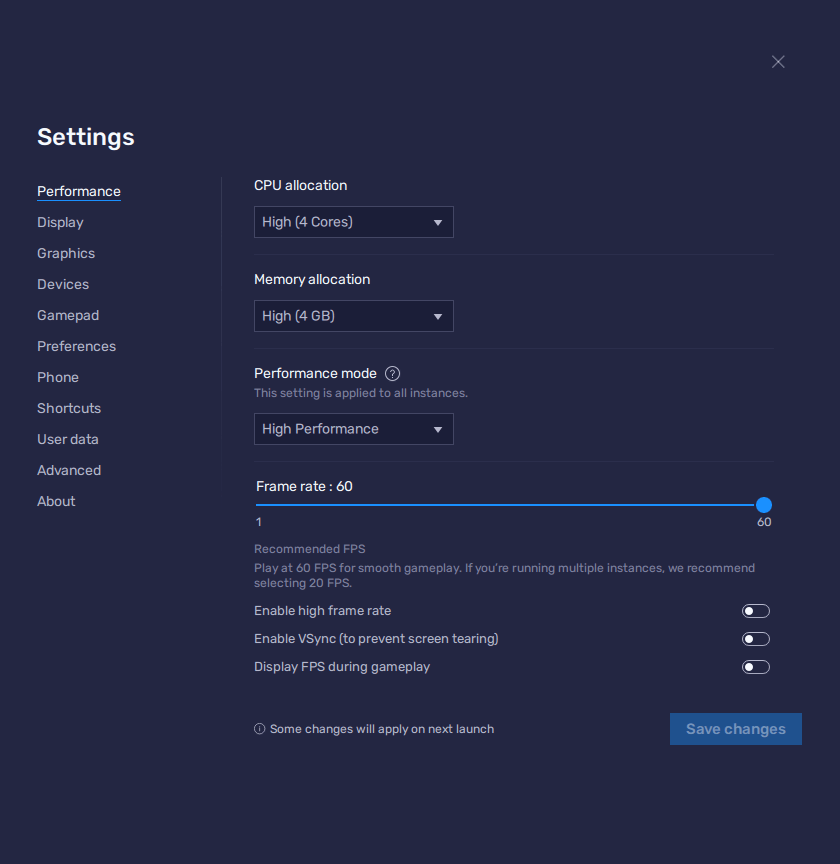
- In the BlueStacks settings, go to the “Performance” tab.
- Check that your emulator is using at least 4 GB of RAM, 4 CPU cores, and that the Performance mode is set to “High performance”.
- Set the FPS slider underneath to at least 60 FPS, and finish by clicking on “Save changes” on the bottom right.
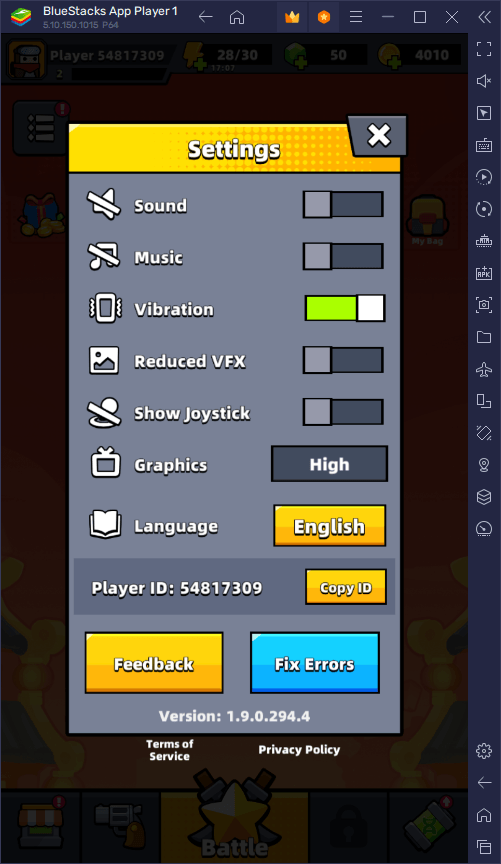
- Launch the game and head to the in-game settings.
- Set your graphical options as high as they’ll go.
These settings should ensure that you’re keeping a stable frame rate with the best graphics. However, if you’re still having hiccups, such as if you’re playing on a very old system, please remember that you can lower the graphical settings in-game to fine-tune your performance.
BlueStacks can give you the best gaming experience when playing Survivor.io on PC. Feel free to leave us your comments, thoughts, and questions in the section below!