How to Download and Install BlueStacks 4, The Best Android Emulator in the Market
Upgrade Alert! If you’re using BlueStacks 4, it’s time to level up to BlueStacks 5! Experience enhanced speed, improved efficiency, and the smoothest gameplay yet. Don’t miss out—upgrade now and elevate your Android gaming on PC. For an easy switch, check out our guide on how to upgrade to BlueStacks 5 to learn more about the process. Upgrade today and see the difference!
Got questions about guilds, gaming, or our product? Join our Discord for discussions and support!
Here are the steps to download and install BlueStacks on PC:
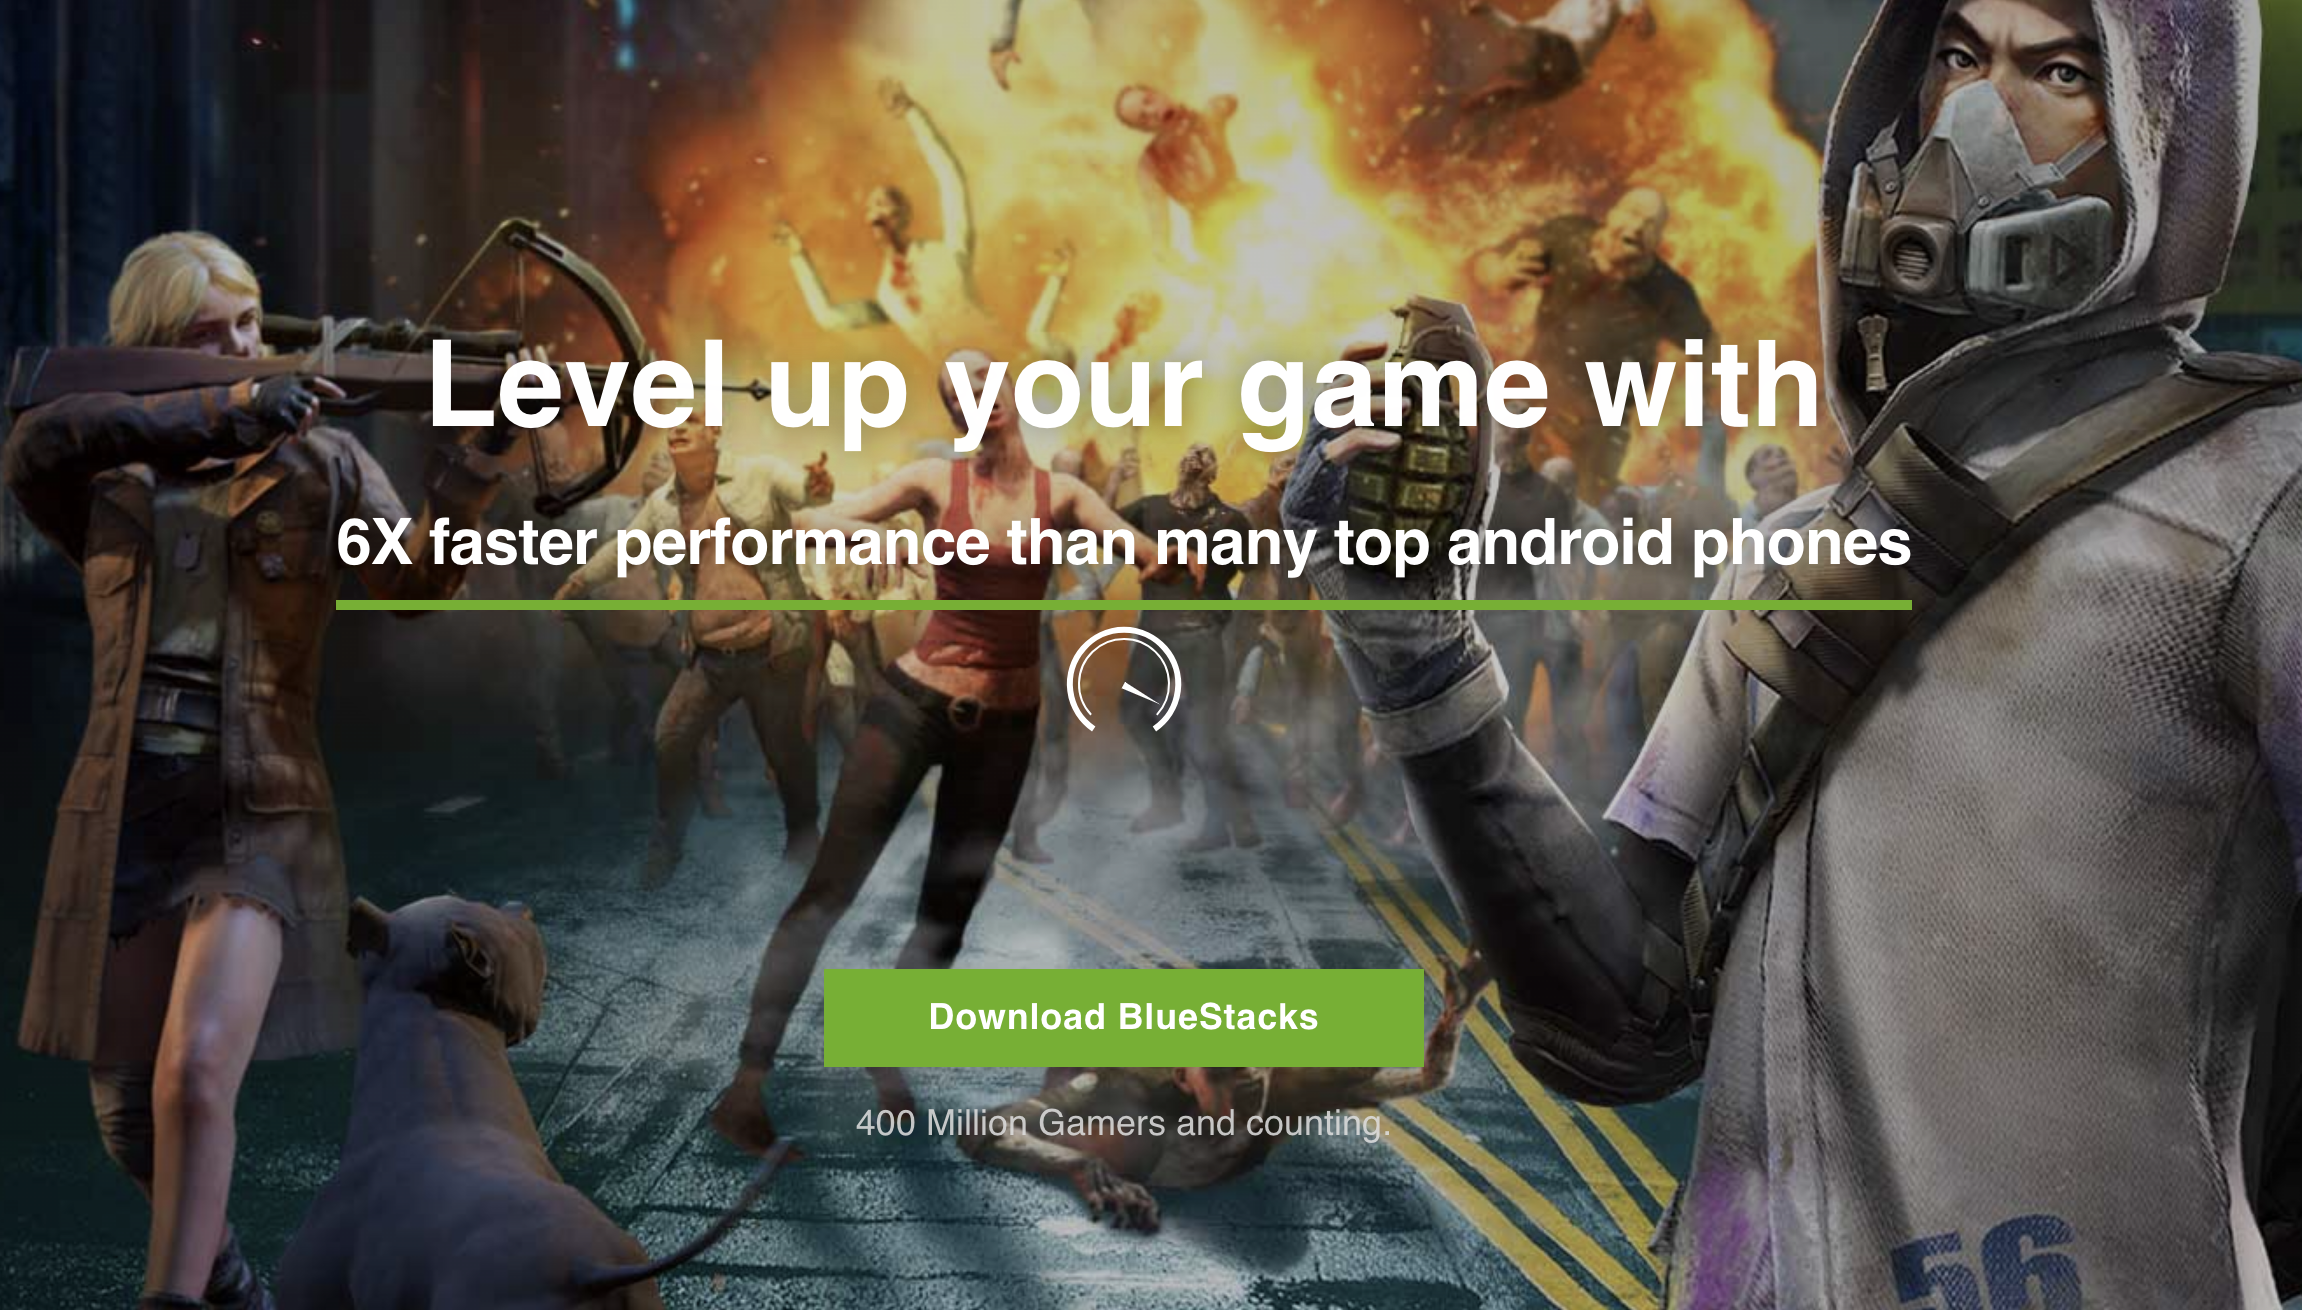
- Go to https://www.bluestacks.com and click on “Download BlueStacks” to get the latest version of our app player;
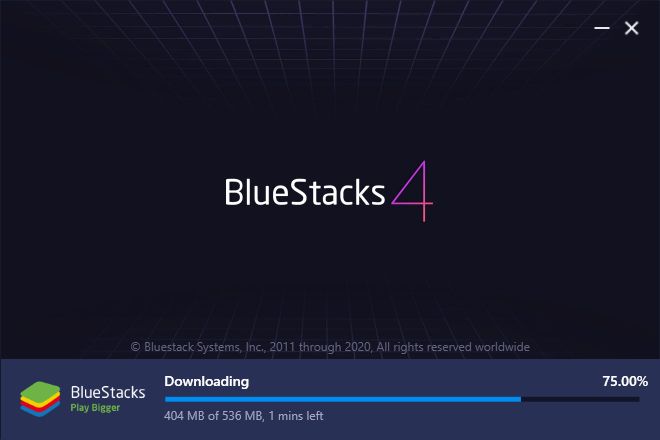
- Launch the installer once it’s done downloading.
- Wait until the process finishes, after which BlueStacks will launch automatically.
And that’s it! Once you’re done, you’re ready to start gaming on BlueStacks. However, in case you have any questions about the process, here’s a more detailed explanation:
1. BlueStacks Requirements
Before you install BlueStacks, you must first check that your PC fulfills the following requirements:
- Minimum system requirements
- OS: Microsoft Windows 7 and above.
- Processor: Intel or AMD Processor.
- RAM: Your PC must have at least 4GB of RAM. (Note that having 4GB or more disk space is not a substitute for RAM)
- HDD: 5GB Free Disk Space.
- You must be an Administrator on your PC.
- Up to date graphics drivers from Microsoft or the chipset vendor.
- Recommended system requirements
- OS: Microsoft Windows 10
- Processor: Intel or AMD Multi-Core Processor with Single Thread PassMark score > 1000.
- Graphics: Intel/Nvidia/ATI, Onboard or Discrete controller with PassMark score >= 750.
- RAM: 8GB or higher
- HDD: SSD (or Fusion/Hybrid Drives)
- Internet: Broadband connection to access games, accounts, and related content.
- Up to date graphics drivers from Microsoft or the chipset vendor.
Once you’ve checked that your PC can run BlueStacks, you can go ahead and proceed with the installation.
2. How to Download BlueStacks
Before you install BlueStacks 4, you must first download the latest version of our client from our website. All you need to do is navigate to our website and click on the ‘Download BlueStacks’ button. Once you’ve finished downloading the BlueStacks installer, click on it to run it.
3. Installing BlueStacks
By default, our app player installs to your C drive. However, you will be prompted to confirm the parameters of the installation and will be able to change the install directory.
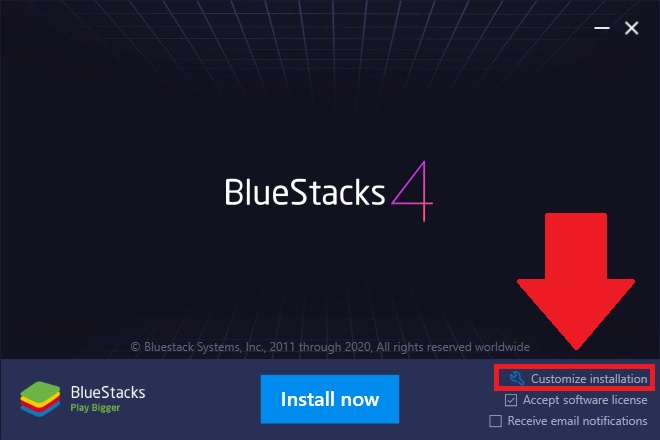
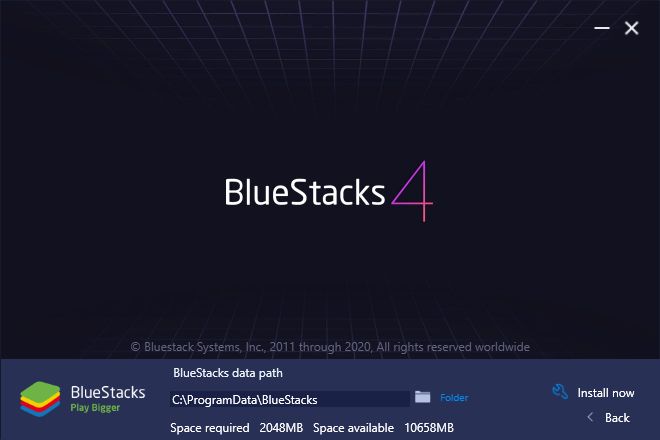
Keep in mind that all games and apps are downloaded and saved to this directory and can’t be changed after you install BlueStacks. In this sense, please make sure to select a drive with plenty of space so that you can download and play any game without having to worry about storage issues in the future.
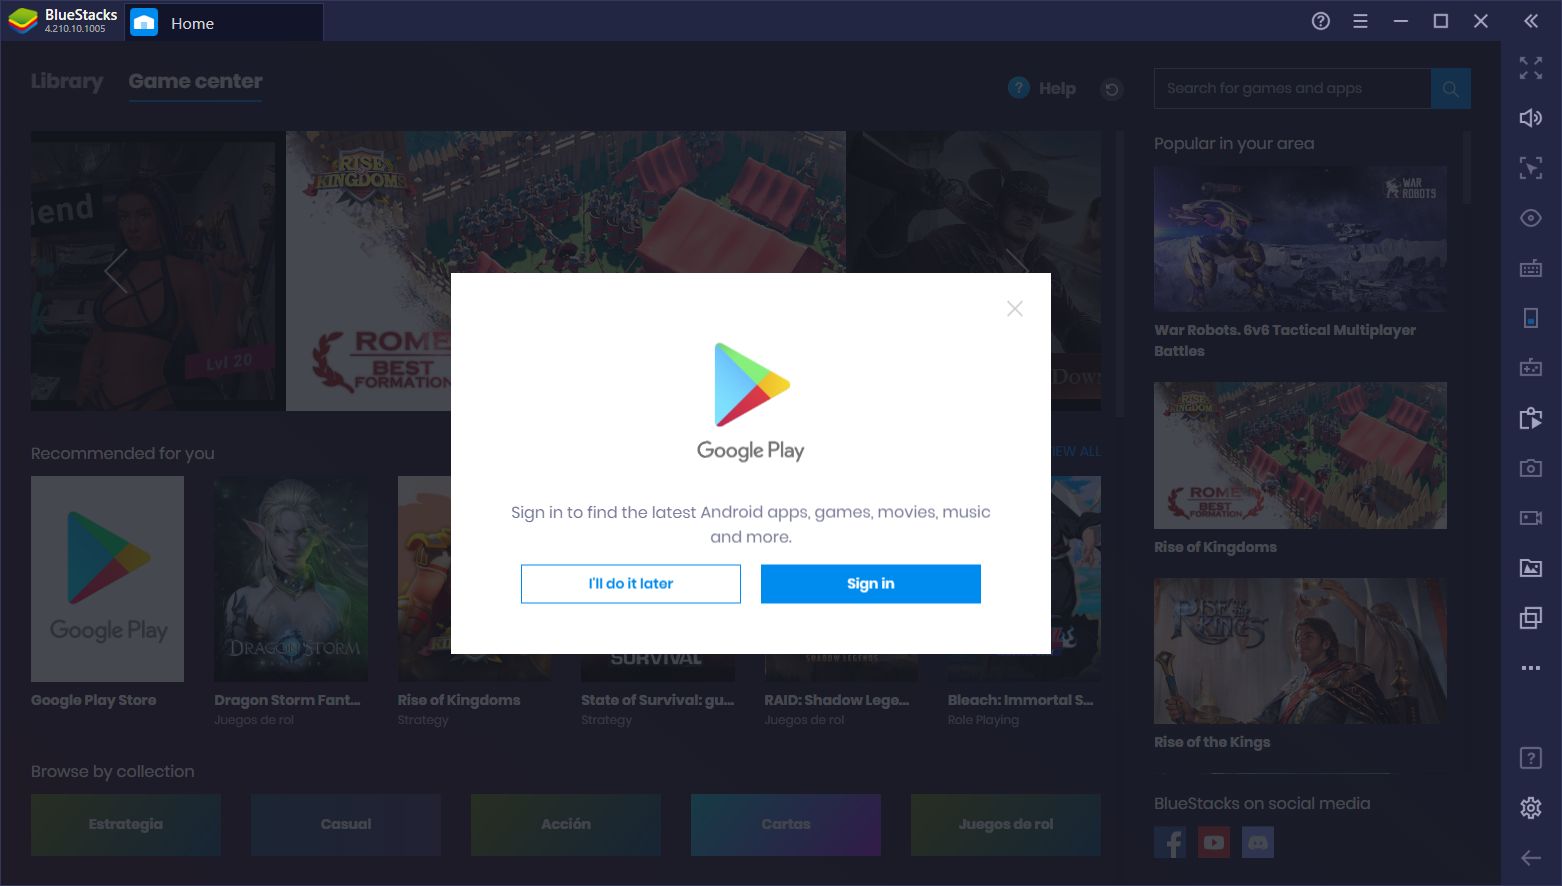
4. Setting Up Your Google Account
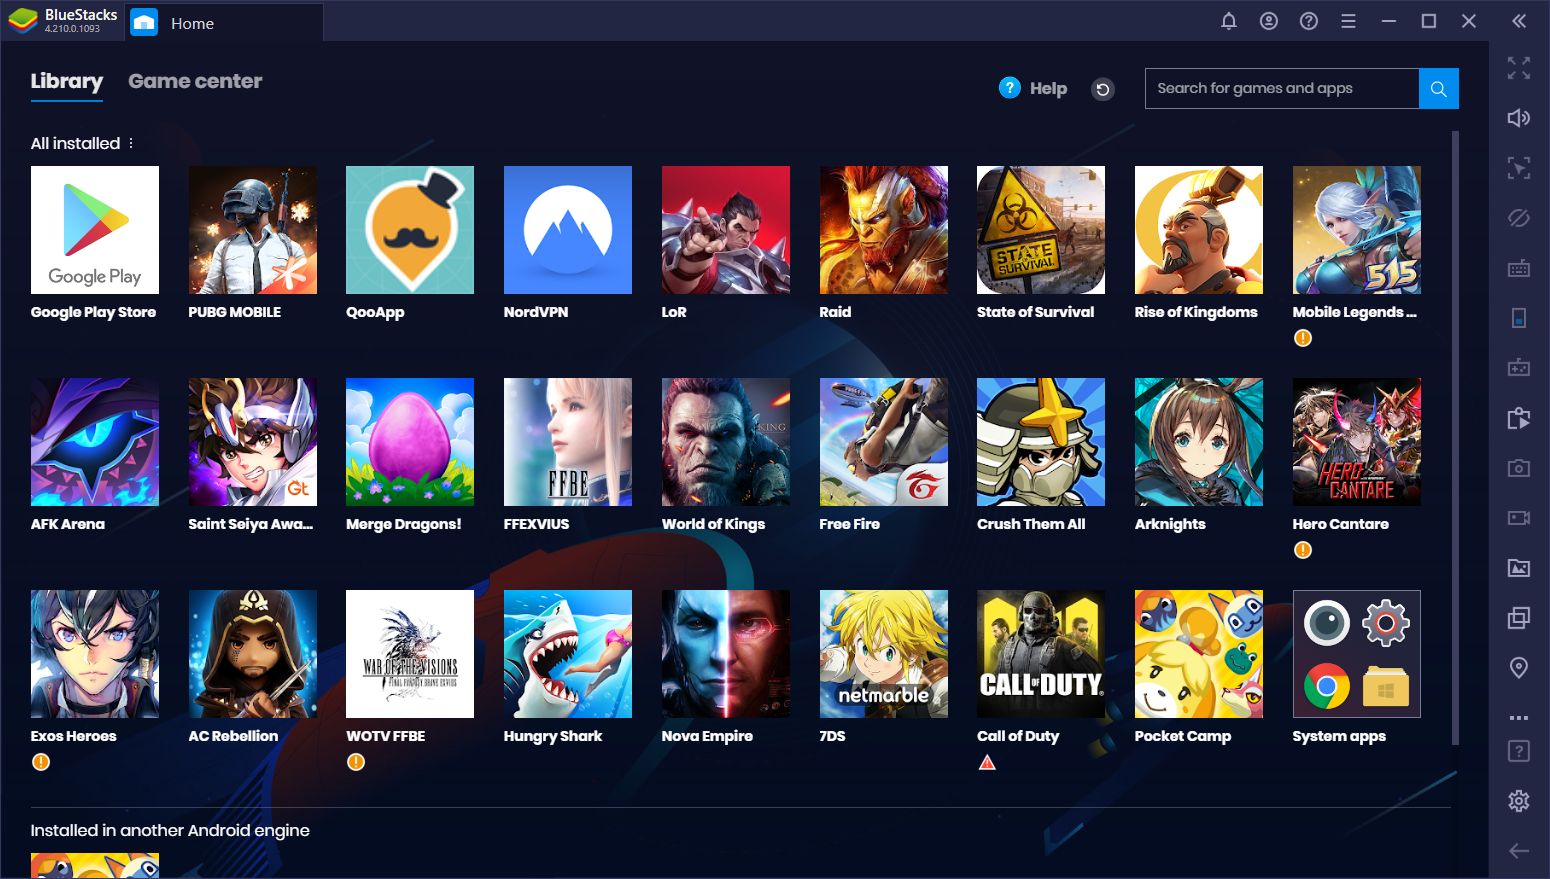
Installing BlueStacks 4 takes a few minutes, depending on your setup. Once finished, it will launch automatically, after which you will be prompted to link a Google account so you may start playing mobile games on PC.
5. How to Upgrade From a Previous BlueStacks Version
To upgrade an existing version of BlueStacks to a more recent one, please follow these steps:
- Download the latest version of BlueStacks from our website and run the installer.
- If you have a previous version installed, you will be prompted to update instead of running a clean install. Just click on the “Update” button and let the installer run its course.
- Once finished, your BlueStacks will be updated to the latest version, while keeping your apps and data intact.
In the past, whenever you wanted to upgrade to a new version of BlueStacks, you had to manually uninstall the previous version before running the new installer. For obvious reasons, this process was quite cumbersome. However, with BlueStacks 4, you can easily upgrade to a newer version of our app player without having to uninstall the previous one. If you’re not sure which version is the most recent, simply go to https://www.bluestacks.com/ and click on “Download BlueStacks.” This will automatically download the latest version of our app player.
Downloading and installing BlueStacks has never been as easy as with BlueStacks 4. All it takes is a few clicks, and you’re set. Hopefully, this guide will have helped in showing you how to get started with BlueStacks and enjoy your favorite mobile games on PC.