Ace Racer on PC - How to Optimize Your Gameplay With the Best BlueStacks Tools and Features


When it comes to arcade racing games, you really can’t get any better than Ace Racer, at least as far as the mobile gaming market is concerned. This is one of the best titles out there in most aspects, including graphics, performance, presentation, and fun factor. Especially if you play Ace Racer on PC with BlueStacks, you can get the best experience with this game, and enjoy the best visuals, without sacrificing on performance, nor having to break the bank on expensive devices that can ensure a stable frame rate. And even if you did have a flagship phone that can run this game consistently, you’d still have to struggle with a small screen; battery drainage issues, and overheating, to name a few.
Table of Contents
- Optimize Your Graphics Without Any Drawbacks
- Rev Up Your Engines With the Best Controls
- Try Out Multiple Different Vehicle Setups by Playing on Multiple Accounts
It goes without saying that BlueStacks is the way to go if you want to enjoy Ace Racer on PC to its fullest extent. And while our Android app player comes equipped and configured right out of the box to give you the best experience, it can also be tweaked to suit your personal preferences and tastes. That’s why, in this article, we’re going to go over some of the most important tools for enhancing your gameplay in Ace Racer on PC, as well as how to configure them to get the most out of them.
Let’s start!
Optimize Your Graphics Without Any Drawbacks
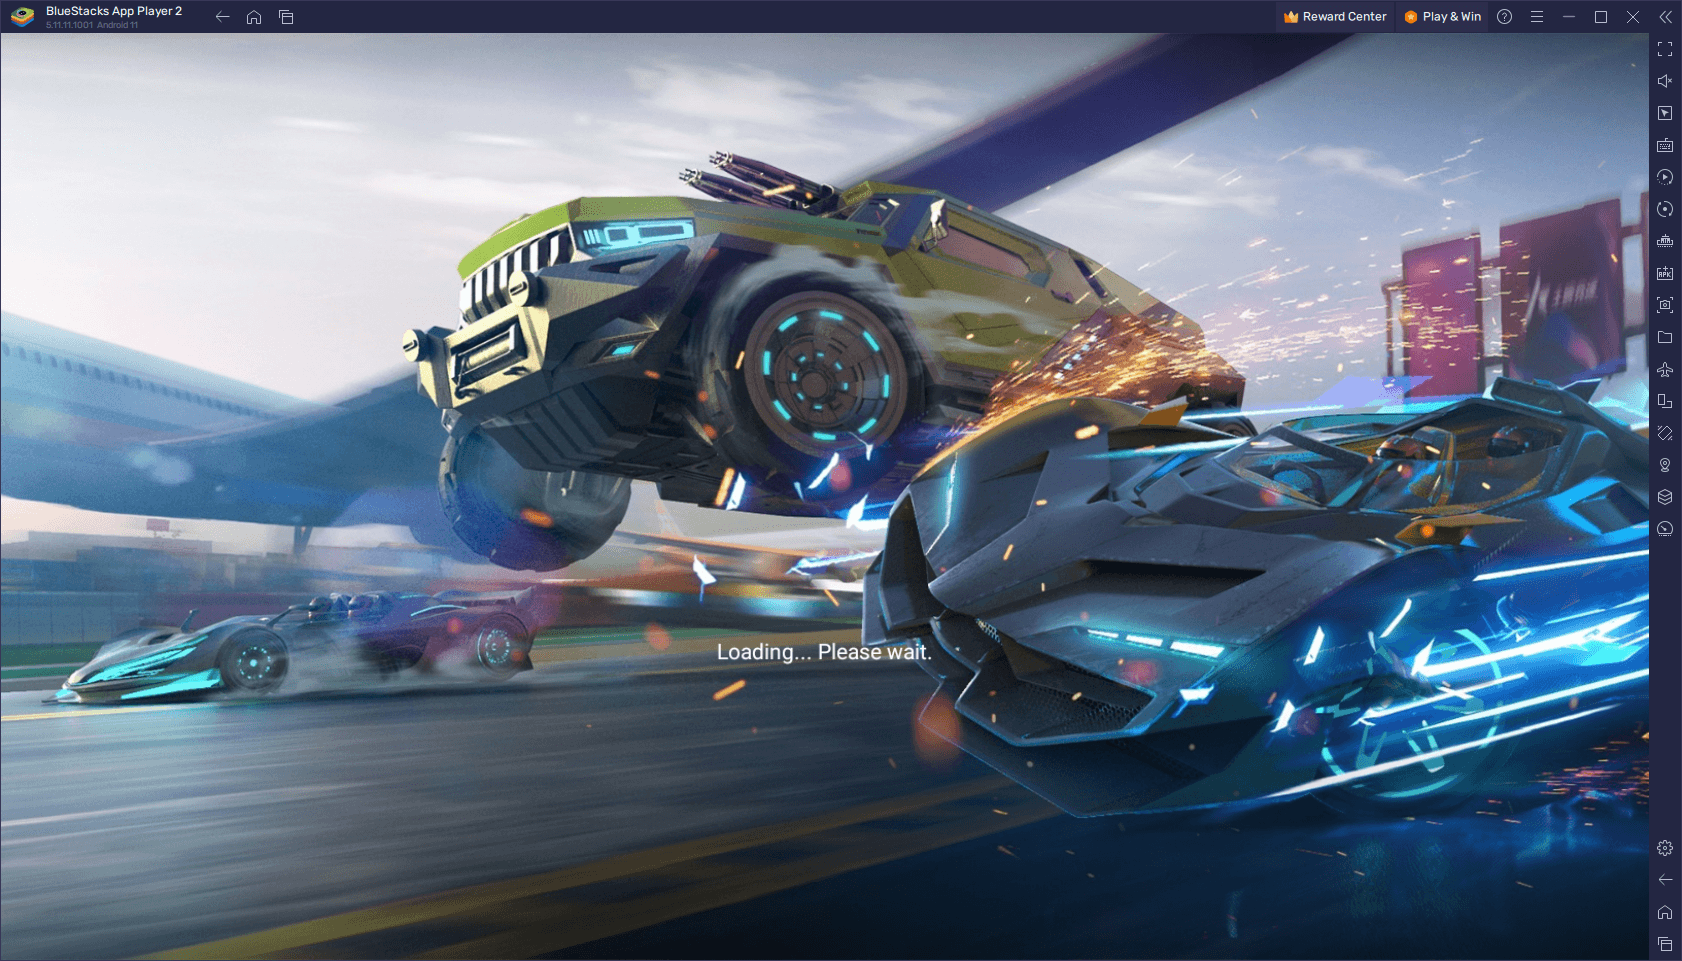
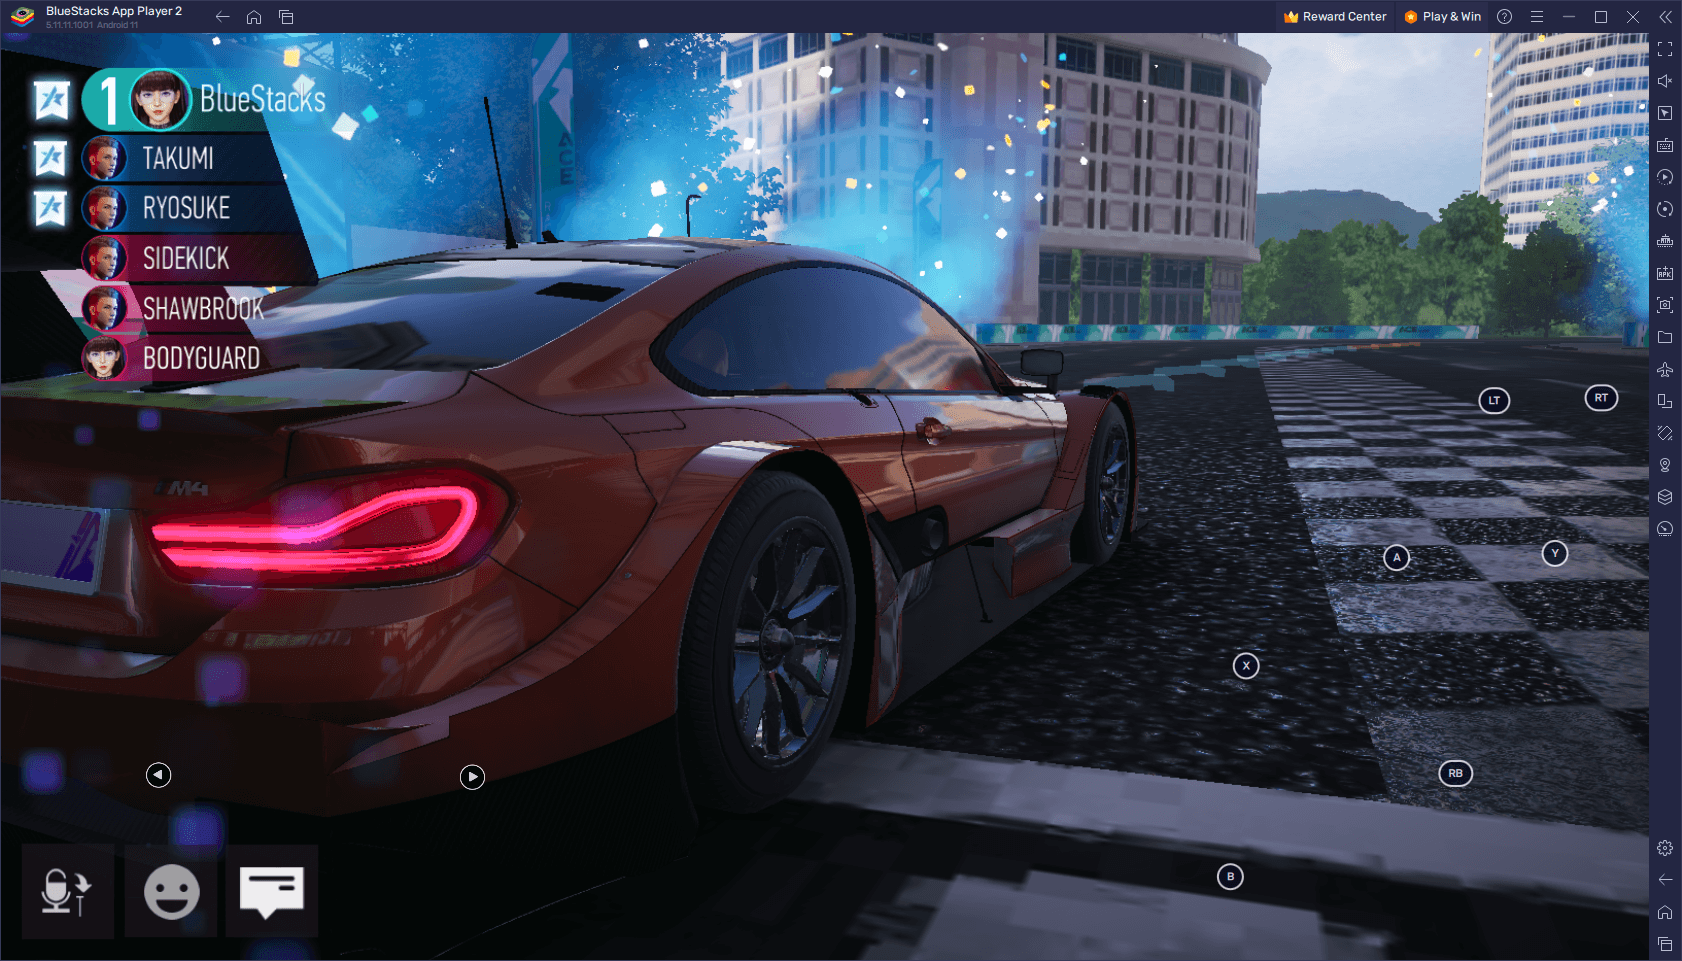
Even if racing games aren’t your particular cup of tea, there’s absolutely no denying that Ace Racer is a game with fantastic visuals. In fact, the game was designed to look as good as possible, but while also adding fantasy elements to the mix. As such, it offers both realistic graphics, as well as plenty of other elements such as light trails, particle effects, and lots of postprocessing touches as the cars careen, fly, and barrel down towards the finish line.
However, while Ace Racer can admittedly look pretty nice, it requires a good device in order to achieve this level of quality without sacrificing on performance. Luckily, you won’t really have to care about whether or not you meet these requirements if you’re playing Ace Racer on PC with BlueStacks as our Android app player not only runs pretty well on most systems, but also has very low requirements, most of which are easily achievable in this day and age. In other words, if you own a PC, there’s a very good chance that you’ll be able to run BlueStacks in all its glory.
In order to obtain the best visuals and performance in Ace Racer, however, you’ll have to tweak a few settings, both in your emulator configuration, as well as in-game. Here’s a quick step by step guide on how to proceed:
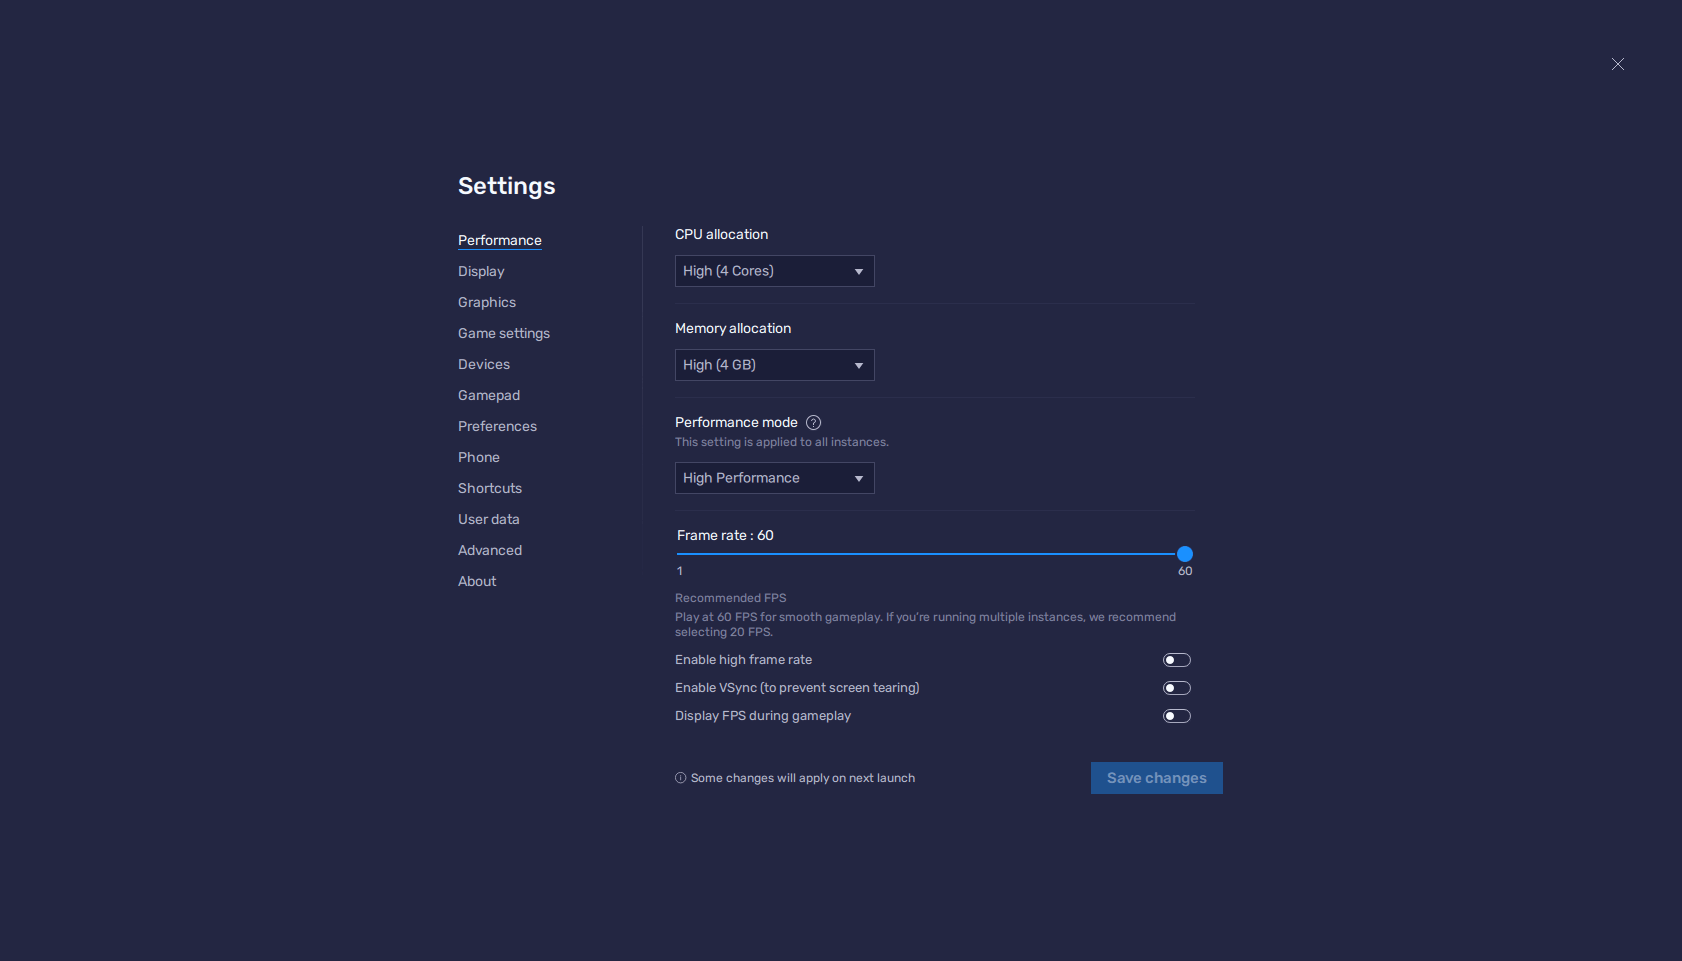
- In the BlueStacks settings, go to the “Performance” tab.
- Check that your emulator is using at least 4 GB of RAM, 4 CPU cores, and that the Performance mode is set to “High performance”.
- Set the FPS slider underneath to at least 60 FPS, and finish by clicking on “Save changes” on the bottom right.
- Launch the game and head to the in-game settings.
- When configuring your graphics for the first time, select the highest graphical option.
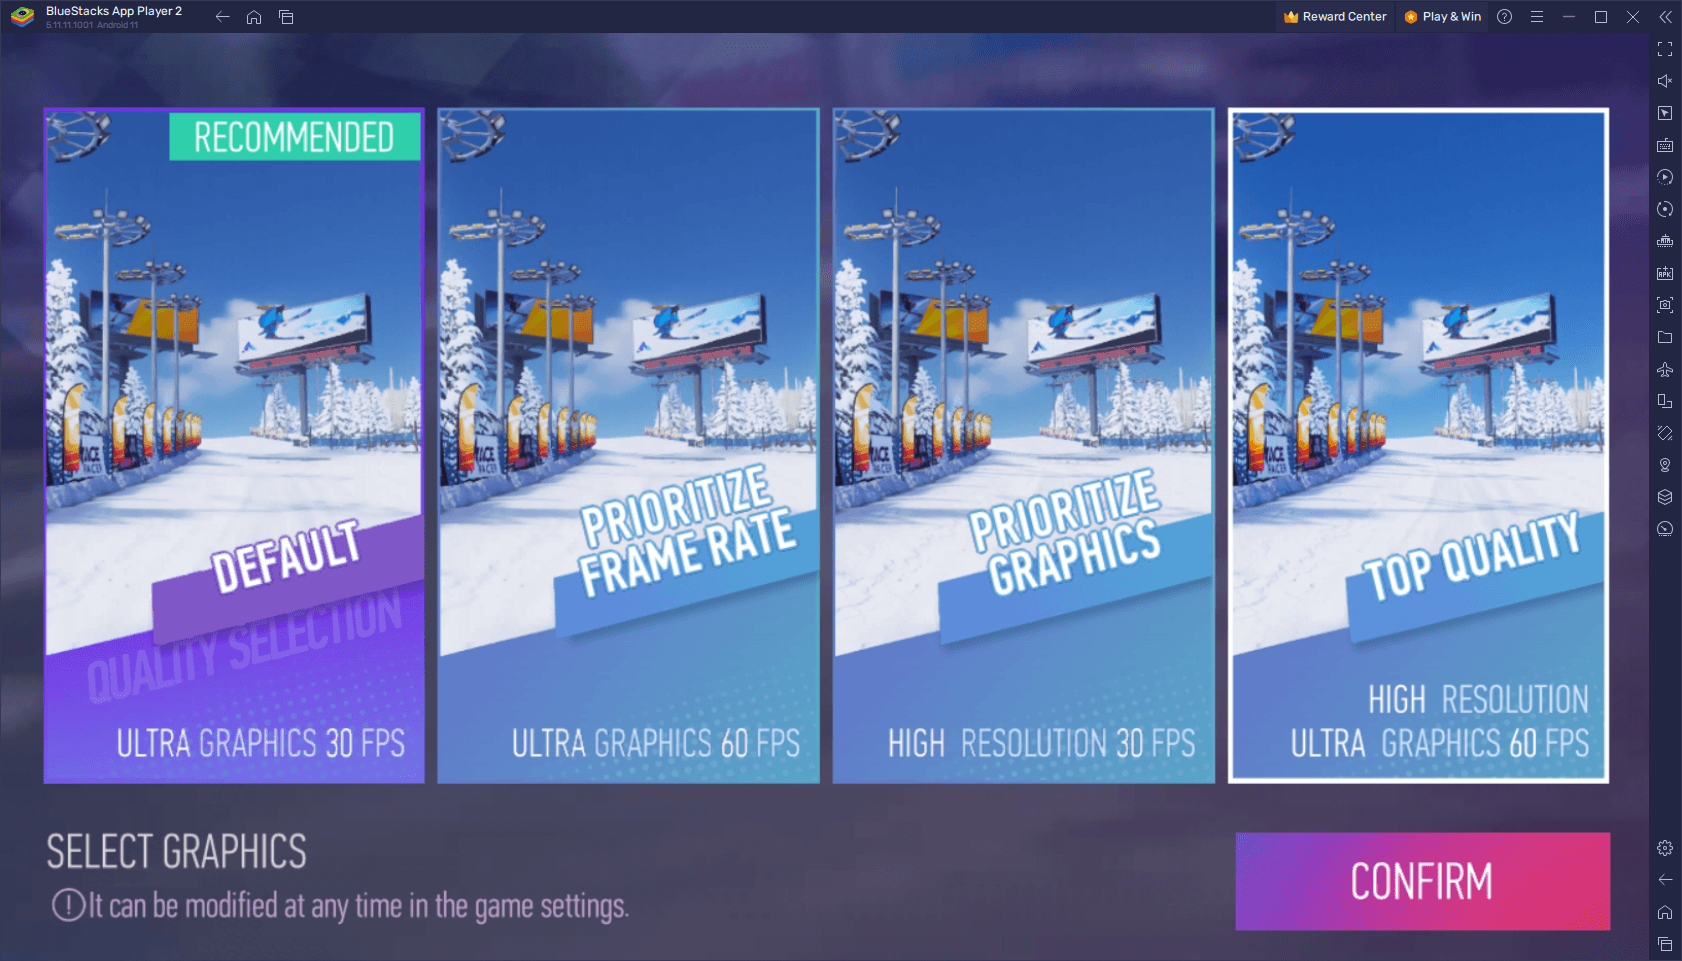
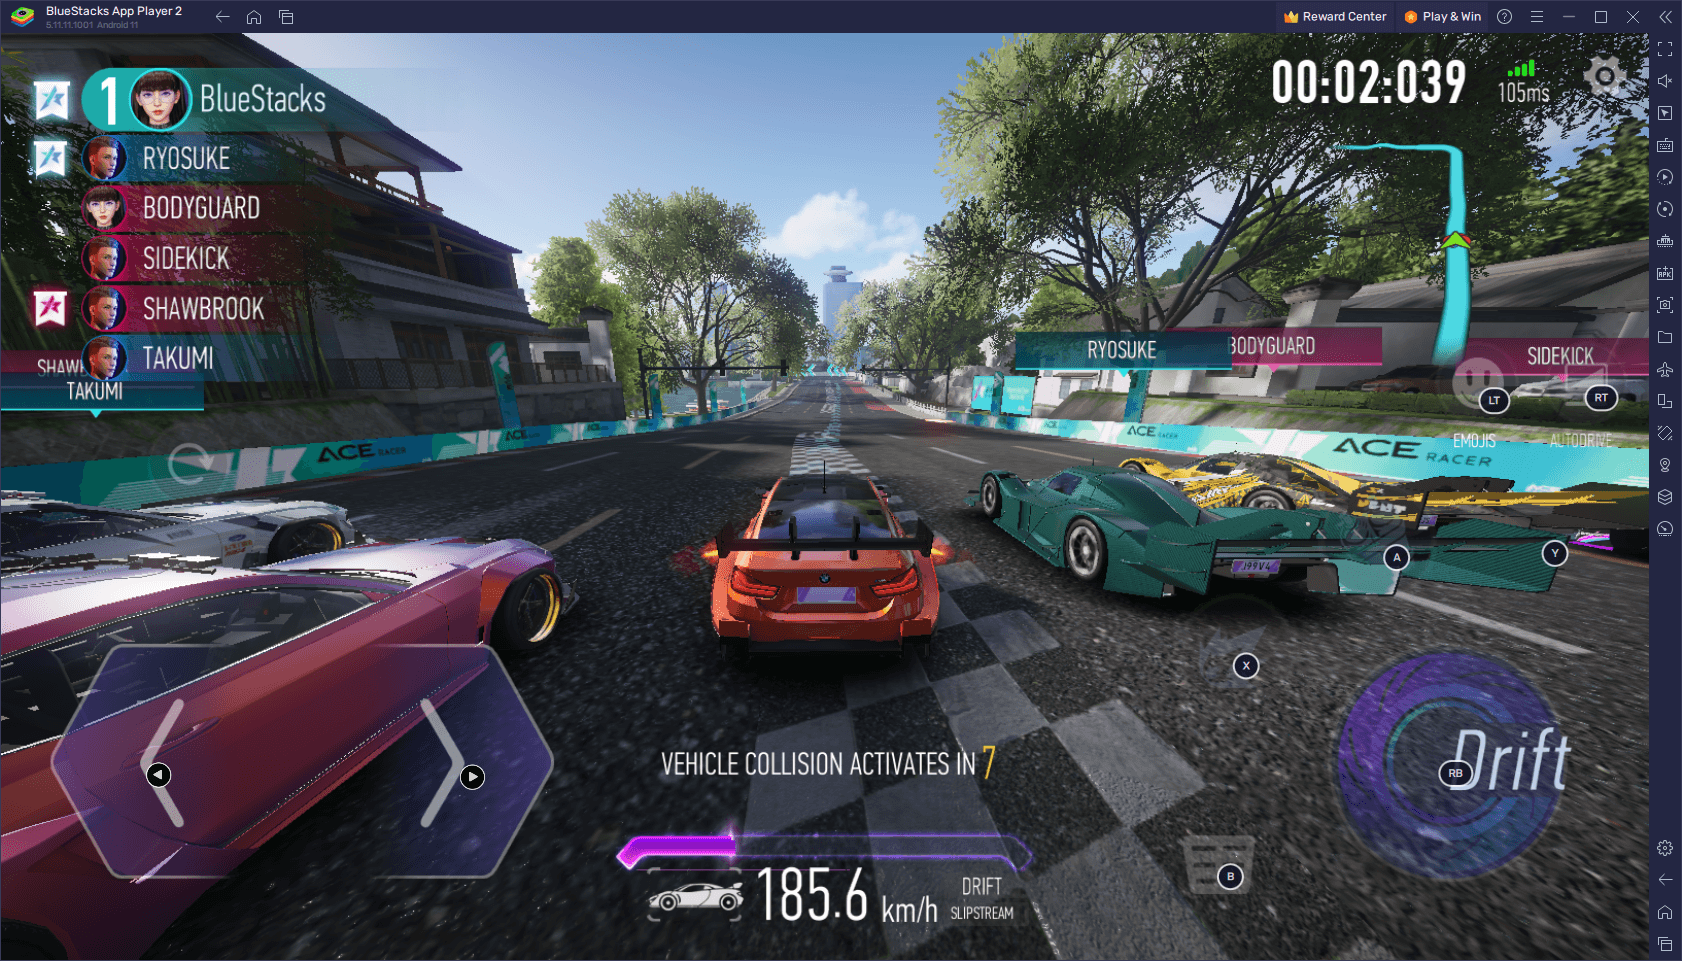
With these settings, you’ll not only have the best quality graphics, but you’ll also enjoy your races at a buttery smooth 60 FPS. This will not only help you appreciate every detail of the course much better, but it will also make it much easier to maneuver your vehicle as you won’t have to deal with lag, slowdowns, or sudden stuttering.
Rev Up Your Engines With the Best Controls
There’s a large skill factor involved in racing and winning in Ace Racer, most of which boils down to being able to press the correct buttons at the right times. However, even though it might sound very simple, playing on your phone can actually throw a wrench in your plans in this regard. Specifically, playing with virtual touchscreen buttons can negatively impact your accuracy, and cause you to make mistakes down the line. Luckily, if you’re playing on BlueStacks, you can use the Keymapping Tool to create your own control schemes using your mouse and keyboard, or even your gamepad, which will work wonders for your comfort and precision.
To use the Keymapping Tool, you must first press Ctrl + Shift + A while in-game, which will bring up the Advanced Editor screen. In this screen, you can view your current bindings, modify them by clicking on them, delete them, or even add new ones from the panel on the right. And while Ace Racer already has a decent control scheme created by the BlueStacks team by default, you can freely modify your controls to suit your preferences via this menu.
Once you’re done tweaking your controls, remember to click on “Save” on the lower right to implement your changes.
Try Out Multiple Different Vehicle Setups by Playing on Multiple Accounts
While it looks like a regular fantasy racing game on the surface, Ace Racer is somewhat more similar to an RPG, in that there are different types of cars that not only have varying stats, but that can fulfill specific roles within any given race. Case in point, Speedster cars are best for overtaking opponents; Supporters can help their team win by providing important buffs during the races; Interceptors reign supreme when bumping and trying to drive others off the courses, and Balancers are jacks-of-all-trades but masters of none.
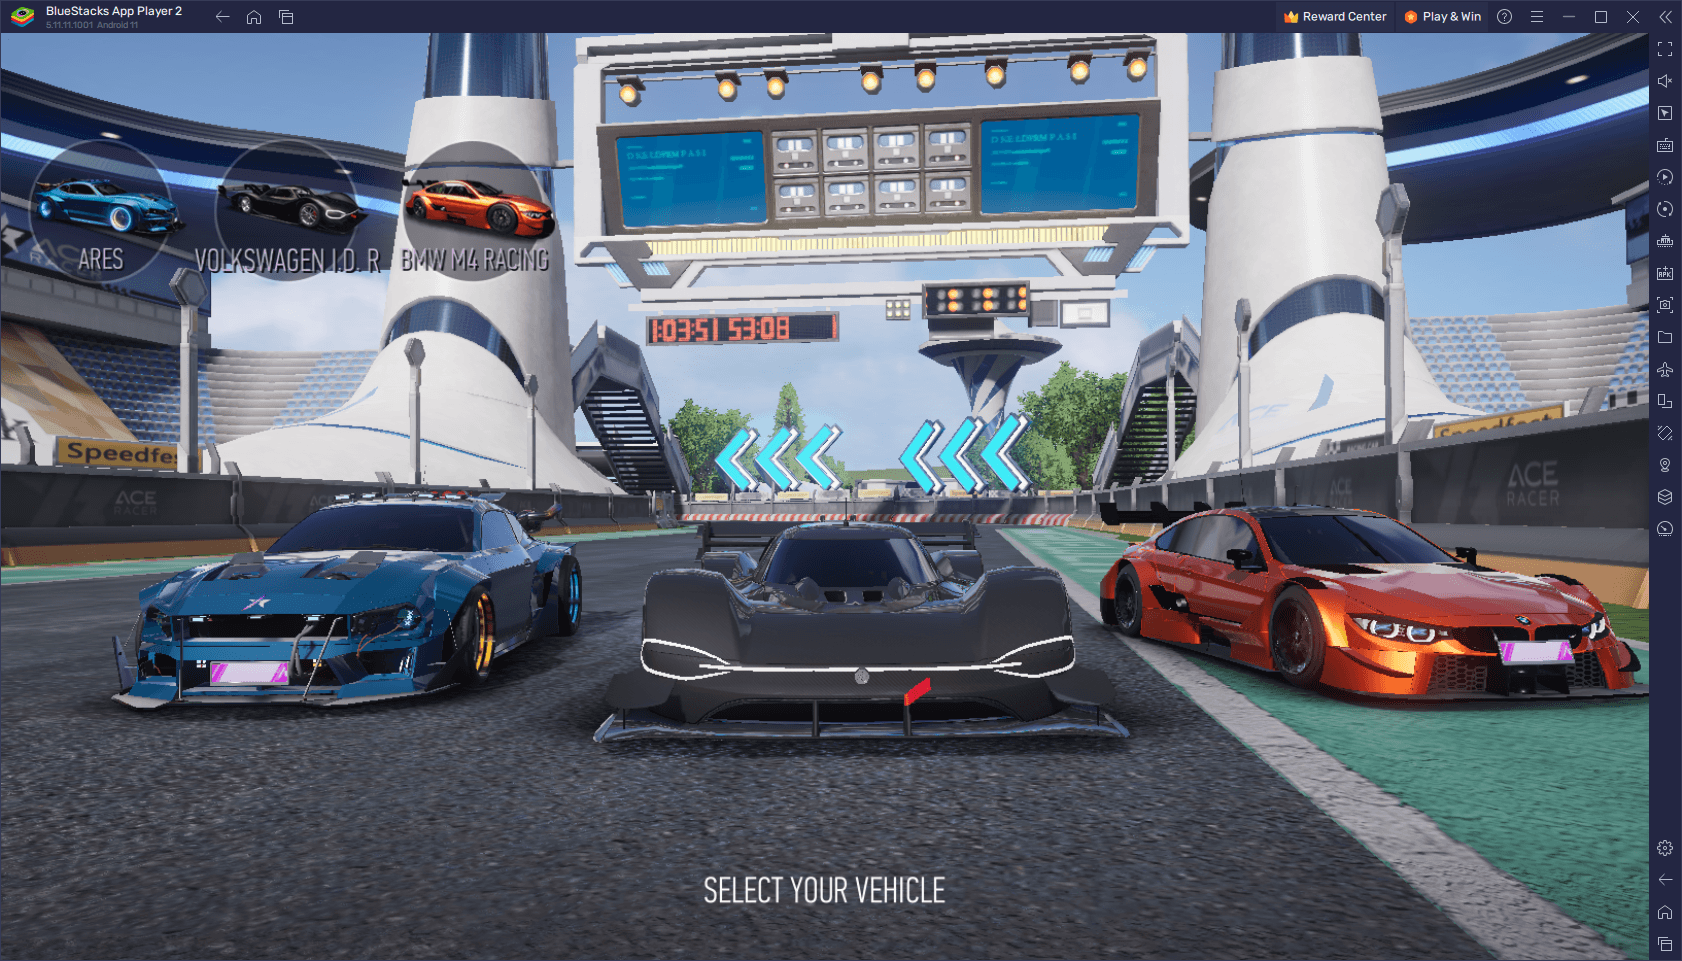
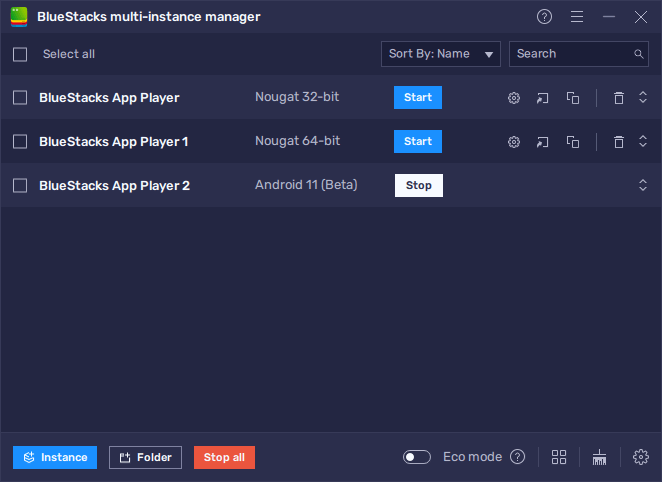
With such variety, it’s expected that players will want to experiment with different setups to see what they like the most. Particularly, the beginning of the game forces you to choose between three vehicles, each of a different role. With the BlueStacks Instance Manager, you don’t really have to choose, as you can simply play on three different accounts at the same time, and try each one out to see which one you like the best. And this is without the hassle of having to log out constantly to swap between accounts—you can keep all your different instances on one monitor at all times.
To access the Instance Manager, simply press Ctrl + Shift + 8 to open up the instance panel. On this screen, you can click on the “+ Instance” button on the lower left to create as many instances as you want. Finally, when you then download and install Ace Racer on each of these instances, you’ll be able to play on multiple accounts simultaneously, and experiment with different setups and vehicle configurations, with no drawbacks at all.
What are your thoughts on being able to play Ace Racer on PC with BlueStacks? Leave us your thoughts in the comments below!