Take the Auto-Play in AFK Arena on PC to the Next Level With BlueStacks


AFK Arena is among those rare games with a design that revolves exclusively around auto-play. It is by no means unique in the sense that it has an auto-battle feature; most mobile games have automation to a certain degree. However, while other games require greater user input, and occasional use of the auto-battle feature, games like AFK Arena and Aurora Legend are designed with the auto-play function in mind, encouraging a play style that is dramatically different from the standard formula. Suffice to say, these types of games are ideal for those players that have little time to invest in a game, or for those that are otherwise too occupied to completely divert their attention to the events that are occurring on screen.
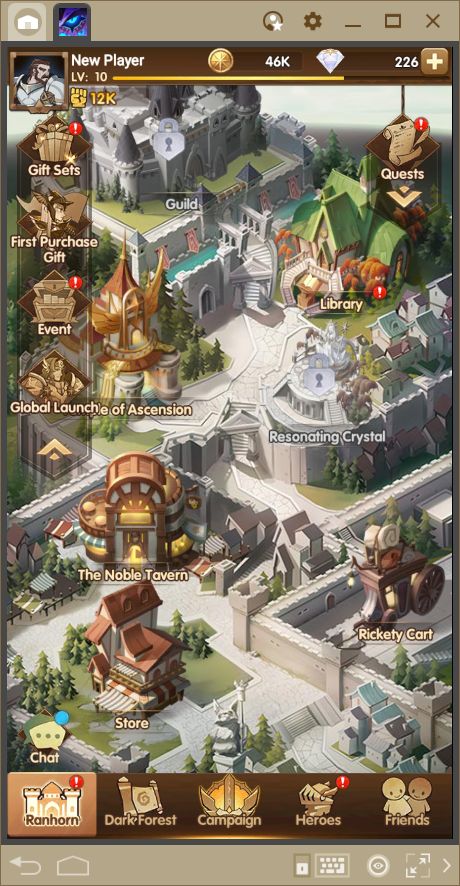
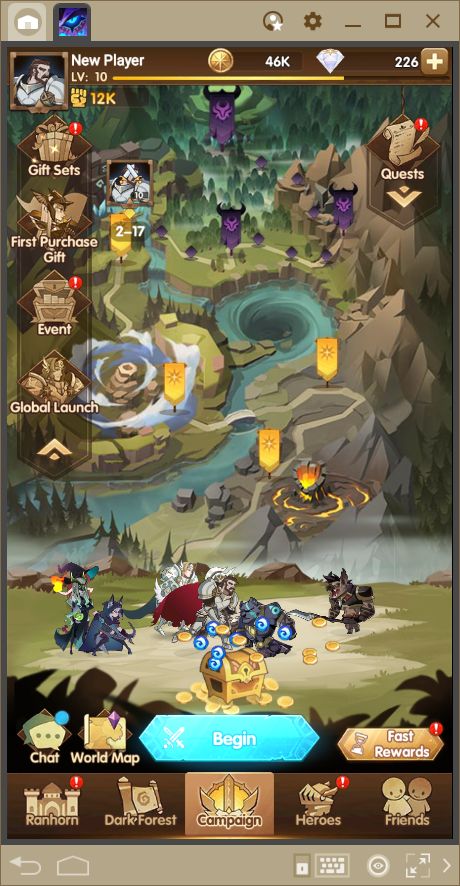
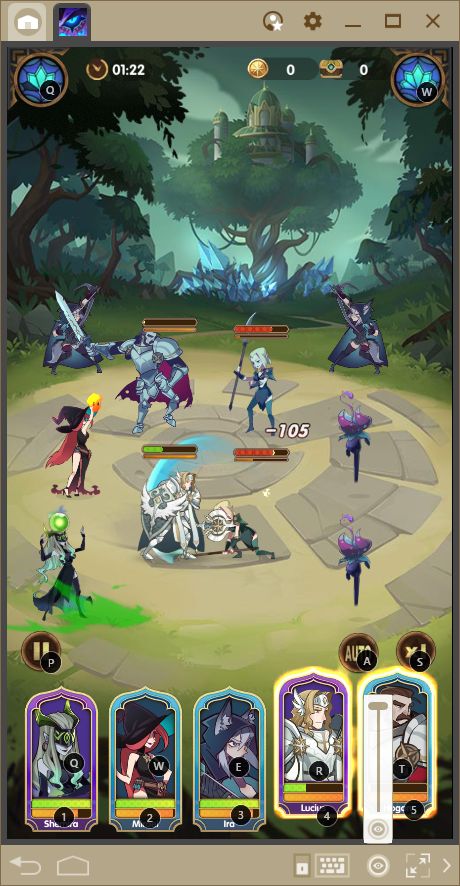
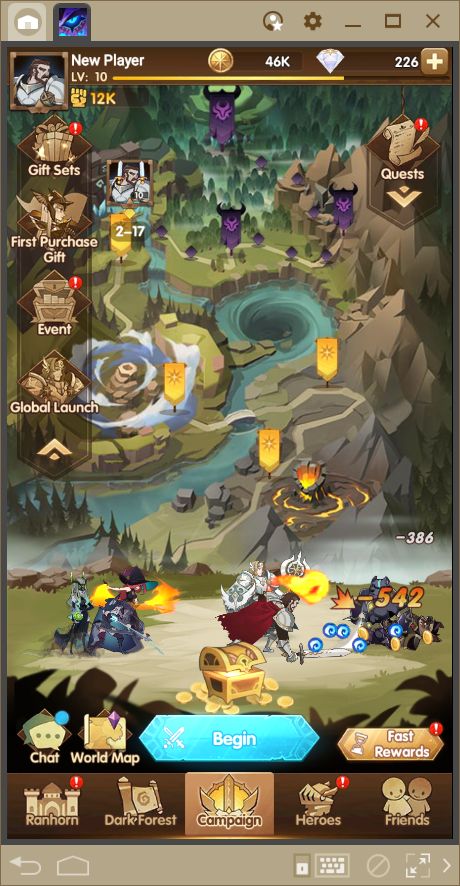
AFK Arena is played through stages in which you must defeat a group of monsters before pressing on. In some stages, you might need to defeat a boss in order to advance, which can prove to be very challenging. Nevertheless, as we mentioned in our review, due to its automatic design, this is a game that puts more emphasis on preparation rather than performance in combat. As you upgrade and equip your characters, they will become stronger and able to deal with larger threats on their own. Feel free to read our AFK Arena review if you wish you learn more about the basic premise and design of this title. Nevertheless, despite its design that promotes auto-play, this game can be greatly improved through the use of our BlueStacks tools.
In this guide, we will talk about the features that BlueStacks offers, and how these can be used to enhance your experience in AFK Arena. Let’s get you setup to play the game on BlueStacks.
How to Install and Play the Game on BlueStacks
- Download and install BlueStacks on your PC.
- Complete Google Sign-in to access the Play Store, or do it later.
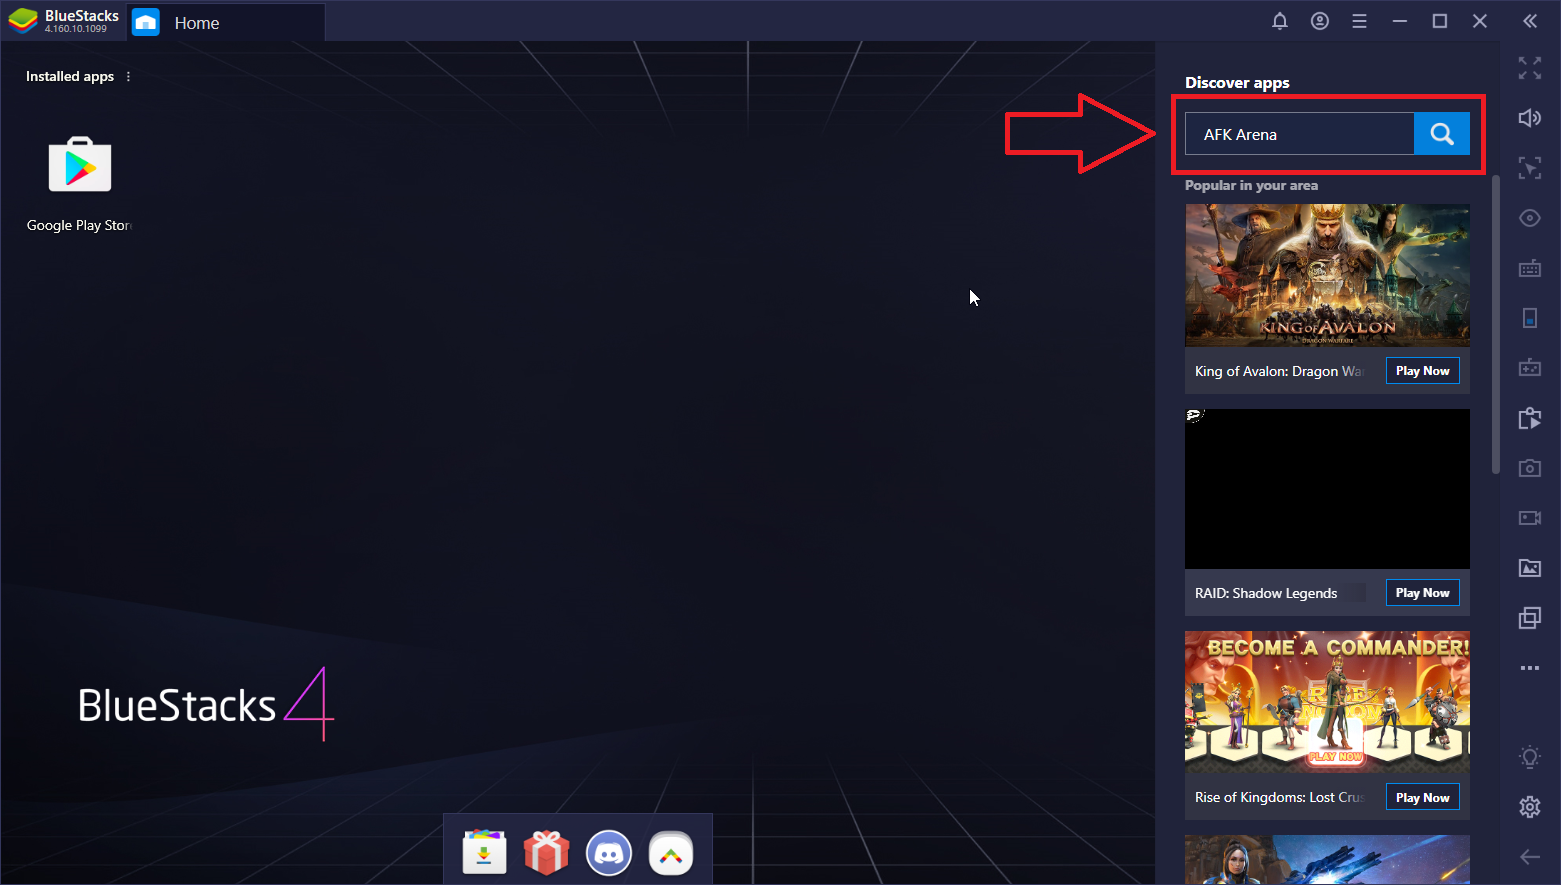
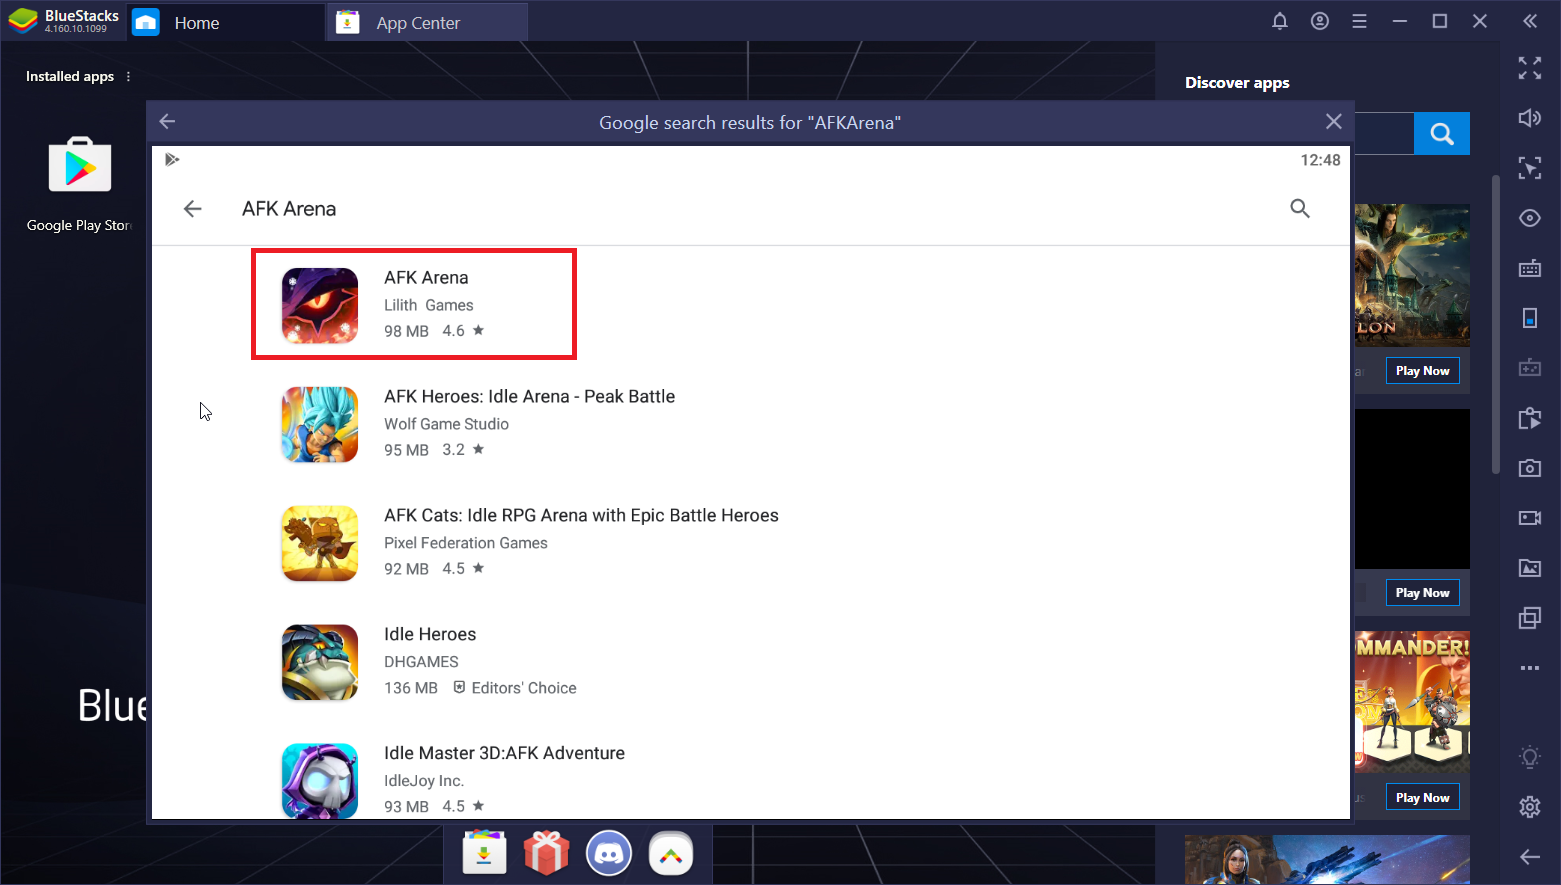
- Look for AFK Arena in the search bar at the top right corner.
- Click to install AFK Arena from the search results.
- Complete Google Sign-in(if you skipped step 2) to install AFK Arena.
- Click the AFK Arena icon on the home screen to start playing.
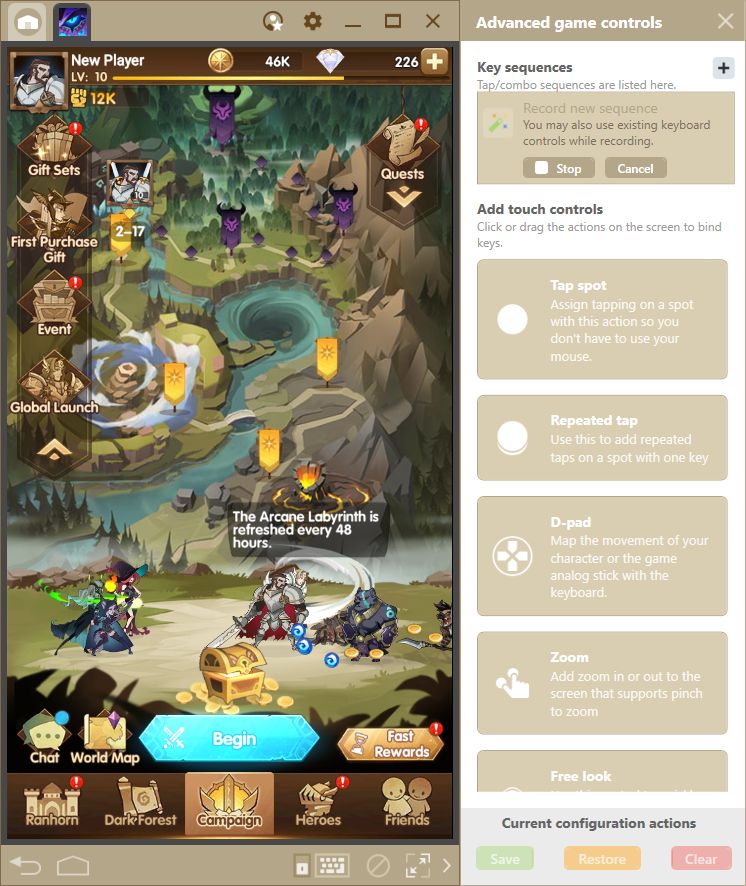
Simplify Menu Navigation with the Keymapping Tool
One of the best features of BlueStacks is the Keymapping Tool, which allows you to control all your favorite mobile games on your computer, using your mouse and keyboard. With this tool, you won’t ever have to struggle with sub-par touchscreen controls ever again. Especially for shooters and similar games where precision is vital, this tool will give you the edge you need.
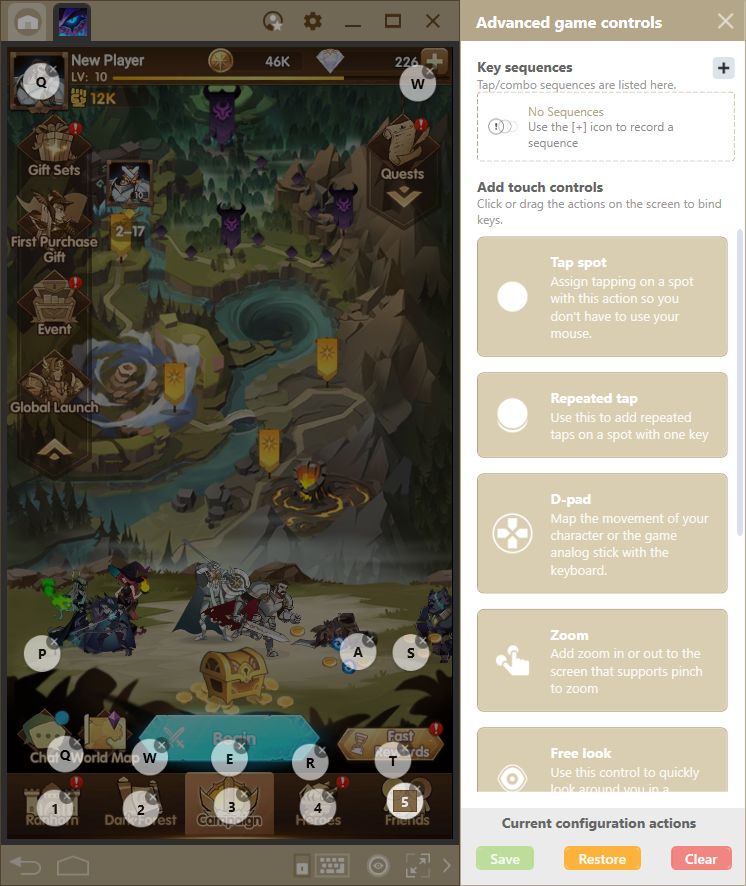
For AFK Arena, this tool allows you to access nearly every menu with the press of a button. By default, this title already has a predefined control scheme designed by the BlueStacks team. However, you can take it one step further by adding additional shortcuts to features that were not included in the original control scheme. In this sense, you can easily navigate to any feature using your keyboard.
Furthermore, the keymapping tool is not only awesome outside of combat, but for increasing your performance in battle as well. By turning off auto-battle, and assigning every hero’s ultimate to a button on your keyboard, you can deploy these skills at exactly the ideal moments for maximum effectiveness. This timing is especially useful for defensive or support skills such as shields or healing, which are wasted by the computer during auto-battle. In the most difficult battles, the keymapping tool is your greatest ally.
Create Unstoppable Hero Unions with BlueStacks Multi-Instance
In AFK Arena, you can create teams with other players that you meet along the way. These unions are imperative for creating powerful hero unions that grant awesome bonuses to your entire team. However, to create effective unions, you will need to use specific units that you might not have in your team. However, if you have a friend with the said units, you can “borrow” their units to create the aforementioned hero union.
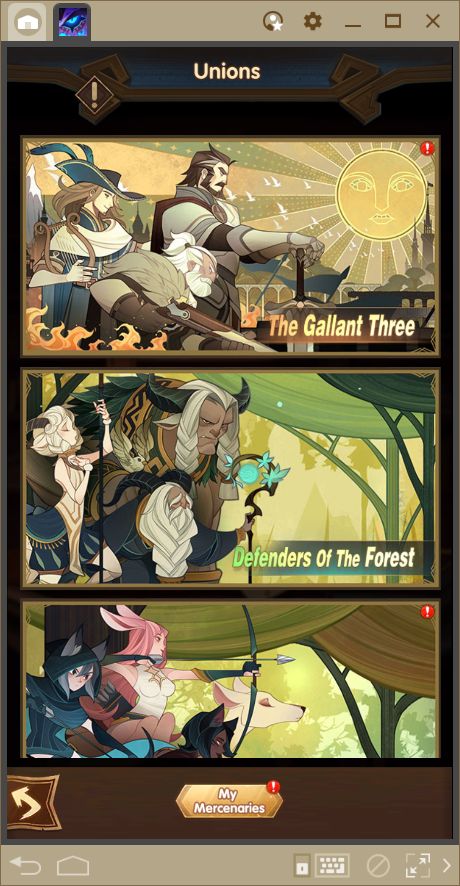
With BlueStacks Multi-Instance, you can access the game with multiple accounts, and create teams using the heroes in any of these accounts. While your main team might be missing heroes, you can simply use the units in your secondary account to complete the hero union. Furthermore, thanks to the automatic design of this game, you won’t have to struggle to juggle multiple accounts as they will mostly play themselves.
However, keep in mind that you can only create as many instances as your RAM allows. Each of these instances requires about 2GB of RAM. Please consult our guide on the instance manager if you want to read up on this feature.
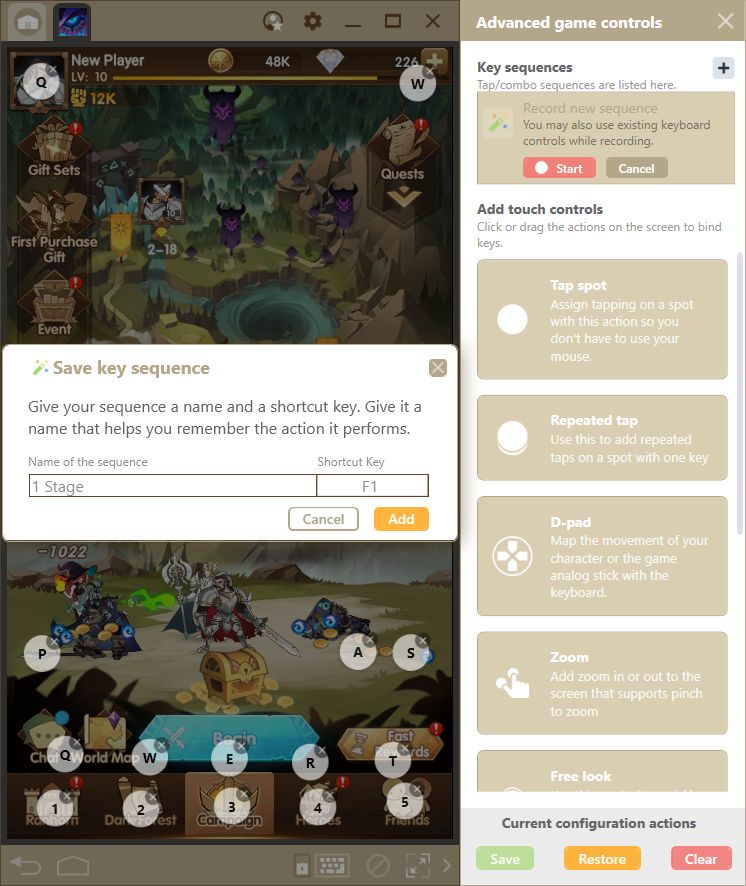
Automate Story Progression with Macros
Despite the game being played automatically, for the most part, you still need to press several buttons for your characters to advance to the next stage. Unfortunately, while combat is automatic to a certain extent, there’s no way to completely automate your progression. That is, until you use the BlueStacks Macros.
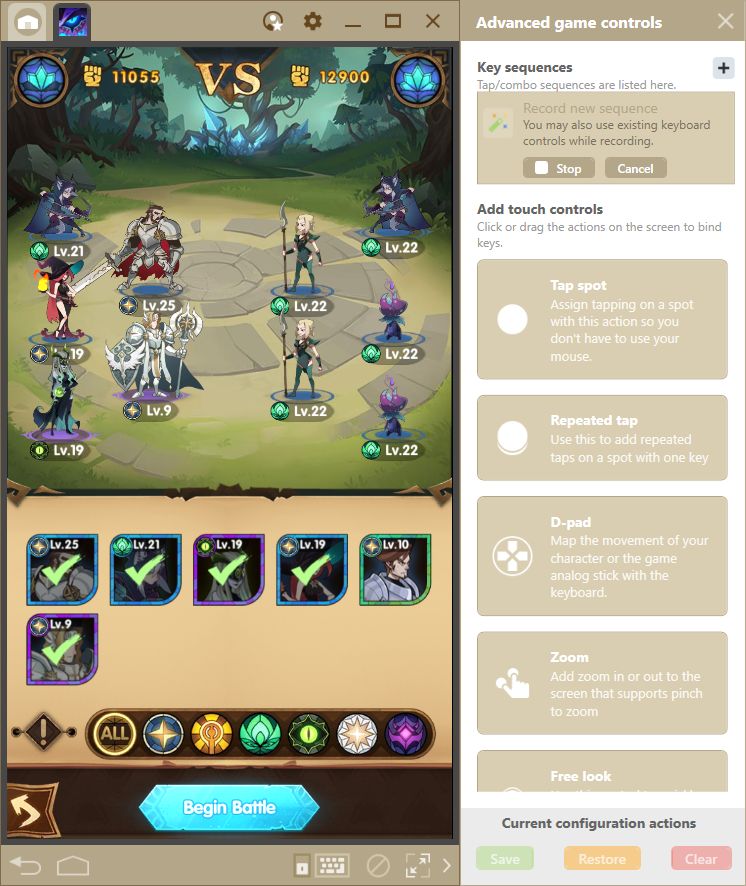
To start automating your progress in this game, start the recorder and go to the map screen and click on “begin” to enter the current stage. Afterward, click on “begin battle” to initiate combat with the currently selected team.
The combo key is a tool built into our platform, which allows you to record commands and reproduce them at any time with the press of a button. For AFK Arena, this means that, while your characters defeat their enemies automatically, you can configure your client to click the buttons to make them advance onto the next stage. In this sense, you can leave the combo running and your characters will clear stages and press onwards automatically. When you come back, you will have advanced considerably through the current area. Before explaining how to use the combo key to achieve this, we recommend reading through our combo key setup guide and to learn about its basic usage.
Wait until your team defeats the enemy, and then click anywhere on the screen to close the results.
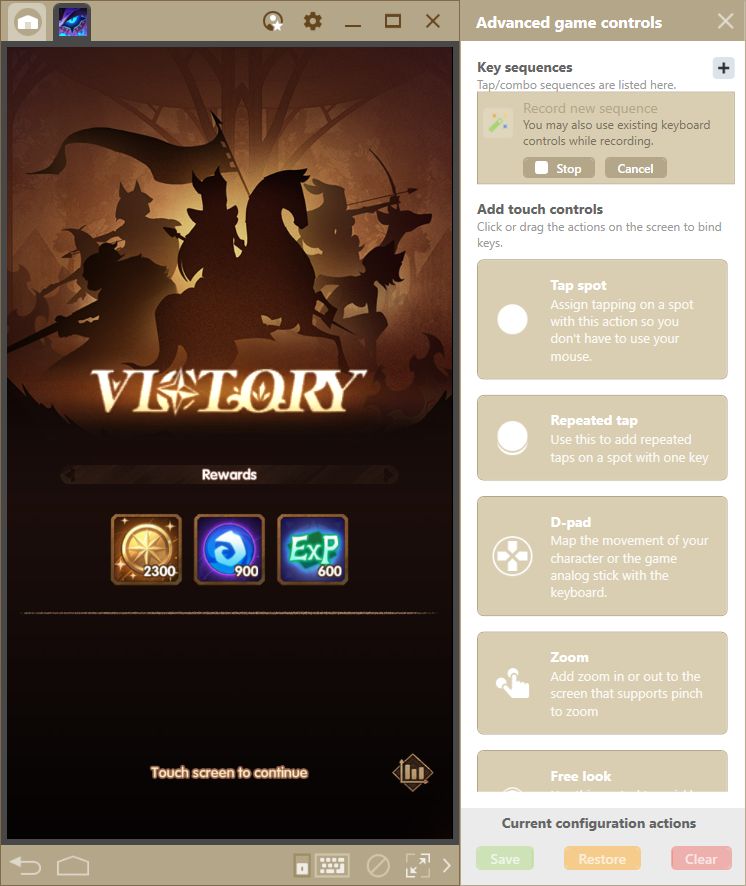
Afterward, you may repeat the process by clicking on “begin” again to make your team enter the next fight. Otherwise, you can stop the recording, name the combo, and link it to a button on your keyboard. Make sure to use the number of cycles in the name of your combo so you can always tell exactly how much time it’ll take before having to activate it again.
From now on, every time you wish to automate your progress, you’ll simply have to press the corresponding combo key and watch your characters wreak havoc across the land. Easy, right?
With BlueStacks, you can become an unstoppable force raging across the lands of Esperia. How do you use your BlueStacks tools in AFK Arena? Share your best tips in the comments below!