Time Princess on PC - How to Use The BlueStacks Instance Manager to Experience All the Different Stories With Ease


Time Princess is an interesting combination of visual novel and dress-up elements, that offers a variety of different stories based on real historical events and iconic figures. In this game, our lovely protagonist is able to jump into countless scenarios through her mysterious storybook, in which she will meet countless characters, as well as unlock a wide array of different outfits appropriate for the time period. More importantly, however, you as the player get to make important decisions that will affect the outcome and endings of the different narratives.

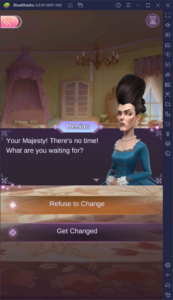
It’s this latter aspect that might complicate things for some users, considering that the dialog choices that you can make can dramatically alter the outcome of your stories. In this sense, while choosing one choice over the others can lead to expected outcomes at times, this effectively shuts you off from all the other possible scenarios in a story. And if you’re like us, you will definitely want to see everything that the game has to offer, rather than conforming to a single outcome.
Fortunately, by playing Time Princess on PC with BlueStacks, you can get access to the Instance Manager, a feature that lets you create multiple instances of our Android app player, and access the same game on several accounts simultaneously. In this sense, you can effectively play the same stories on all your accounts, make different choices in each, and experience everything that they have to offer. And not only that, but considering that every new story costs Reader’s Coupons to unlock, you can even use your different accounts to gain access to different stories on each account, paving the path to more content in a shorter period, and with less of a grind.
How to Use BlueStacks to Play Time Princess on Multiple Accounts
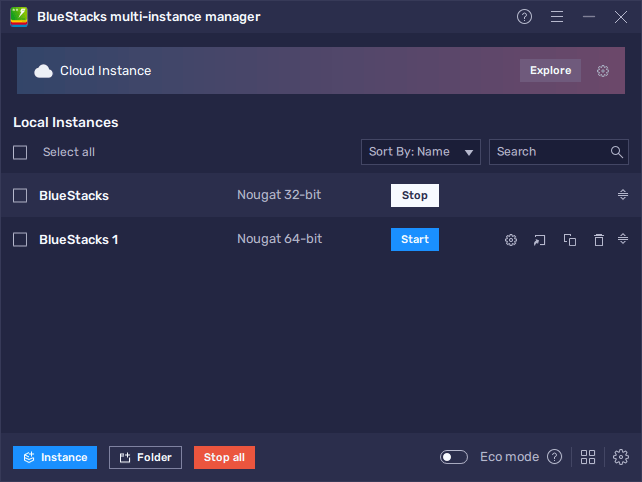
Setting up the Instance Manager to play Time Princess on several accounts is pretty easy. All you have to do is press Ctrl + shift + 8 while on BlueStacks to open the Instance Manager itself. In this window, you can press the “+ Instance” button, and then follow the on-screen instructions to create new instances. For Time Princess, you’d need BlueStacks 32-bit, as well as at least 2GB of RAM and 2 CPU cores.
You can create as many instances as you want, but keep in mind that every additional iteration requires its own RAM and CPU allocation. In this sense, the more instances you’re running, the more strain on your PC. Though if your computer meets the recommended requirements for BlueStacks, you should be able to run at least 4 or 5 instances easily.
After you’ve created all your instances, you can follow the steps on our BlueStacks setup guide for Time Princess to install the game in each; just remember to use a unique Google account on every instance to avoid conflicts.

And that’s all you need to do to play Time Princess on BlueStacks, using multiple instances. With this setup, you can essentially explore every branching path of your stories, as well as unlock a variety of different stories and outfits, without having to grind for Reader’s Coupons or resources on one single account.