
Sword x Staff Beginner's Guide - All Core Game Mechanics Explained
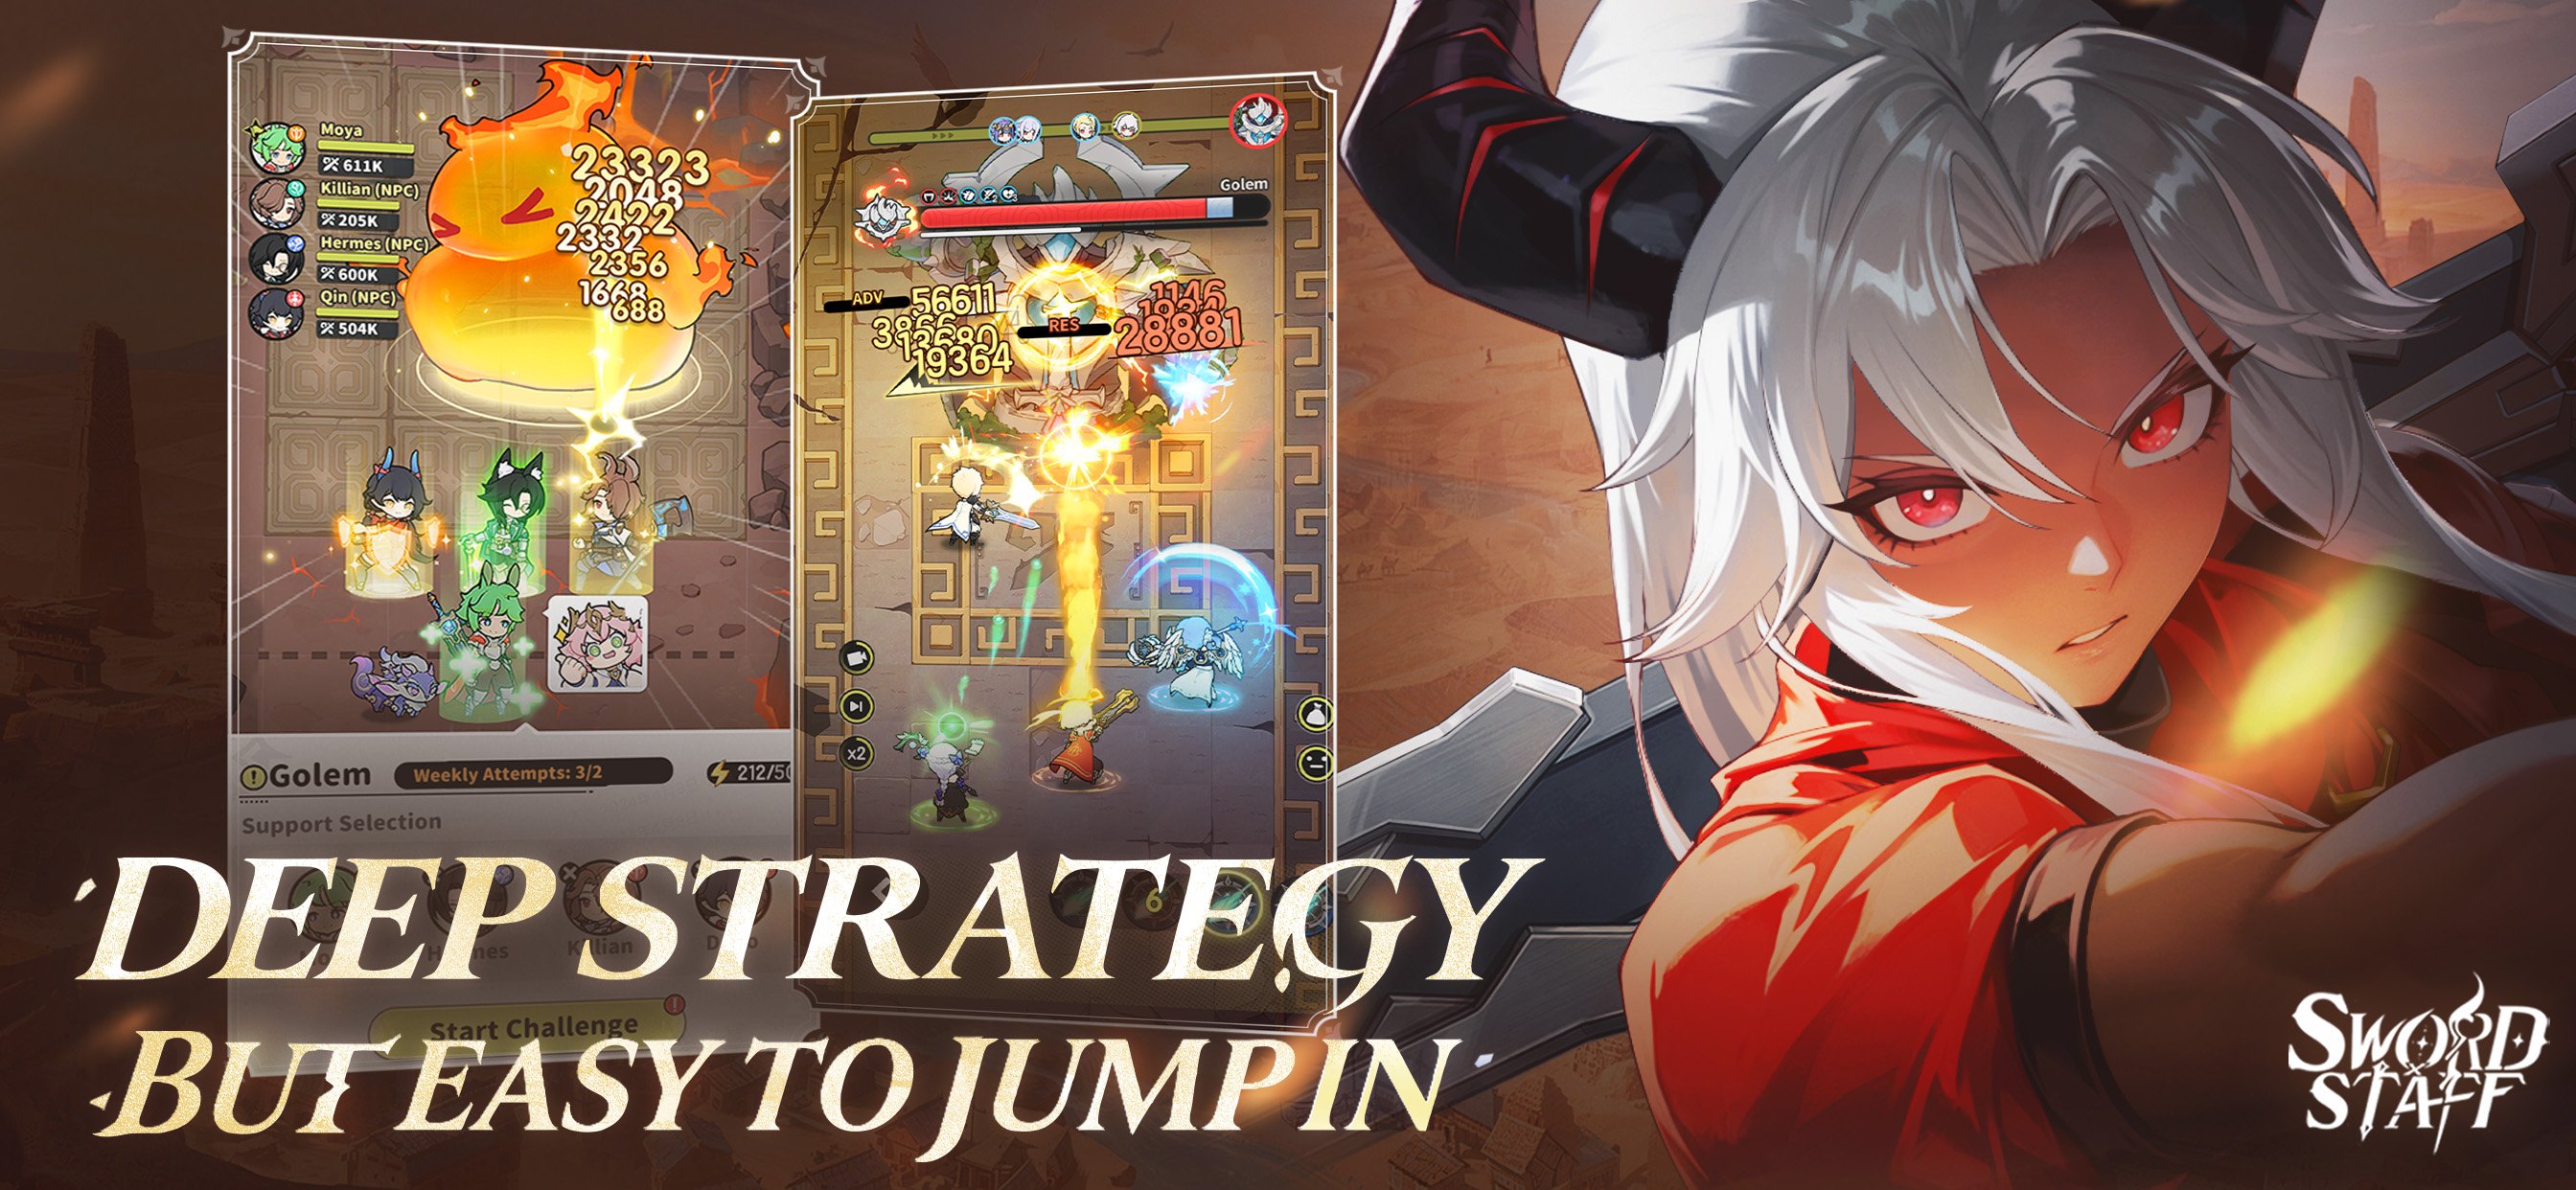

Welcome to the ultimate beginner guide for Sword x Staff. This semi idle fantasy RPG offers an expansive world filled with deep customization, tactical combat, and rewarding progression systems. Navigating the Kanstine Continent can feel overwhelming at first, but this guide will clear the fog and help you maximize your combat power from day one.
Choosing Your Path: Sword or Staff
Your adventure begins with a fundamental choice between two basic playstyles. This initial decision sets the foundation for your character development, though you will have the freedom to change paths later.
The Warrior path utilizing the Sword is highly recommended for beginners. It offers a straightforward approach focused on steady melee damage, high physical defense, and forgiving combat mechanics. It is the ideal path for smooth campaign progression and effortless idle farming.
The Mage path utilizing the Staff is tailored for players who enjoy strategic skill combinations. It prioritizes massive ranged burst damage and elemental synergy. While incredibly powerful, it requires precise timing, and mistakes can leave your character vulnerable due to a lower health pool.

Sword x Staff: Class Promotions and Subclasses
As you level up and reach Guimu Village in the Verdantglade region, you will unlock your first major class advancement. The game features a flexible reclassing system at Aqualis later on, which means your early choices will not permanently lock you down or penalize your resources. The following pathways show how your initial choice branches into specialized roles:

| Base Path | First Class Choice | Second Promotion Classes | Primary Playstyle |
| Sword | Duelist | Berserker | Aggressive Melee DPS with rapid attacks |
| Sword | Knight | Paladin | Defensive Tanking, crowd control, and support |
| Staff | Sage | Arcanist | Team utility, shields, and magic combos |
| Staff | Sorcerer | Archmage | High burst damage and massive Area of Effect spells |
Sword x Staff: Combat Mechanics and Class Loadouts Explained
Combat in Sword x Staff takes place on a structured grid battlefield where your character automatically moves, strikes, and executes abilities. To win consistently, you must maintain a high Combat Power rating by regularly upgrading your gear and skills.

Because the main story campaign must be completed entirely solo, every class requires a dedicated high damage build, even if you play a pure tank or healer in group events. You are given up to seven loadout slots, and you should optimize them for different situations:
- Solo Campaign: Focused heavily on high single target damage to push through map stages.
- Daily Dungeons: Packed with Area of Effect skills to wipe out large groups of enemies quickly.
- Boss Battles: Heavy on multi hit abilities that consistently trigger your passive skills.
- Group Content: Tailored with defensive taunts for Knights or healing spells for Sages to support your guild.
The Skill Triangle and Slot Leveling
Combat calculations rely on three core statistics that interact like a game of rock, paper, scissors. Critical hits deal a base of one hundred and fifty percent damage, but this damage drops drastically to just fifty percent if the target blocks the attack. Accuracy acts as the direct counter to defense by lowering the enemy block chance, creating a reliable damage floor. Block is the primary defensive tool, utilized heavily by the Knight class to survive massive enemy assaults.

The game features over two hundred unique skills and charms. A key quality of life mechanic here is that upgrades apply directly to the skill slot rather than the individual ability. When you swap a new skill into a leveled slot, it instantly inherits that slot level. This allows you to experiment with different builds freely without wasting valuable upgrade materials.
Map Exploration and Progression Mechanics
In Sword x Staff, map exploration directly dictates your overall power level. Progressing through numbered campaign stages unlocks new areas of the world map. Following the Auto Crest tool will guide you toward your primary objectives, helping you clear zones to one hundred percent completion.
As you clear away the map fog, you will discover and activate Goddess Statues. These structures are your highest priority because they grant permanent multipliers to your idle resource production, experience gains, and combat stats.

While exploring, you will encounter physical obstacles like thorns, giant rocks, and coral that block your path and lower your farming efficiency. You can clear these hazards by purchasing special removal items using Kingdom Shop Coins. You will also run into Stone Tablet Quizzes that reward you with large bundles of resources for answering trivia about the game world.
Companions, Relics, and Fantomons
To survive tougher regions like Cinder Ridge, you must utilize the secondary progression systems available at your home base. Sword x Staff is quite friendly towards beginners, as it does not impose certain restrictions seen in other mobile games. Players can take on stronger foes even if they are weaker. But, the fights will be exponentially more difficult. To counteract, you can make use of other systems set in place that offer consistent growth and rewards.

Companions offer a passive method to boost your base statistics. By visiting the companion booth and giving daily gifts to your allies, you permanently raise your global Attack, Defense, and Critical metrics.
Relics are powerful equipment pieces that range from basic Blue quality up to Mythic rarity. Instead of spreading your resources thin, focus on upgrading a small core of four to six Purple or Gold relics to maximize your immediate Combat Power spikes.
At level fifty, you unlock the Fantomon pet system. This represents one of the largest power boosts in the early game. Focus your upgrade materials on a single primary Fantomon that matches your class role, leveling it to fifty to unlock its major passive stat bonuses before investing in alternative pets.
Learn about the Gacha System and Currencies of Sword x Staff
The game features two distinct summoning systems that require careful resource management. The Skill Gacha rewards you with abilities and charms, featuring a generous pity mechanic that lets you select a guaranteed Legendary skill after two hundred pulls. The Relic Gacha allows you to source high tier artifacts with a guaranteed rarity drop every ten pulls.
The biggest trap for a beginner is spending premium currencies like Luminium or premium Stellatie summoning orbs in the starting Verdantglade maps. The standard blue banner draws from a massive pool of lower tier skills that quickly become obsolete.

Instead, save all your premium currency and Skill Shard Vouchers for the pink Premium Banner, which unlocks later in Cinder Ridge. This specialized banner features a smaller pool consisting strictly of advanced, long term skills tailored specifically to your chosen class branch.
Players can enjoy playing Sword x Staff on a bigger screen of their PC or Laptop via BlueStacks along with your keyboard and mouse.