How to Enjoy the Best Avatar Generations Gameplay on PC with BlueStacks
When it comes to enjoying the best gameplay experience with the new Avatar Generations on PC, BlueStacks is one of your best options. Our Android app player not only gives you the best graphics and performance, but also has a wide suite of tools designed to take your gameplay to the next level.
Table of Contents
- Play With the Best Graphics and Performance
- Play With Mouse and Keyboard, or Even Your Gamepad
- Reroll on Multiple Accounts Simultaneously With Ease
Read on to learn about the best tools for Avatar Generations and how to configure and use them to your advantage.
Play With the Best Graphics and Performance
Avatar Generations features a great visual design reminiscent of the original anime show—playing this game feels very much like watching the anime, except instead of only witnessing the action unfold before your eyes, you also get to participate in it.
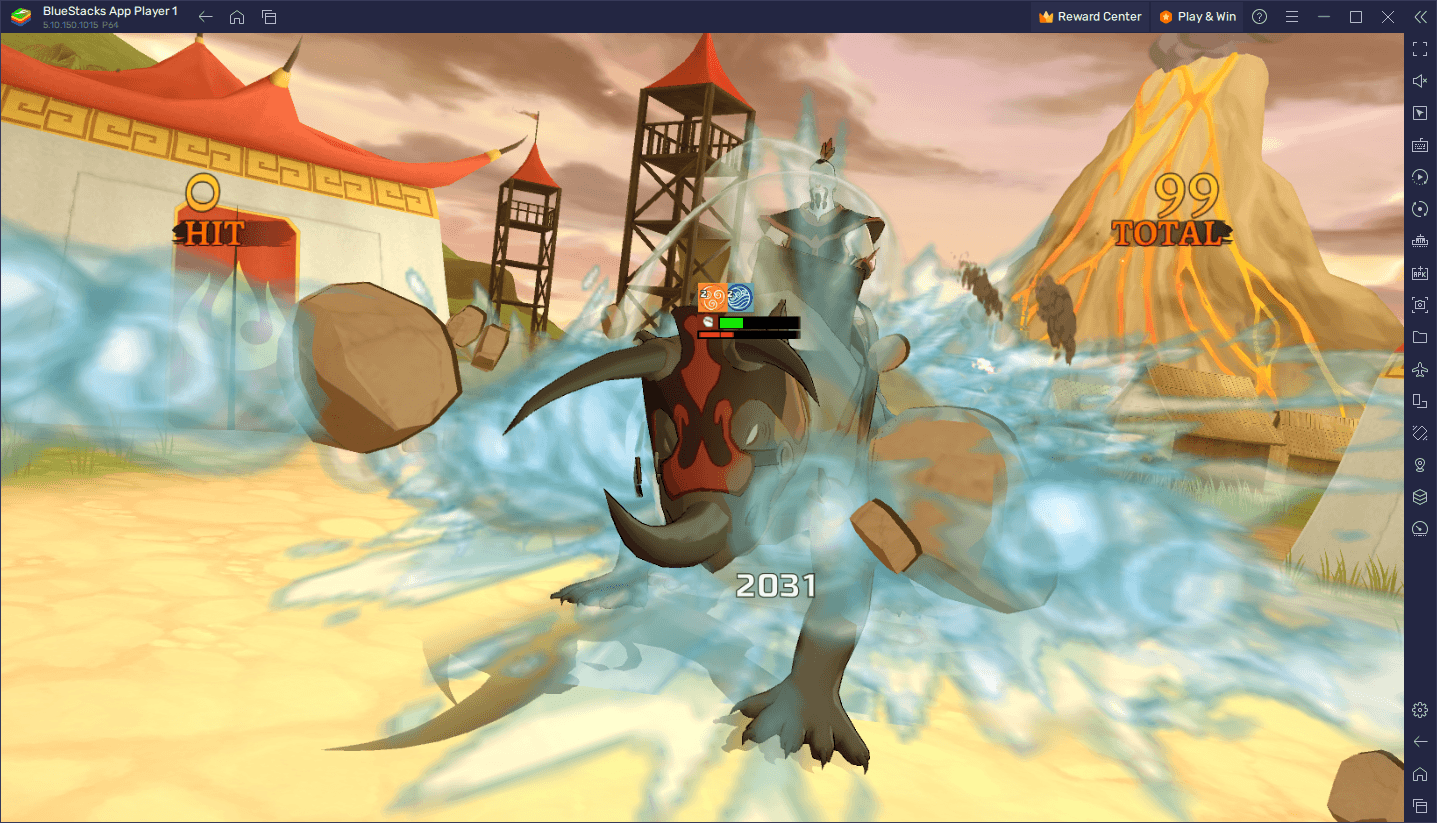
Even though Avatar Generations has a 2D hand-drawn art style for most of its menus, the battles actually use 3D models, which actually look quite good considering that the transition from drawn anime to 3D model is oftentimes quite wonky. Regardless, the fact that the game uses 3D models means that, if you’re playing on your mobile, you’re going to need a decent device in order to achieve a good and stable performance. And even if you have a good device, you’ll still be forced to play on a small phone screen and deal with issues such as overheating and battery drainage.
By playing Avatar Generations on PC with BlueStacks, however, you can not only enjoy the game on a much larger screen, but you can also play with the best performance while also getting access to a variety of tools to enhance your experience even further. And while we’ll explore a couple of the most important BlueStacks tools for this game further down, we want to talk a bit about how to get the best performance in Avatar Generations.
While BlueStacks comes configured right out of the box to give players the best graphics and performance, you might need to perform a few extra tweaks to your emulator and your game in order to optimize your experience:
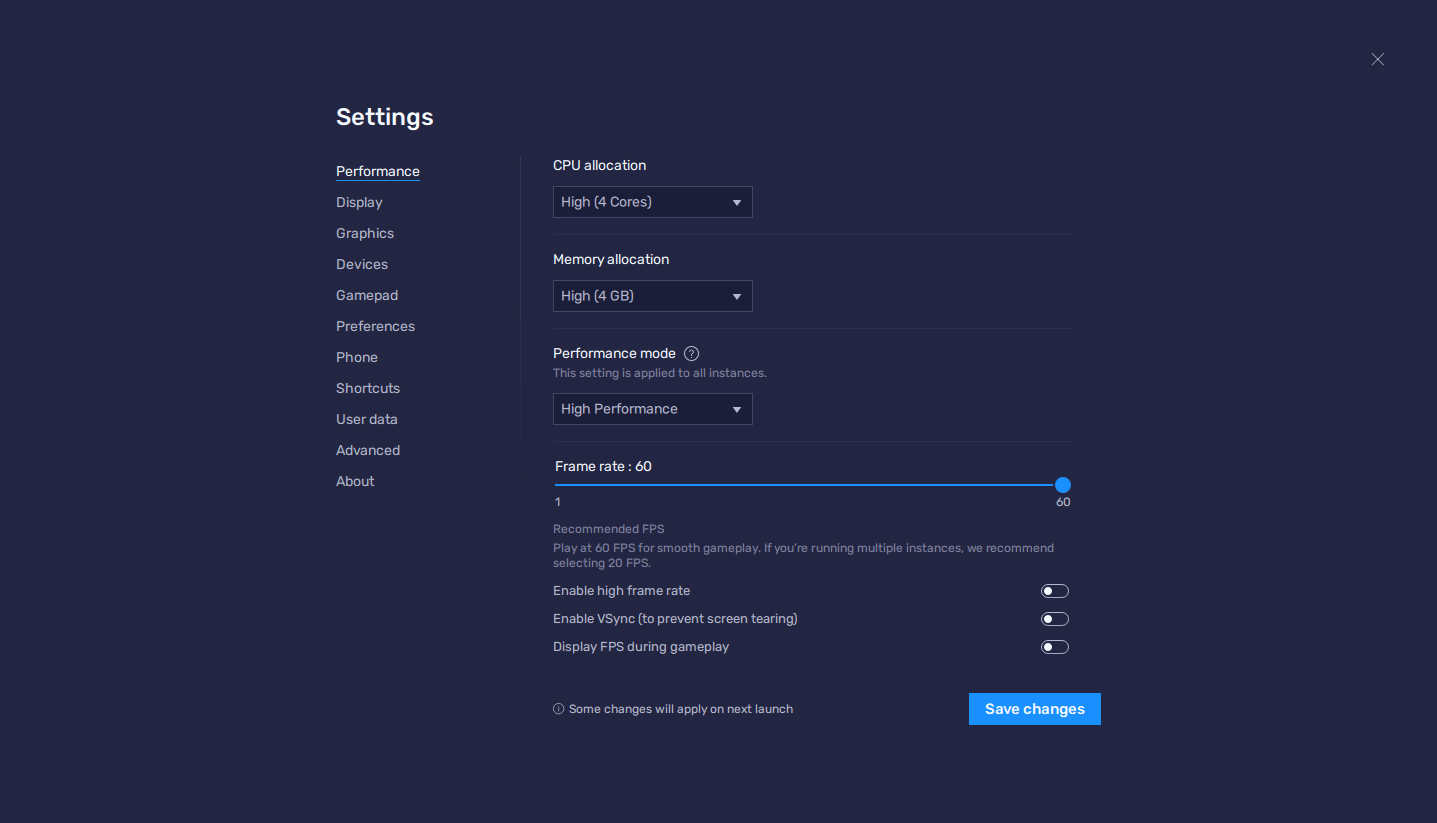
- In the BlueStacks settings, go to the “Performance” tab.
- Check that your emulator is using at least 4 GB of RAM, 4 CPU cores, and that the Performance mode is set to “High performance”.
- Set the FPS slider underneath to at least 60 FPS, and finish by clicking on “Save changes” on the bottom right.
- Launch the game and head to the in-game settings.
- Set your graphical options on the highest settings.
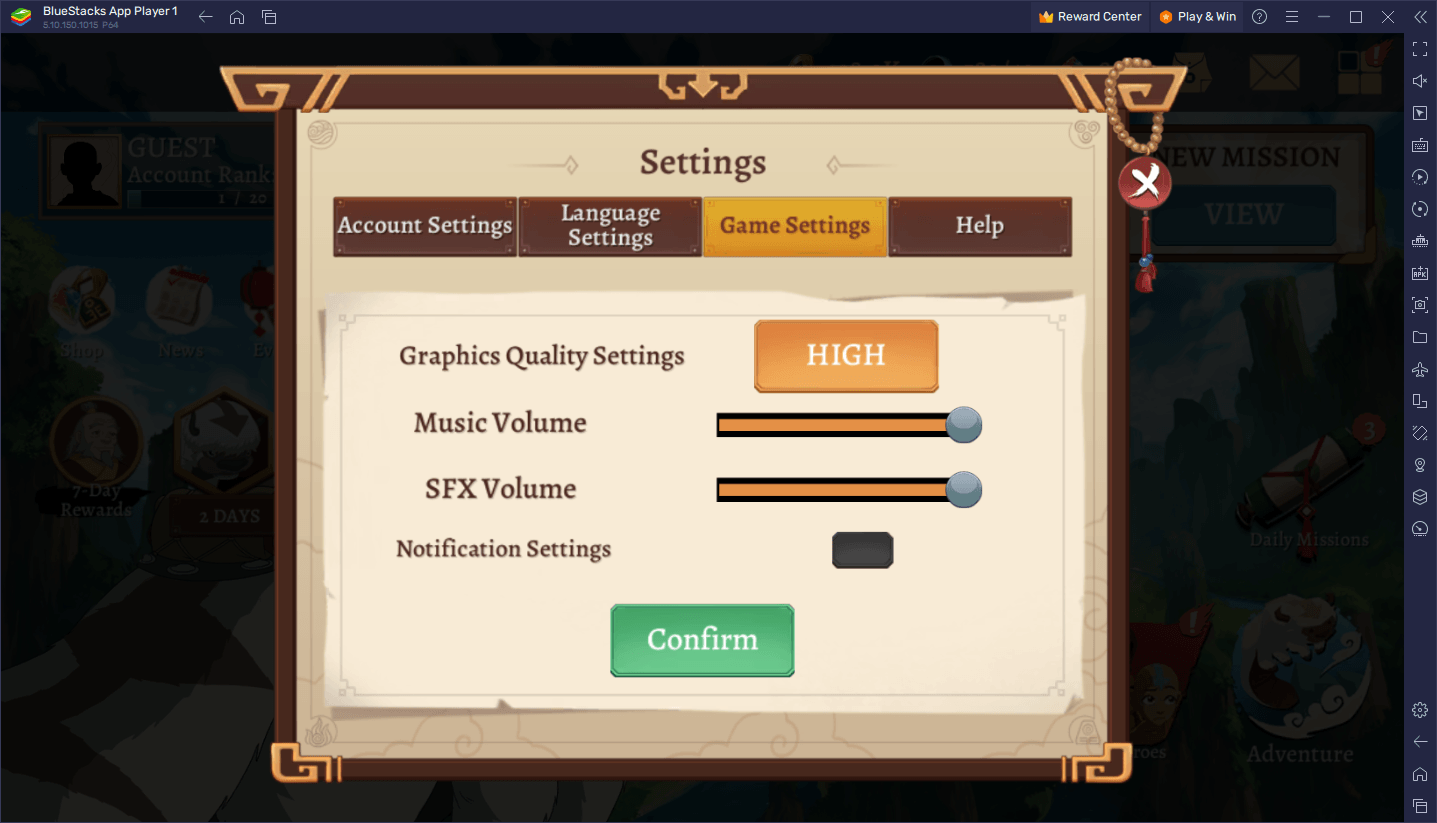
In general, these settings will work on the vast majority of systems. Nevertheless, if you’re not satisfied with your performance, you can tinker with the in-game settings until you get the performance that you want.
Play With Mouse and Keyboard, or Even Your Gamepad
Avatar Generations is a gacha RPG first and foremost, with its combat system mainly revolving around turn-based battles where the player chooses the actions of their characters at every turn. In other words, the brunt of the gameplay takes place through menus and clickable buttons, which can quickly become tedious if you’re pawing and swiping on a mobile touchscreen. Luckily, with the BlueStacks Keymapping Tool, you can create intuitive and versatile control schemes using your mouse and keyboard, and even your gamepad, so that you can take your comfort and precision to a whole new level.
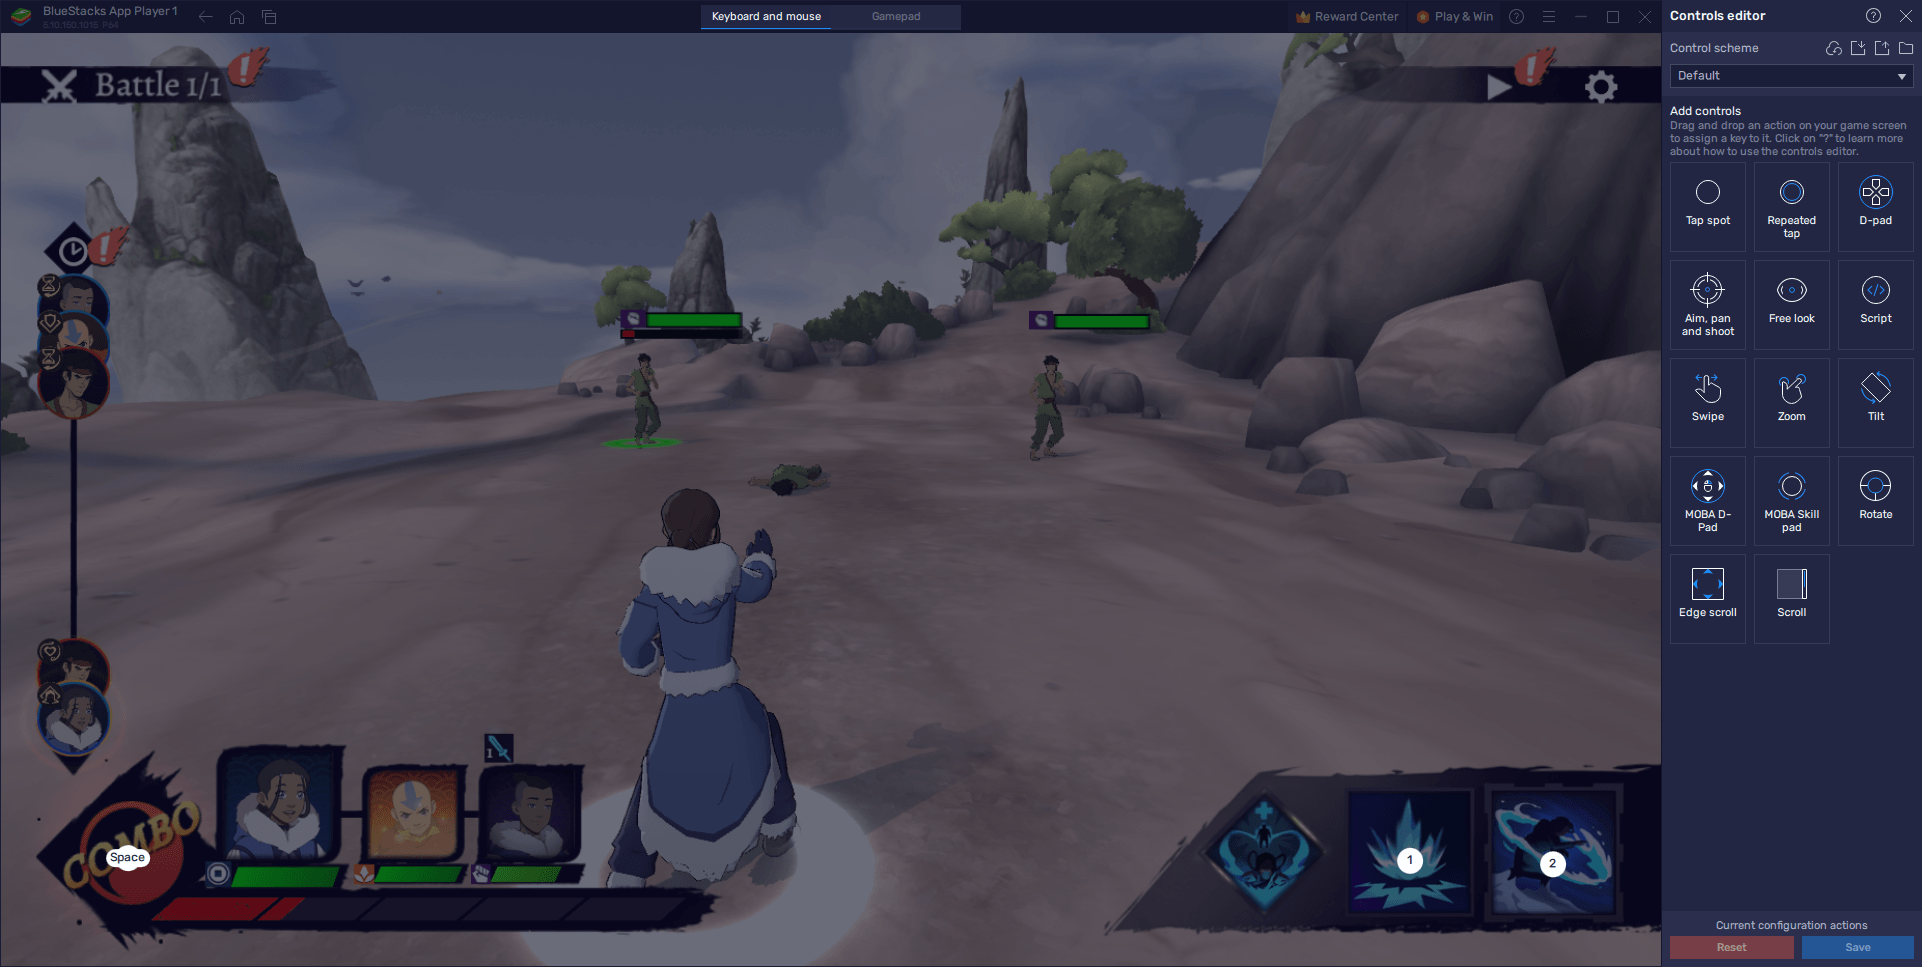
To access the Keymapping Tool, you simply have to press Ctrl + Shift + A while in-game, which will bring up the Advanced Editor screen. On this screen, you can view your current key bindings, modify them by clicking on them, delete them by clicking on the “X” that appears when you hover over them, or even add new functions by dragging and dropping them from the rightmost panel onto wherever you need them on the screen, followed by giving them a binding.
Keep in mind that, while the Keymapping Tool lets you create control schemes for both your keyboard and mouse, as well as for gamepads, you need to first click on the corresponding tab on the upper center of the screen to customize the control scheme of the device of your choice. Regardless, whether you’re a gamepad player or a keyboard and mouse purist, or a hybrid of both, BlueStacks gives you the option of playing with any of your favorite devices.
Reroll on Multiple Accounts Simultaneously With Ease
As a gacha RPG, most of your time in Avatar Generations will probably be spent farming and grinding away for resources to perform pulls which, with luck, will yield some of the best characters in the game. However, more often than not, these pulls will result in sub-par characters that you definitely won’t want to keep in your team, which is why the most committed players opt to reroll in Avatar Generations.
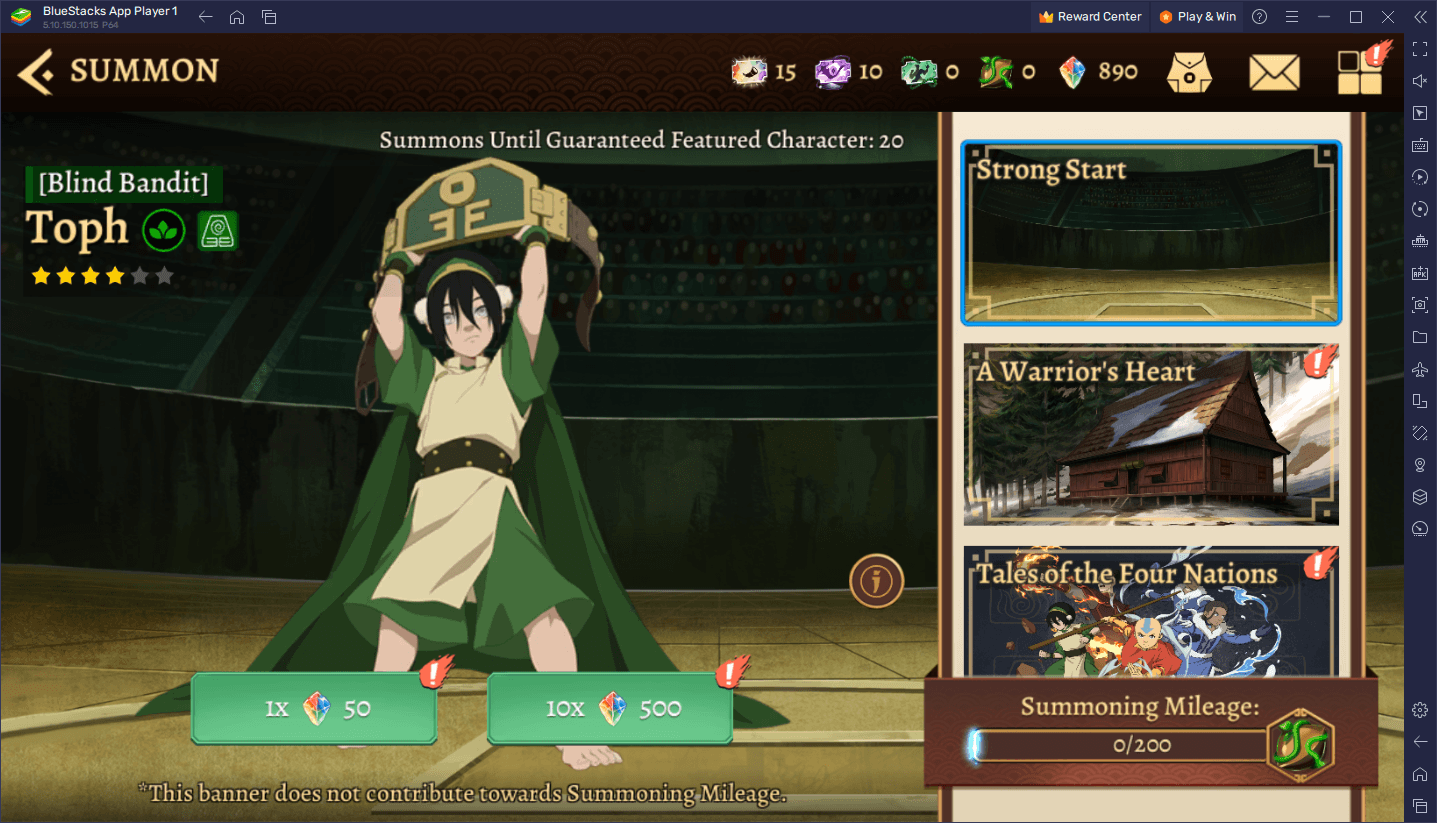
Rerolling is a process in gacha games through which players try to unlock and recruit the best characters of any given game from the very beginning, which in turn will give them a head start on their progression. The exact method varies from game to game, though they all revolve around the same principle: Start a new game and progress until you can perform your first free summonings; use these summonings and check to see if you get the characters that you wanted, and repeat the process until you actually get a few good heroes.
Regardless of the game, rerolling can take a lot of time and attempts, which is why you should play Avatar Generations on PC with BlueStacks. Our Android emulator has the Instance Manager as one of its offerings, through which you can create multiple instances of the app player in order to access the game on multiple accounts at the same time. As such, instead of pulling on one account, you can pull on several of these, which will help to speed up the reroll process.
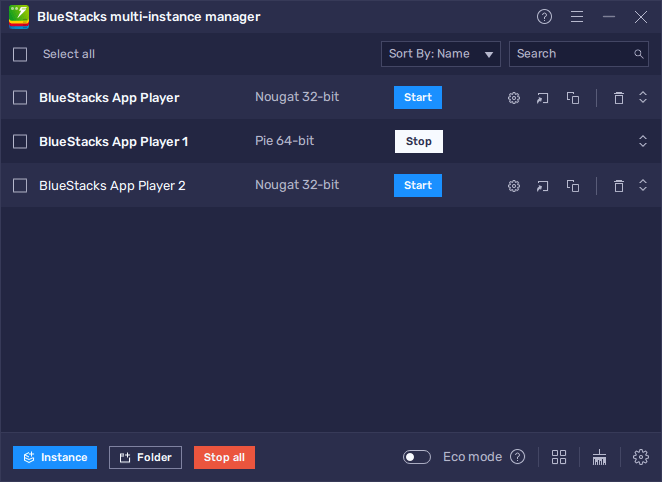
To use the Instance Manager, you can press Ctrl + Shift + 8 to bring up the instance panel. Afterward, click on the “+ Instance” button on the lower left to create as many instances as you need. Once these instances are all up and running, you simply need to download and install Avatar Generations on each, and start rerolling.
With BlueStacks, you can not only enjoy the best gameplay experience with Avatar Generations on PC, but you can find many different tools and features to give you the upper hand. Feel free to leave any questions or doubts in the comments below!


