First Refuge: Z on PC - How to Optimize Your Gameplay with BlueStacks


Strategy conquest games like First Refuge: Z are better when played with the best tools, to help speed up and streamline your progress, with the least amount of effort. That’s why, in this case, we recommend playing First Refuge: Z on PC with BlueStacks, especially since our Android app player not only gives you the best visuals and performance, but also a wide variety of tools that can help to increase your power, speed up your progress, and even to help you become a one-person army.
In this article, we will go over the most important tools that BlueStacks has to offer when playing First Refuge: Z, as well as how to use them properly to get the most out of our Android app player.
Streamline Menu Navigation With Keyboard Shortcuts
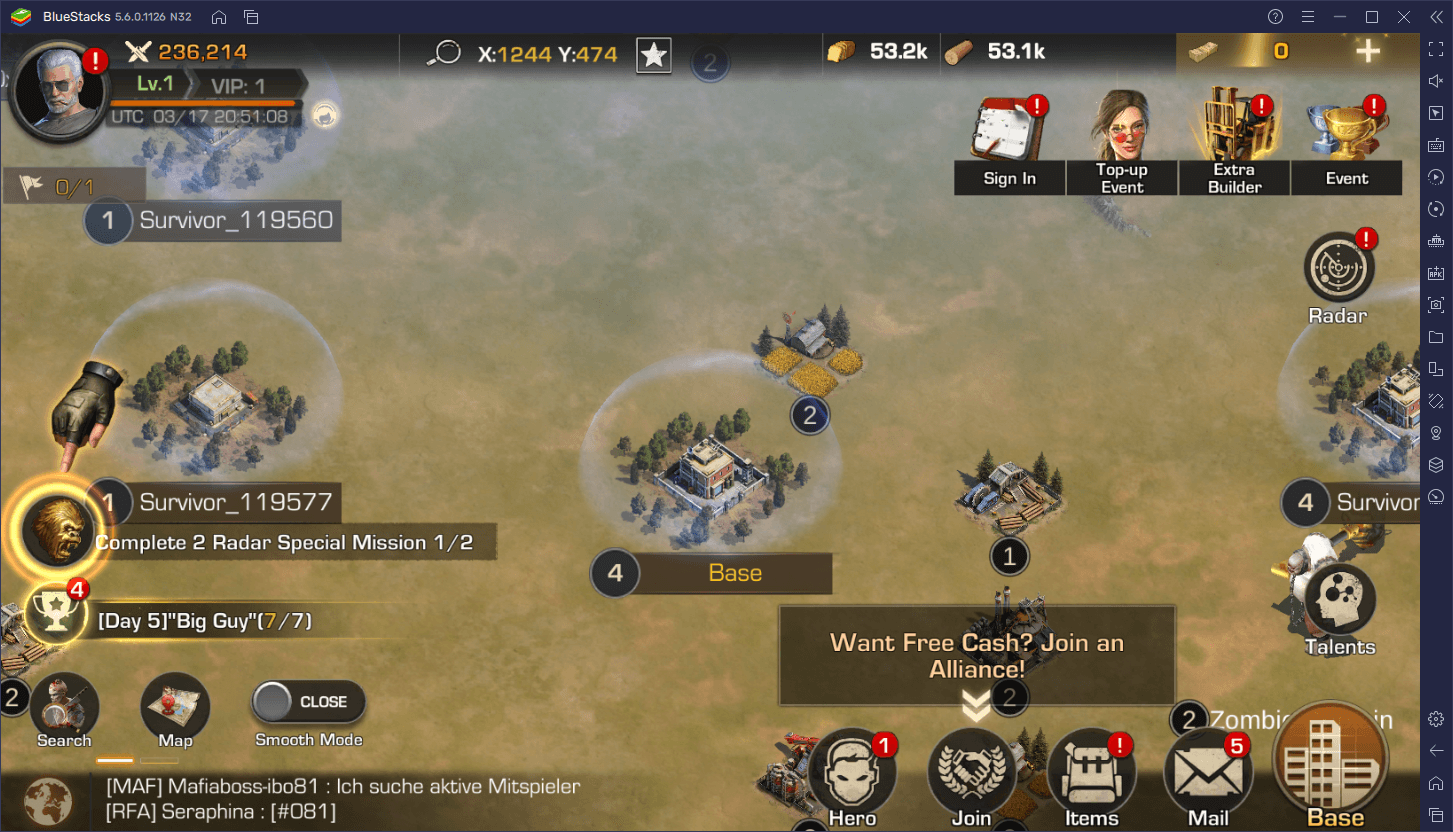
Most of the gameplay in First Refuge: Z takes place via menus. Whether you’re journeying to the world map to collect resources or fight against neutral NPCs, turning in a completed quest to claim rewards, or checking your inventory or alliance info, all of these functions, and many more, take place in the different menus that you can access through the buttons on your UI. And while it can be easy enough to simply click on each button as necessary, you could also streamline this process by adding some shortcuts and using your keyboard to access each of these, as if it were a typical PC RTS.
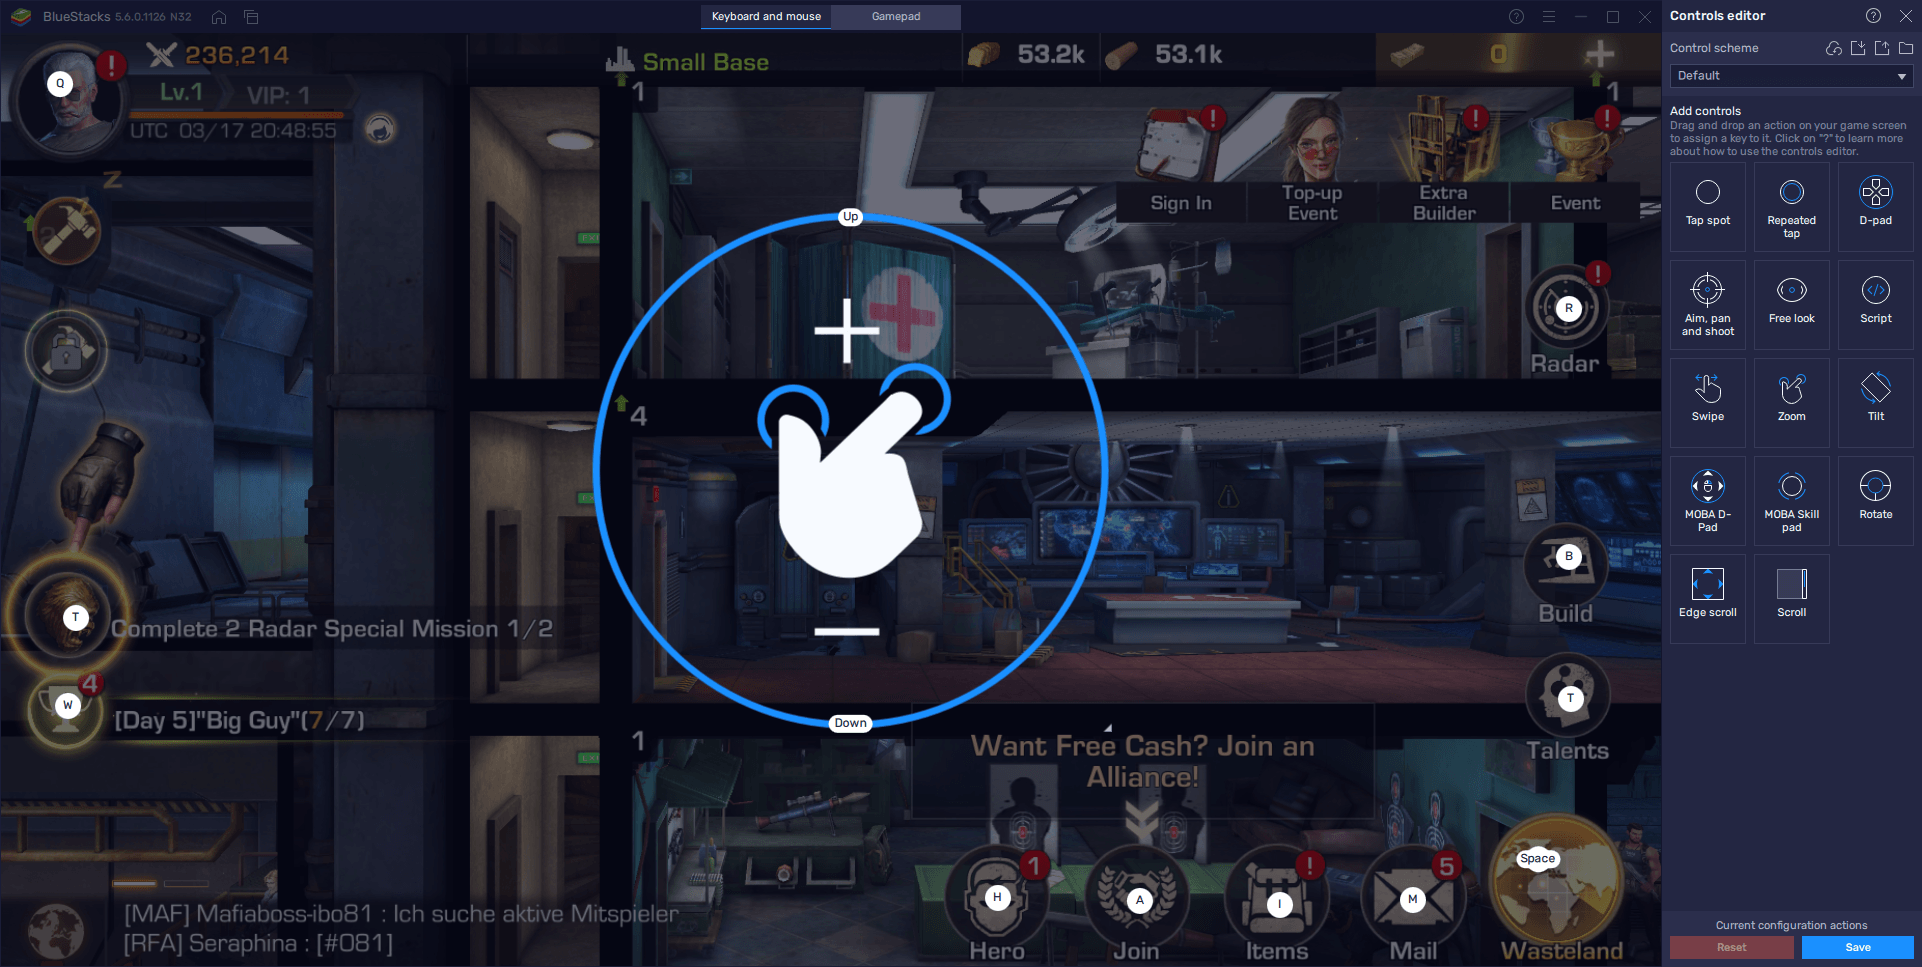
With the Keymapping Tool, you can create intuitive and versatile control schemes for any mobile game. Through this feature, instead of having to click or tap back and forth across your screen, you can assign every single menu to a button on your keyboard, giving you quick and easy access to anything you could ever need in this game.
To access the Keymapping Tool, just press Ctrl + Shift + A while in-game, which will open the Advanced Editor. On this screen, you can view your current bindings, change them, or add new ones by dragging and dropping them from the panel on the right. And once you’re done tweaking these settings, you can save your adjustments by clicking on “Save changes” on the bottom right.
Multiply Your Firepower by Playing on Multiple Accounts
It’s not uncommon, in games like these, for players to game on more than one account at the same time. This is because, while one of these accounts corresponds to their “main” bases, the others can function either as reinforcement accounts, or even farm accounts, allowing the user to bolster their defenses by using the armies in their secondary accounts or to funnel resources from their secondary accounts into their main cities in order to expedite their development.
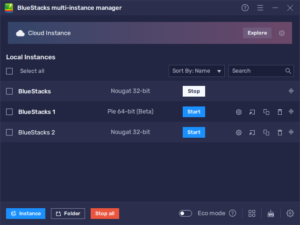
However, to do this on your phone, you’d not only need to create multiple Google accounts, but also swap between them any time you want to check up on your different refuges. For obvious reasons, this can get very tedious, especially if your phone is on the low end of the hardware spectrum. Fortunately, with the Instance Manager, gamers can play on multiple different accounts simultaneously, while keeping all their different games on one screen.
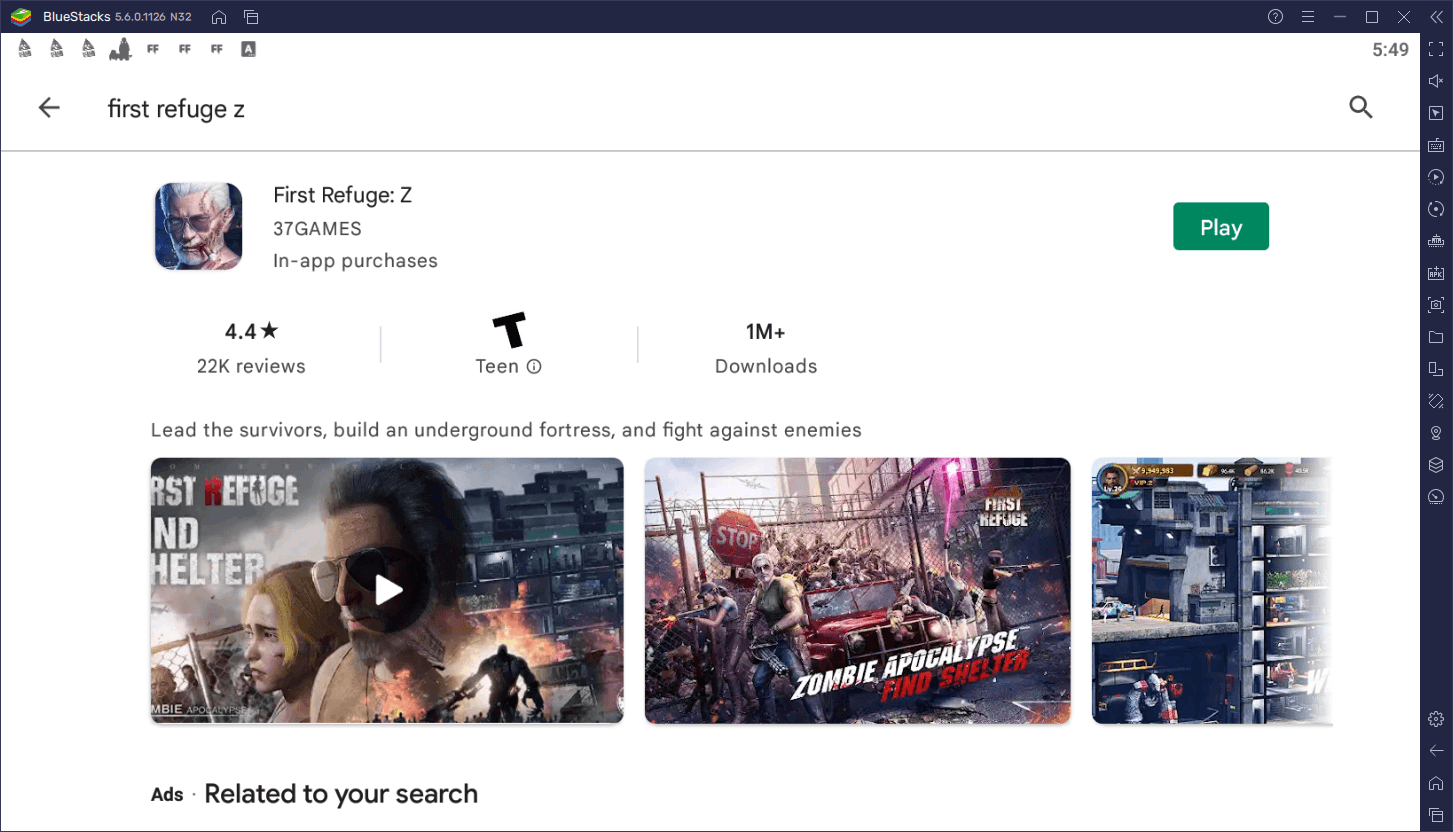
To use the Instance Manager, you can press Ctrl + shift + 8 to bring up its panel. Afterward, you can click on “+ Instance” and follow the instructions on-screen to create as many instances as you want, keeping in mind that, for every new instance, you will need more CPU and RAM to run them at the same time. And once you’ve created all the instances you need, you can run them, and repeat the steps in our PC setup guide for First Refuge: Z (link to the play on PC guide) to install the game on each of these.
If done correctly, you should be set to play First Refuge: Z on multiple accounts at the same time. However, despite all the benefits mentioned above, playing on multiple instances has one important drawback: you’ll need to play on each account individually in order to progress. Luckily, BlueStacks also has the Multi-Instance Sync tool that, when activated, can mirror the actions you perform on one game, across all other active instances. In practice, this will let you progress on all your accounts, without the hassle of going through them one by one.
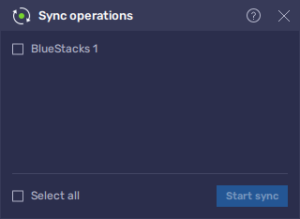
To use the Sync tool, you can simply press Ctrl + Shift + 9. In the panel that appears when you press this shortcut, you can select all the instances that you want to synchronize, and then click on “Start sync” to enable this function. If used correctly, the Sync tool will significantly simplify your progression when playing on multiple accounts at the same time.
Automate Resource Gathering and NPC Battling With Our Macros
One important aspect in games like First Refuge: Z is the world map. Specifically, the world map is home to a wide variety of elements that players can interact with such as neutral NPCs, resource gathering points, and more. In the case of the latter, these are some of the best sources of materials and other valuable items that are necessary for developing your base, which is why you should always try to gather from the world map.
Collecting resources from the map is very simple, though it’s a task that takes time. Furthermore, in order to optimize your resource acquisition, you need to keep constant monitoring of your troops to avoid downtime and always have them collecting resources. This can obviously be quite tedious, especially since it requires constant attention. However, with the Macro Recorder, you can automate this process with the press of a button.
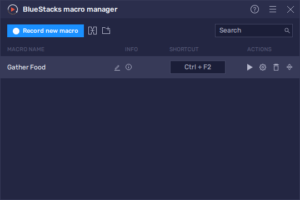
By recording yourself doing simple tasks, you can create macros that, by pressing a button, can repeat your actions, thereby automating certain tasks in this game. You can access the recorder by pressing Ctrl + Shift + 7. Afterward, you can click on “Record new macro” to record yourself performing the task you wish to automate. When you’re done, press the stop button, and give your macro a name and a key. You can also modify the behavior of your macro, such as by making it loop a specific number of times, by clicking on the gear icon beside it on the macro list.
Smart use of these macros can significantly streamline your progression in First Refuge: Z, particularly since they work even when running multiple instances at the same time. In this sense, you can automate gathering resources on all your accounts, simply by pressing a single button.