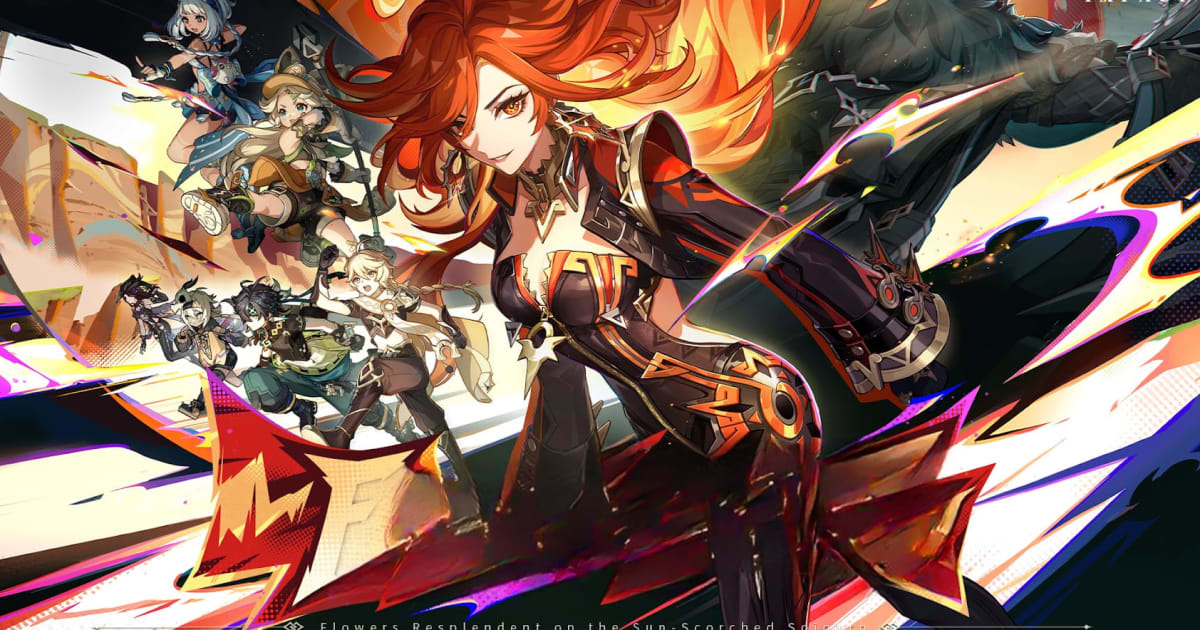
Arlecchino Build Guide – Mastering Genshin Impact’s Pyro Harbinger

Arlecchino is one of the most mechanically unique characters in Genshin Impact. A 5-star Pyro polearm wielder and the Fourth of the Fatui Harbingers, Arlecchino flips the usual healer meta on its head with her Bond of Life mechanic. Instead of traditional healing, she thrives on strategic resource control, rewarding players who can manage her Bond while unleashing high-powered Pyro damage.
This guide offers a complete breakdown of Arlecchino’s playstyle—from understanding her unique mechanics to optimizing her weapons, artifacts, team synergies, and rotation. Whether you’re building her for Spiral Abyss or open-world domination, this will help you bring out her full potential. For a comprehensive introduction to the game, check out our Beginner’s Guide to Genshin Impact!
Understanding the Bond of Life Mechanic
Bond of Life is the centerpiece of Arlecchino’s identity. It replaces a portion of her HP with a red bar that absorbs healing instead of restoring health.
- When Arlecchino has at least 50% Bond of Life, her Normal Attacks become Pyro-infused and receive a significant flat damage bonus.
- Bond is gained by triggering her Elemental Skill and Burst, which apply the Blood-Debt Directive to enemies.
- She cannot be healed normally while under the effect of Bond. Healing is absorbed until the Bond is cleared.
- The Elemental Burst consumes Bond of Life and restores some of her HP, allowing her to reinitiate the cycle.
Mastering this flow—maintaining Bond to deal increased damage while timing her Burst for resets—is key to high-level Arlecchino play.
Talent Priority and Playstyle
Before diving into gear, it’s important to understand how her Talents support her aggressive DPS style.
- Normal Attack – Invitation to a Beheading: Transforms into a high-damage Pyro combo when Bond ≥ 50%.
- Elemental Skill – All Is Ash: Dashes through enemies, marks them, and builds Bond of Life. Also empowers her.
- Elemental Burst – Balemoon Rising: Deals AoE Pyro damage, removes Bond of Life, and heals based on damage dealt.
- Passive Talent – Strengthened Resolve: Boosts Arlecchino’s Pyro DMG based on her active Bond.
Rotation Strategy
- Use Skill to dash and apply directives (generating Bond).
- Use Burst to clear Bond and trigger healing.
- Spam empowered Normal Attacks while maintaining Bond >50%.
- Repeat the Skill-Burst-Normal loop.

Best Weapons for Arlecchino
Choosing the right weapon can drastically improve her output, particularly those that synergize with her Bond of Life mechanic.
- Crimson Moon’s Semblance (5★) – Her signature polearm, tailored to maximize her Bond and Pyro damage.
- Staff of Homa (5★) – Boosts CRIT DMG and ATK scaling with low HP; great synergy with her Bond mechanic.
- Deathmatch (4★) – Offers CRIT Rate and ATK%, a solid option if you’re lacking 5-star weapons.
- Blackcliff Pole (4★) – High CRIT DMG and stacks for enemies defeated. Works in long fights.
- Favonius Lance (4★) – Not recommended unless Energy Recharge is a major concern in your team.
Focus on weapons that provide CRIT Rate, CRIT DMG, or HP% scaling bonuses.
Best Artifact Sets and Stat Priority
Artifact choice will determine how explosive Arlecchino’s output is during her empowered states.
Recommended Sets:
- Fragment of Harmonic Whimsy (4-piece) – Grants increasing ATK bonuses based on Bond gain. Best-in-slot for consistent performance.
- 2-piece Pyro DMG + 2-piece ATK% – Good fallback if you lack full Whimsy set pieces.
Main Stats:
- Sands: ATK%
- Goblet: Pyro DMG Bonus
- Circlet: CRIT Rate or CRIT DMG (depending on weapon and substats)
Substats Priority:
- CRIT DMG > CRIT Rate > ATK% > HP% > Energy Recharge

Best Team Compositions
Since Arlecchino can’t be healed normally, shielders and buffers are essential. Here’s how to build teams around her:
Pyro Resonance Team
- Arlecchino | Bennett | Zhongli | Xiangling
- Pyro Resonance for ATK%, Bennett’s Burst for buffs (healing doesn’t matter), and Zhongli’s shield ensures survivability.
Hydro Support Variant
- Arlecchino | Yelan | Furina | Zhongli
- Furina increases Bond and buffs, while Yelan adds consistent off-field damage. Zhongli ensures safety.
Shield-Buff Hybrid
- Arlecchino | Layla | Kazuha | Bennett
- Layla offers strong shields, Kazuha buffs Pyro damage, and Bennett provides a Pyro battery and flat ATK.
Always prioritize shields over healers unless the healer’s passive works through Burst-based healing.

Advanced Tips and Tricks
- Keep Bond > 50% to maintain empowered Normal Attacks.
- Time your Elemental Burst to consume Bond and start a new rotation.
- Never rely on traditional healing—only Burst-based or passive cleansing works.
- Avoid overusing Arlecchino’s Skill without enemies to mark, as it won’t generate Bond efficiently.
- Practice weaving between Skill and Normal Attacks to maintain uptime and DPS pressure.
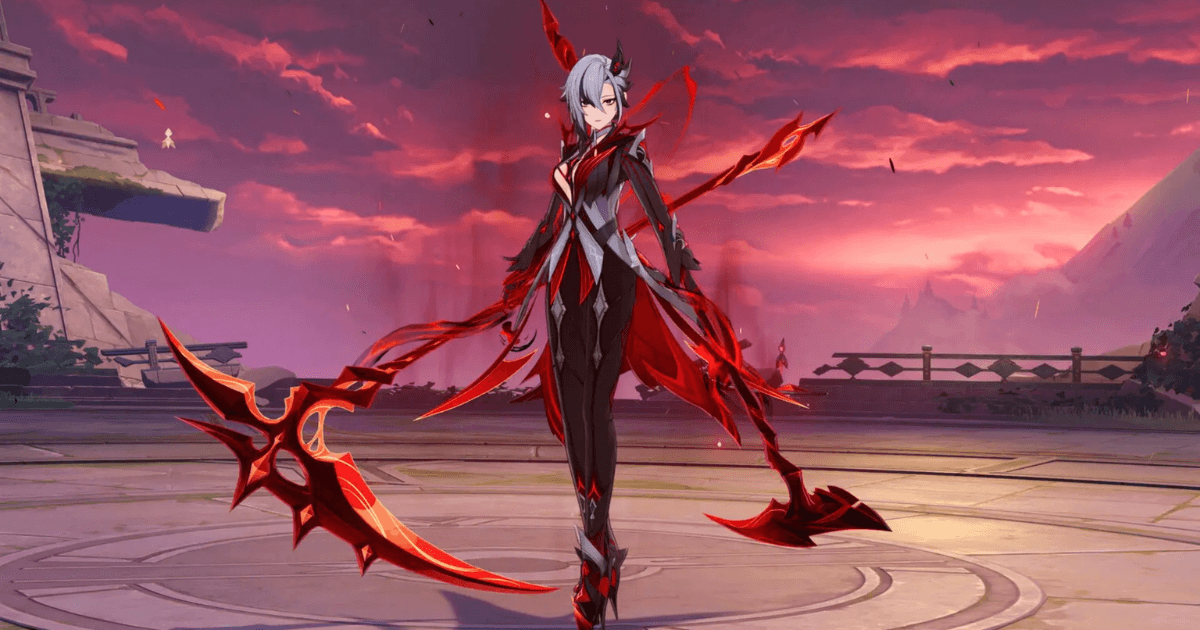
Arlecchino is a powerful on-field Pyro DPS who thrives in aggressive playstyles. Her Bond of Life mechanic allows her to convert risk into damage, making her one of the most unique characters in Genshin Impact. With proper timing and team support, she can stay empowered and deal high single-target damage consistently.
She works best with units that provide healing and energy, letting her focus on offense. If you’re looking for a stylish, high-impact DPS who rewards skillful play, Arlecchino is a strong choice and a worthy investment. With her ability to burst down tough enemies and shine in hypercarry teams, she stands out in the current meta. Players who enjoy fast-paced combat and bold risk-reward mechanics will find her both challenging and deeply satisfying to master. For the best gaming experience, play Genshin Impact on BlueStacks!