Lineage 2 Revolution Dungeon Guide


Like most MMOs, dungeons are a big component of Lineage 2: Revolution. There are currently 8 different types of dungeons that can be played in Lineage 2: Revolution, and we’ll explain them all in detail below.
Most dungeons are short and are designed to be repeated regularly to gain different rewards. Some are more challenging, offering players the chance to work harder for higher value rewards.
Lineage 2: Revolution Dungeons – How To Access Them
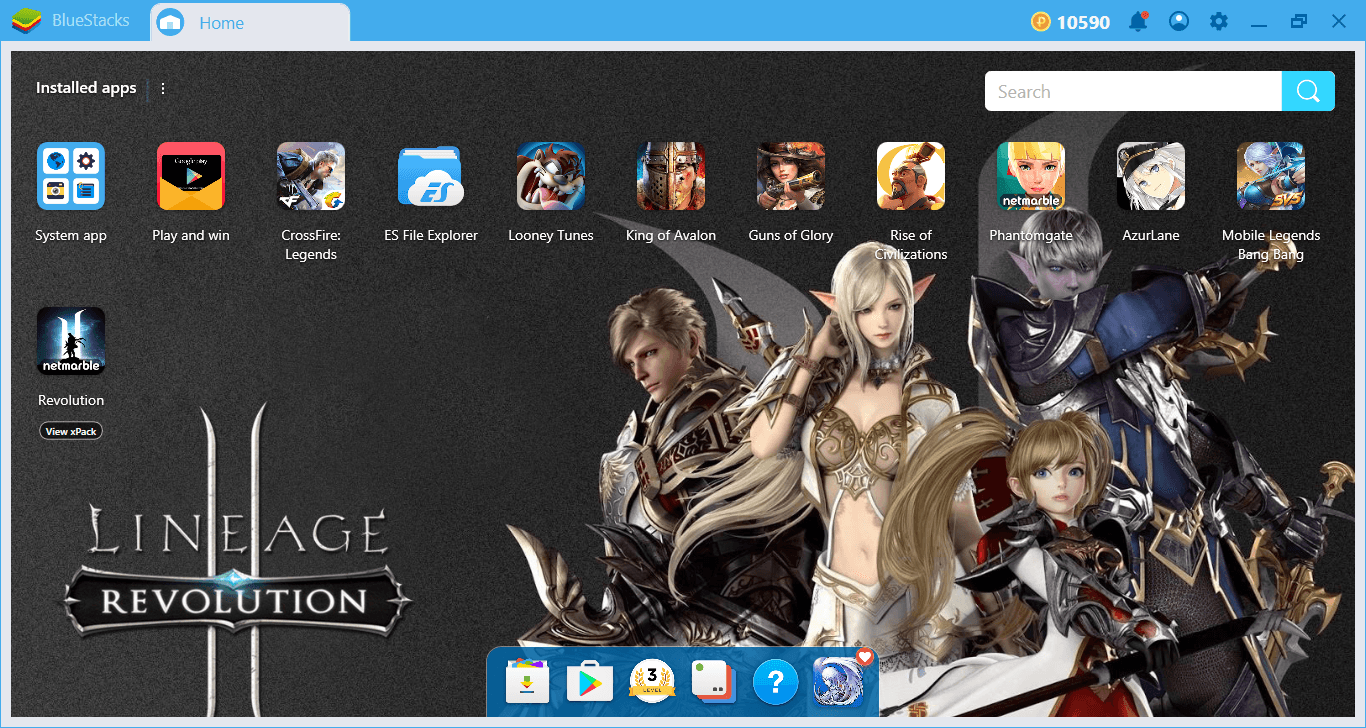
Whilst all dungeons have a physical location on the world map, the easiest method to access dungeons in Lineage 2: Revolution is to select the menu button and then click the dungeons button.
You’ll now have access to the menu that showcases the different dungeon types. You can then tap on each dungeon type to access dungeons.
More dungeon types will be unlocked as you level up and progress through the main questline.
Lineage 2: Revolution 2 Daily Dungeons Guide
Daily dungeons are fairly straightforward – they’re small fights that only last a couple of minutes at the most.
Even though these are the first dungeons to unlock, they’re the most repeated. This is because they reward upgrade stones and enhance scrolls for upgrading your weapons and gear. Every single day, you get one free access ticket to enter the daily dungeon.
When you tap on the daily dungeon, you’re able to select your difficulty level. Different difficulties are designed for different CP levels. You’ll get 1 item reward for Easy mode, 2 for Normal, 3 for Hard, and 4 for very Hard.
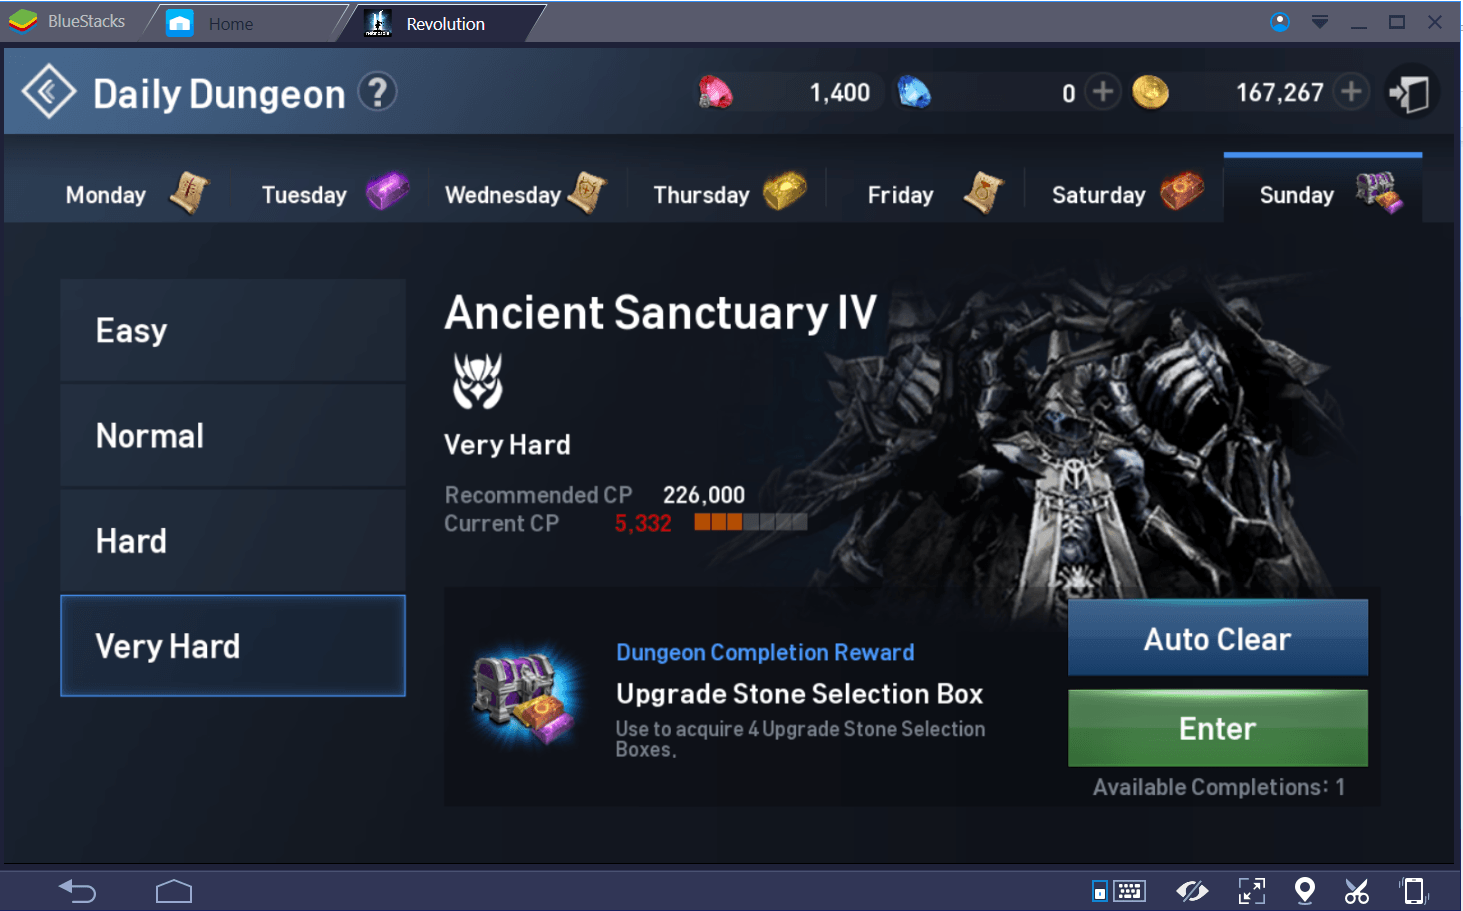
The monsters and rewards in Daily Dungeons change each day, but you can often get Upgrade Stones or Enhancement Scrolls for completing them. Once you get a higher CP score, you can come back to complete more challenging Daily Dungeons to get even better rewards.
To effectively win Hard and Very Hard daily dungeons, you’ll need to get a higher CP score – roughly around 125,000 to 250,000. If your CP is too low, don’t worry, you can still complete the easier Daily dungeons instead.
It should be noted that you should try to get a high enough CP to complete the hard dungeons as quickly as possible. Like mentioned before, you get more rewards for the harder level dungeons.
Tower of Insolence Dungeon Guide
The Tower of Insolence dungeons are unlocked after completing quest 1-9; Unbelievable Incident.
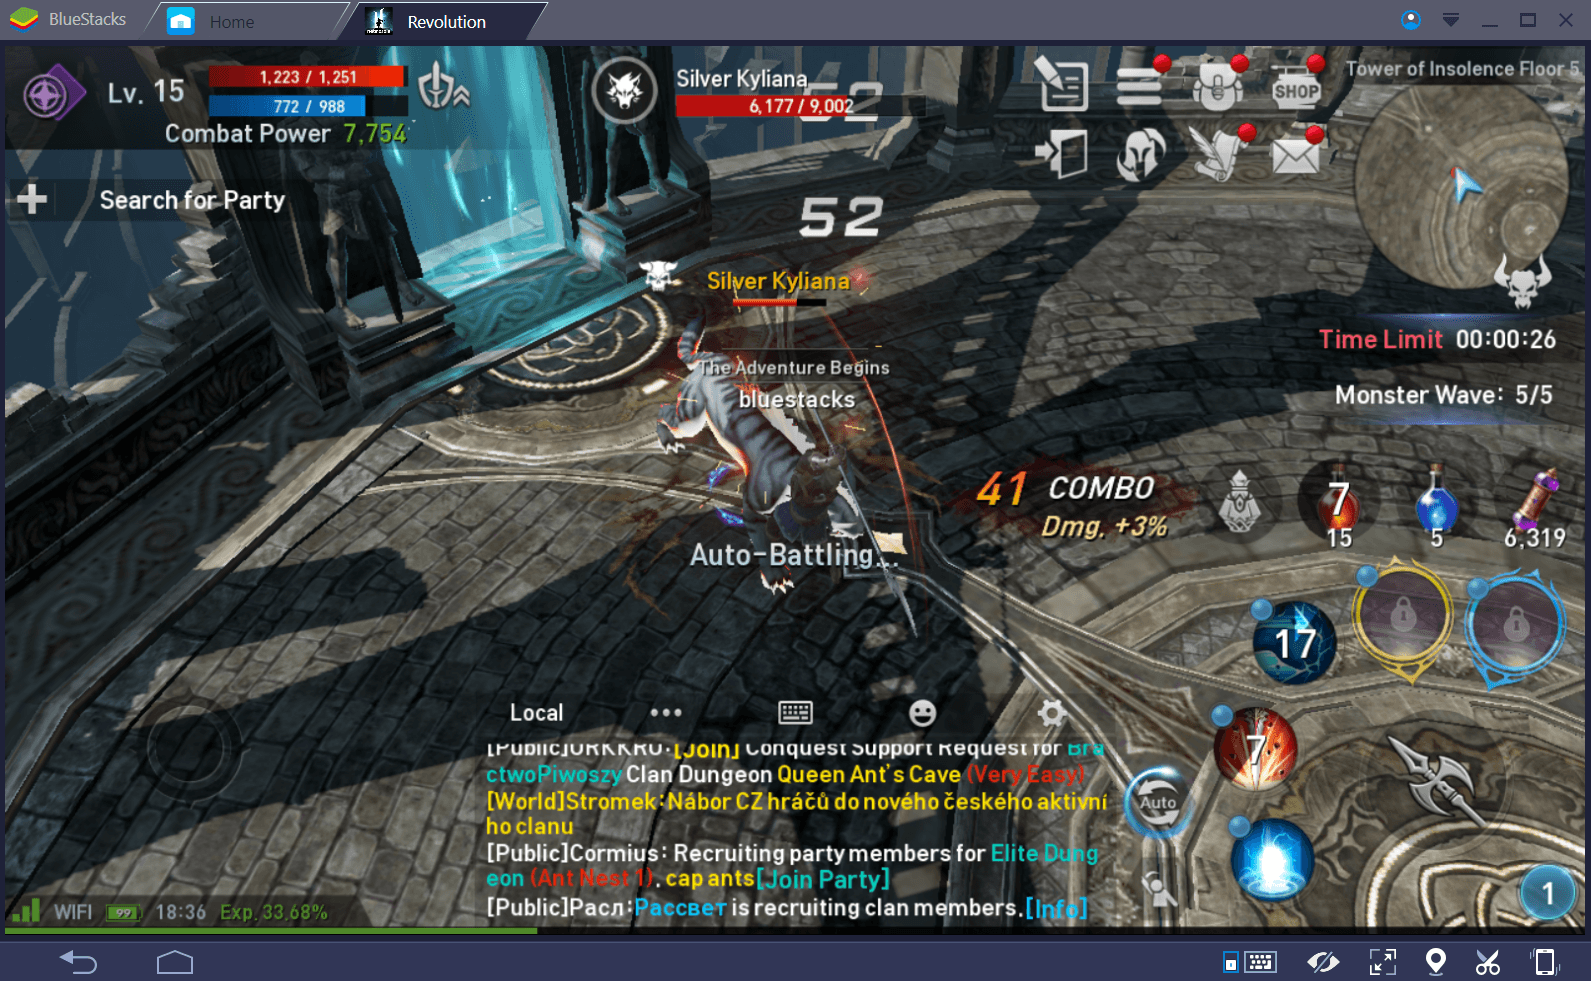
The Tower of Insolence is a multi-floored dungeon that rewards players for fighting through more floors. In total, there are 60 floors.
The first few floors are easy, but they quickly become more difficult. You are given a time limit to kill 5 waves of enemies and a Boss. Once you finish a floor, you can collect rewards and go straight to the next floor.
If you notice that things are getting difficult, stop and then try to upgrade your CP – you can use the forge to power up your weapons or upgrade your skills.
You’re only given 3 attempts to enter the Tower of Insolence each day, so make sure you make the most out of them. If you really struggle, you can also party up with friends or use the party button on the left side of the screen to find players to fight alongside.
If you do not have friends to party with, do not worry! You can do so alone, by using Bluestacks Multi-instance. Find out more about the feature in the previous Bluestacks Guide for Lineage 2: Revolution (Refer to Point 4: Bluestacks Multi-instance).
One great strategy for the Tower of Insolence is to only use one of your abilities for each wave. By the time the next wave comes, your first ability will have regenerated. This allows you to split up your damage output and not be left with a wave without any abilities ready to go.
The suggested CP score for each floor is only a guideline, but you’ll struggle far harder if you fight floors that are higher than your current CP score.
Once you run out of time or die, you’ll lose one of your three attempts for that day. Next time, make sure to tap the ‘auto-complete’ button to be automatically taken to the floor you last got to.
If you don’t have time to play the Tower of Insolence, you can still use the auto-complete feature each day to collect XP and item rewards.
Lineage 2: Revolution Elite Dungeon Guide
After completing quest 2-4, players are given their first access to Elite Dungeons in Lineage 2: Revolution.

These dungeons contain elite versions of standard monsters that are usually seen in the open world. The elite versions have higher stats and increased loot drops.
You can revisit Elite Dungeons as many times as you’d like, but you’ll get 30 minutes of HOT time each day, during which elite monsters have 4x item drop rate and you get 8x experience gain.
Elite Dungeons are some of the most challenging dungeons in Lineage 2: Revolution. It’s highly suggested that you find a party that you can work with and effectively communicate with.
The Elite enemies take a lot of teamwork to take down – if you’re not working in coordination or stop paying attention, you’ll die in the blink of an eye.
It doesn’t necessarily matter if you die in an Elite Dungeon, but doing so during your HOT time will waste important time that could be spent getting more experience points and items.
When you party up, whether with strangers or with friends, follow these tips below to have a better chance of surviving in Elite Dungeons:
- Focus on enemies. Make sure you’re all targeting the same monsters.
- Get a healer. Every party needs a healer. You’ll struggle without one.
- Get a tank. Having a player with high survivability will help to keep the whole party in fights for longer.
- Work with the DPS classes. DPS and AOE classes will be doing all of the damage in Elite Dungeons, but they’ll have no luck without support from the tanks and healers.
Again, if you are not able to join a party, do not worry. You can create your own, by using Bluestacks Multi-instance. Find out more about the feature in the previous Bluestacks Guide for Lineage 2: Revolution (Refer to Point 4: Bluestacks Multi-instance).
Lineage 2: Revolution 2 Extraction Pit Guide
After completing quest 3-10 and reaching level 24, the Extraction Pit dungeons will be available for players.
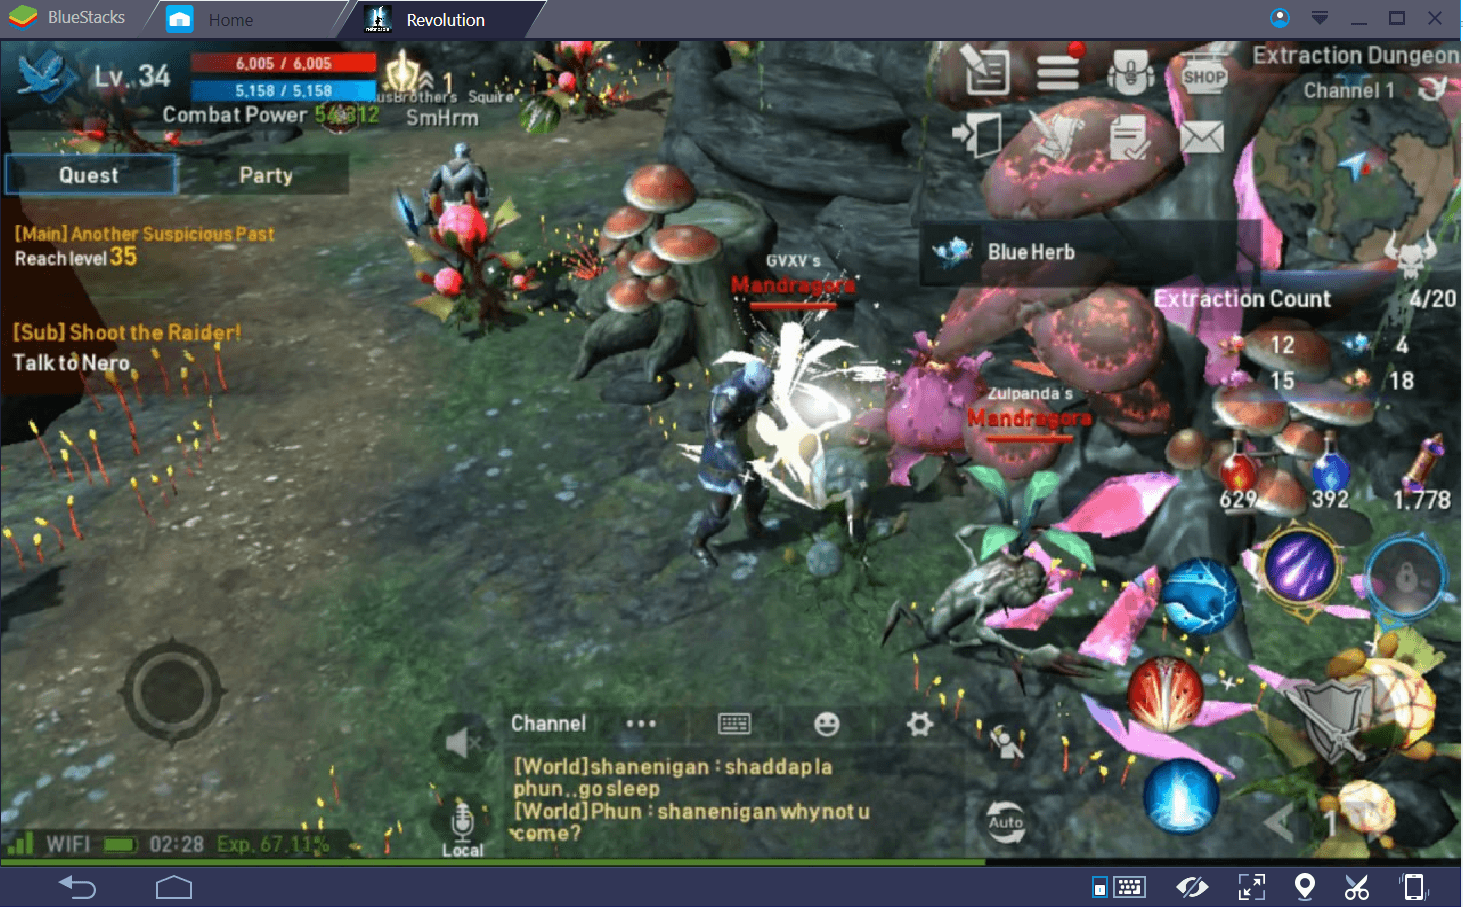
The Extraction Pit is different to other dungeons. It puts a focus on allowing players to extract herbs instead of fighting monsters. You are able to extract up to 20 plants for each of the 4 different colors each day. These plants are useful for creating potions.
Because of the rampant player killing that goes on in the Extraction Pit, it’s best to make your way through and collect as many of the plants as you can and then leave.
There aren’t any penalties if you die, but it can be frustrating trying to collect certain colored plants when players are camping some of the plant re-spawn points. Here are a few tips you can keep in mind:
- Find spots that aren’t contested.
- If you find an uncontested spot, you can wait until it respawns to collect it again.
- Don’t get frustrated if you can’t get all plants of all colors – you’ll have another chance the next day and may have better luck in an instance where players aren’t camping the color you need.
Lineage 2: Temple Guardian Dungeon Guide
Temple Guardian Dungeons unlock after completing quest 3-3.
In Temple Guardian Dungeons, players can work together to unlock powerful gear. The level of gear that can be unlocked depends on the difficulty level that was set for the dungeon.
Players can enter 2 times per day for free, but these dungeons require you to be in a group of at least 2 to enter.
To unlock the powerful gear, players must defend a Holy Artifact against waves of enemies until the time runs out. If you defeat more waves than the average player, you’ll be given additional rewards.
We’d suggest finding a bigger party to play Temple Guardian dungeons. You don’t necessarily need an organized team like you do with the Elite Dungeons, but a larger team will make dealing with the waves easier.
Keep in mind a couple tips for this dungeon:
- Don’t spam all of your abilities.
- Spread your ability usage out so that you have abilities available for the next incoming wave.
- Try to find a party with a healer.
Adena Vault Dungeon Guide
Adena Vault Dungeons offer players another method to earn Adena. The Adena Vault is unlocked after completing the 4-7 main quest.
The Adena Vault will place you up against a tough Boss with a very high health bar. There aren’t any level restrictions, but players are rewarded Adena based on how much HP the boss has left once the player dies. The less HP the boss has, the more Adena they’ll get.
Players can also get more Adena by opening Adena chests that spawn at the sides of the Adena Vault map. Players cannot purchase any items to revisit the Adena Vault Dungeons, so once they’ve used up their daily Adena Vault ticket, they’ll have to wait until the next day.
There isn’t any major strategy for the Adena Vault – it’s fairly easy to just hop in, collect the chests at the side and then auto-farm the boss until one of you dies.
Trials Of Experience Dungeons
Trials of Experience Dungeons are unlocked after completing quest 5-1 and reaching level 38.
As the name suggests, Trials of Experience Dungeons offer players a method to earn increased EXP for a short period of time.
You are essentially given the option to choose the easy, normal, or hard mode when entering this dungeon. The difficulty changes the recommended CP and the experience reward for completing it.
Defeating more monsters in the Trials of Experience dungeons will reward you with even more exp on top of the base reward for completing the dungeon.
There’s no real strategy for Trials of Experience – you just need to auto-battle until the time runs out.
Many players have found that the experience rewarded from these dungeons isn’t that impressive, and often leave these dungeons and focus on other tasks first.
Summoning Circle Dungeon Guide
After reaching level 50 and completing the 6-6 main quest, you’ll unlock Summoning Circle Dungeons. Completing Summoning Circle Dungeons can be a great way to get more Summoning Stones.
In these dungeons, you must fight through enemies to undo the seal on a Holy Artifact to complete the dungeon.
You’ll need to protect an NPC (Non Playing Character) as he undoes the seal, but this is fairly easy if you’re in a large team. Besides having a large team, there aren’t really many other tips to follow for completing these dungeons. It’s fairly straightforward – you just need a lot of damage output from your team to kill the monsters before they do damage to the NPC.
Again, if you are not able to join a team, do not worry. You can create your own, by using Bluestacks Multi-instance. Find out more about the feature in the previous Bluestacks Guide for Lineage 2: Revolution (Refer to Point 4: Bluestacks Multi-instance).
Summary
Thanks for reading our Lineage 2: Revolution Dungeons guide. It should be mentioned that some (not all!) dungeons can be repeated more frequently if players spend diamonds to reset their dungeon cool-down timer. We’ve mentioned above if dungeons can’t be repeated by spending money in Lineage 2: Revolution.
If you only have limited time to play Lineage 2: Revolution each day, we’d recommend completing all of the dungeons each day first.
If you have money to spend, the best dungeons to reset are the equipment dungeons.