Standoff 2 Team Role Guide: It's a Roll Call for Your Squad
This Standoff 2 guide is going over the different roles in the game. While there aren’t designated roles like in League of Legends, everyone on your team has a specific job to do, to make your team actually be effective. So the roles you will be learning about are Entry fragger, 2nd man, Lurker/Flanker, support, In-Game Leader, and the AWM-er. Without any of these roles being filled, you’ll notice games being much more difficult than they need to be.
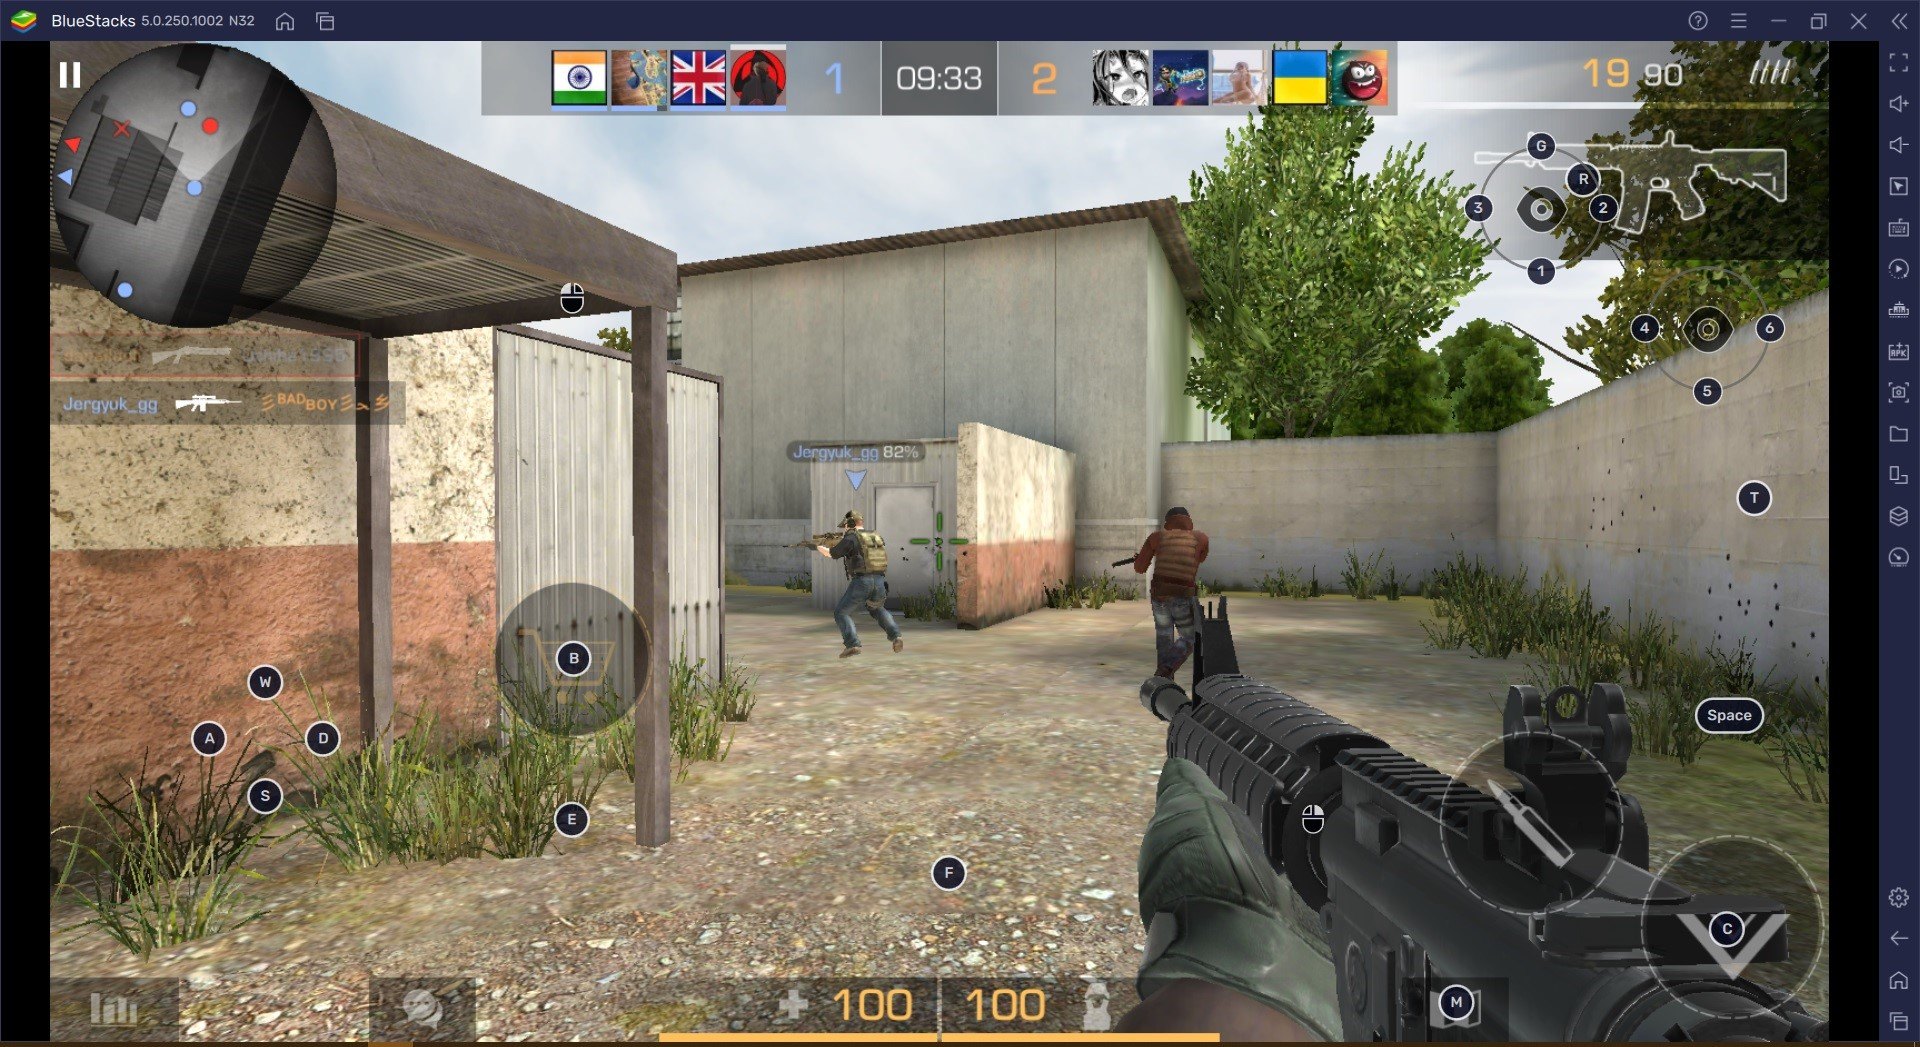
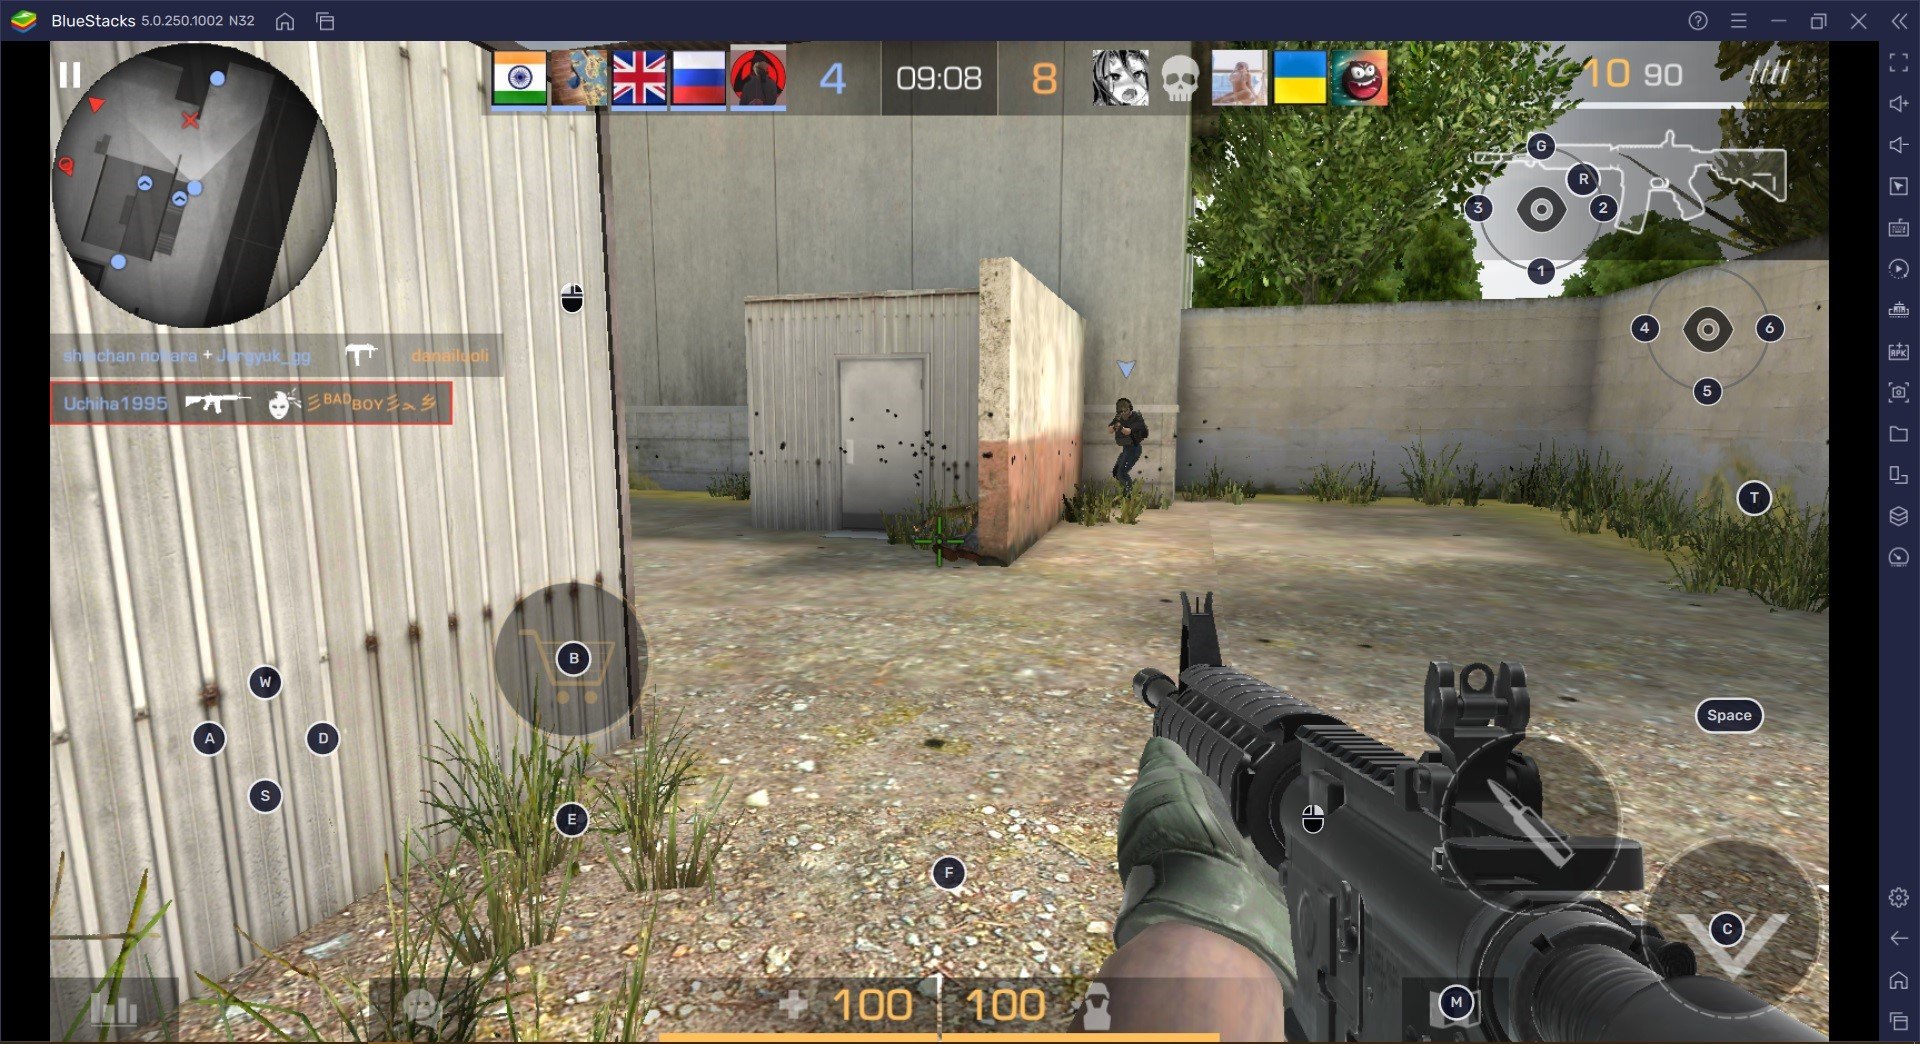
Entry Fragger
First and foremost you have the Entry Fragger. This is the player that wins rounds for your team just by running in first and letting their team follow them in and open up the site. The Entry Fragger should be the first player making contact with the enemy, but most importantly, they should not be alone. As the Entry Fragger, your job is to make sure that your team is in a position to follow your entry. The most important thing for the Entry Fragger to have is confidence. A hesitant Entry Fragger routinely throws rounds that are easily winnable. It also doesn’t hurt to have a quick, accurate aim because as the Entry Fragger your job is to peek and clear the most common positions. This is because you’re running into a completely uncleared site or area.
So you have to be ready for the most common areas the enemy is going to be coming from. You won’t always have a clear-cut Entry Fragger on the team. The most important part of Entry Fragging is the player on the team is actually doing it. The entry fragger’s job is to run in and die for the team allowing the team to get the kill. Without an Entry Fragger, you’ll see teams sit and wait just before they run into the site. That’s because no one wants to step up and die. This allows the entire enemy team to rotate. By the time someone steps up, the entire team runs into a stacked site to their death. So all things considered, there should be one entry fragger on a team. If your team doesn’t have one, step up and do it for them.
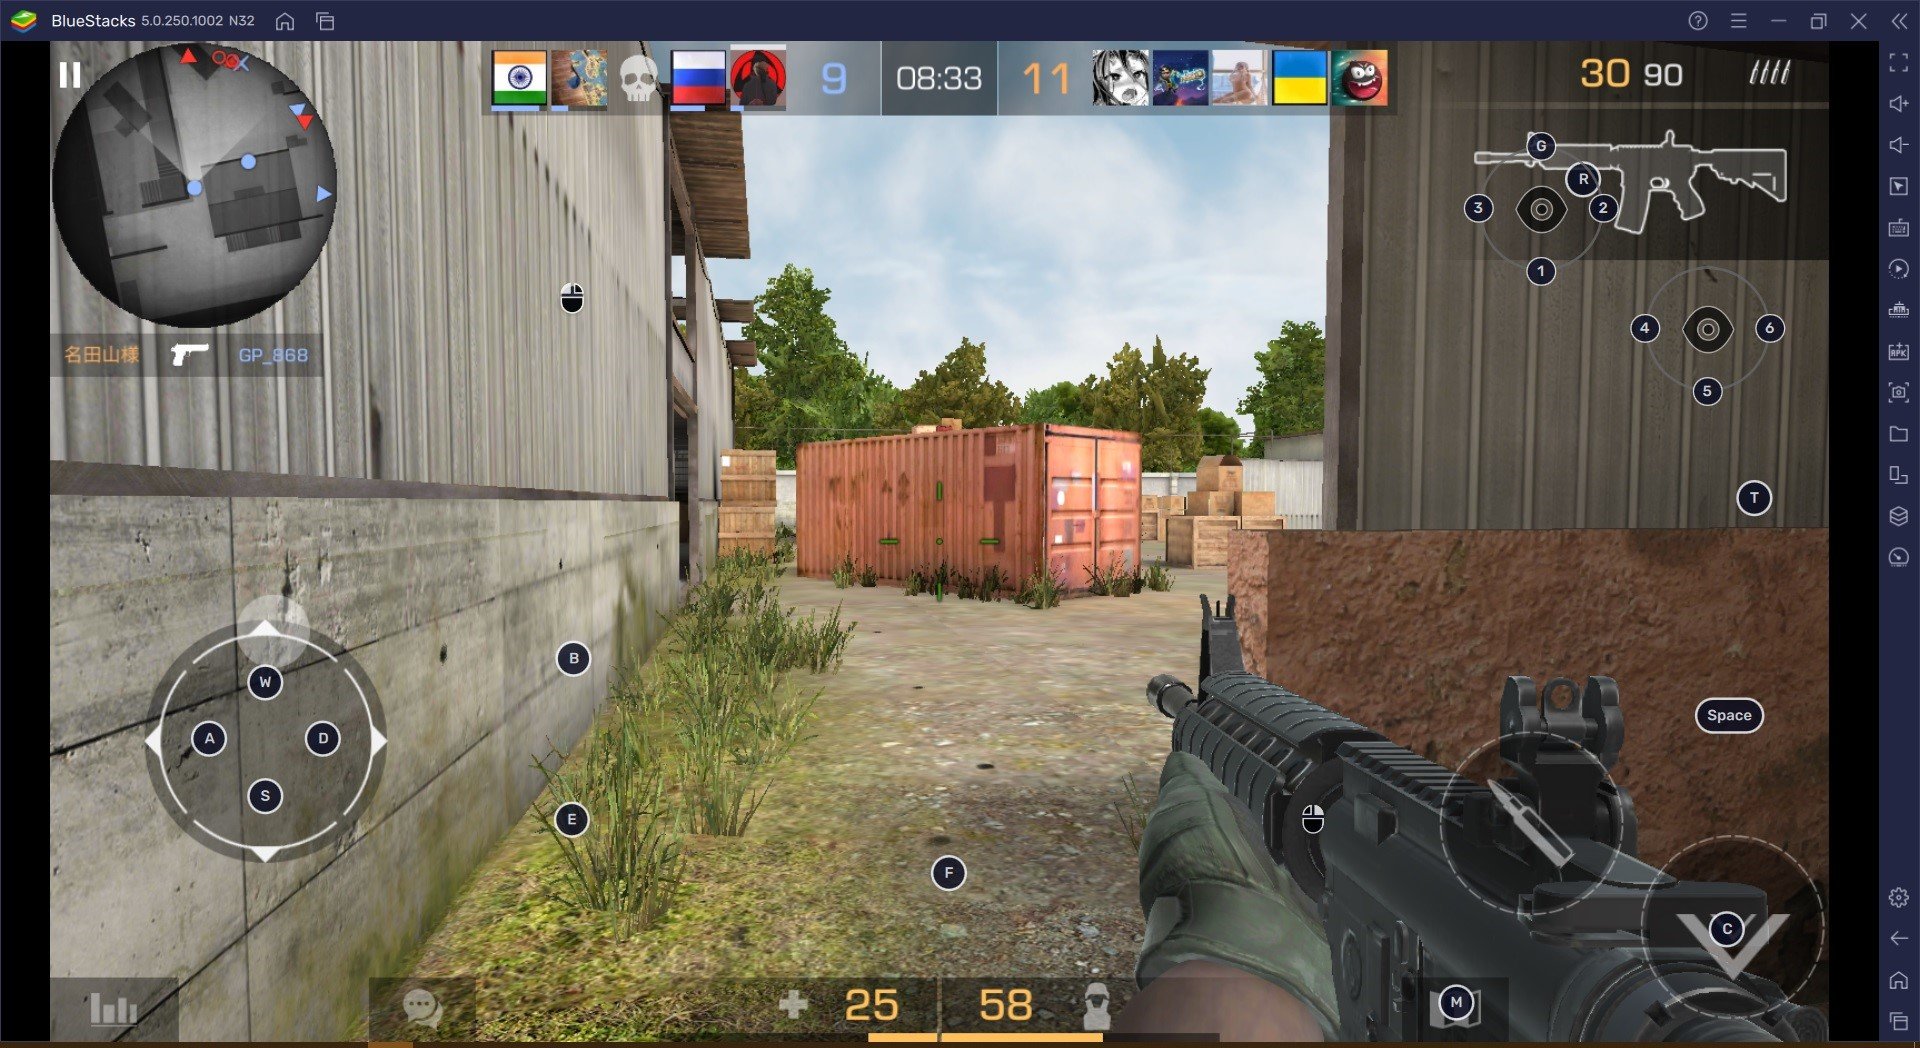
2nd Man
Next, you have the support, otherwise known as the 2nd man. As the 2nd man you have a very simple job, support your entry fragger. While this is a simple job, it often gets more complicated. That’s because you and your entry fragger should be essentially attached at the hip, ready to trade kills as soon as the entry finds an engagement. While you should be ready to help the entry fragger when they find a fight. You also need to be clearing all the off angles and unexpected spots because your entry is clearing the common areas. The thought of trusting a random entry fragger to clear the common areas makes many of solo queuers cringe.
This is a 5-man game, and relying on your team to do their job is necessary to win. The three major rules to live by as the 2nd man are to clear the angles your entry fragger doesn’t. Trade the kills whenever they die and never cross paths with your entry fragger until you’re safely on site. The moment you step in front of them, you become the entry fragger. Without incredible synergy, swapping roles mid-push is very difficult. More importantly than WHO is being the 2nd man, is that someone is being the 2nd man. The only thing worse than not having an entry fragger, is having an entry fragger that runs in and dies without having anyone there to trade the kill for him.
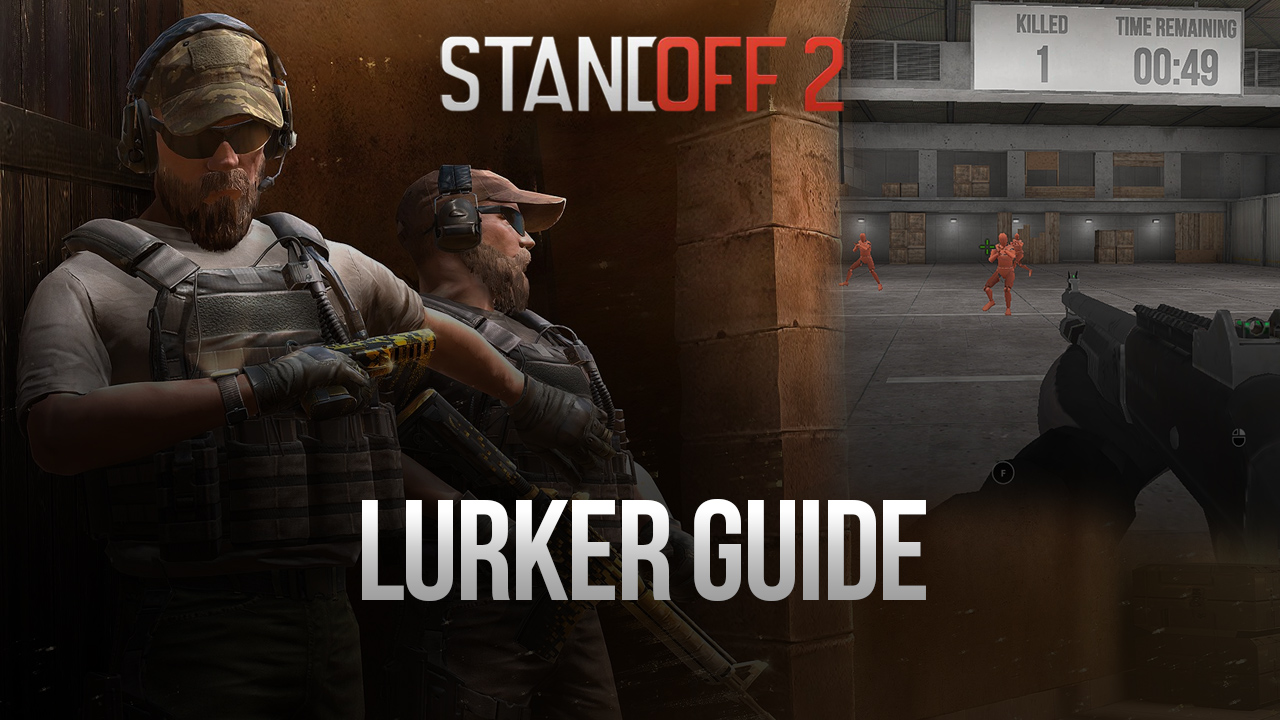
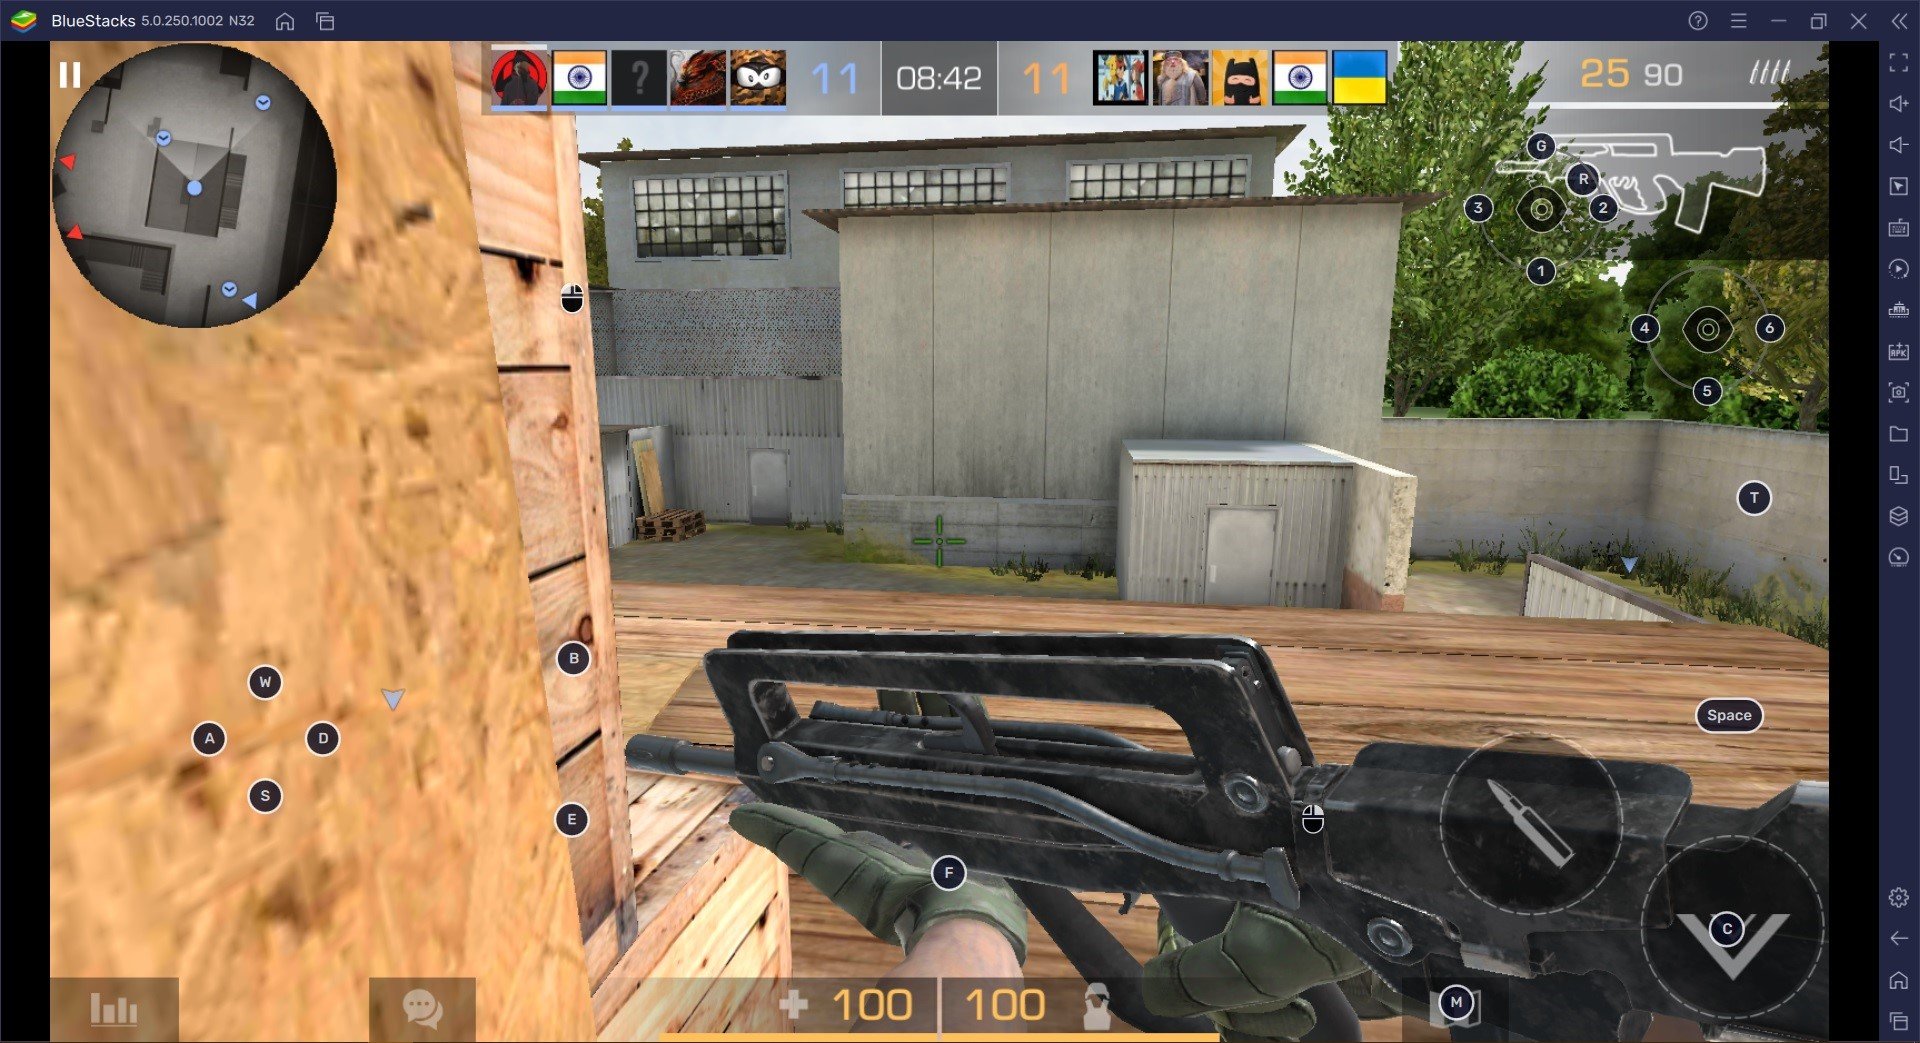
Lurker
Next up we have the Lurker or the Flanker, which is arguably the most important role on the entire team. This role is the player that is maneuvering around sneakily looking for picks and or weak points in the enemy’s set-up. The reason this role is so important is that your pushes aren’t always going to work on the first try, and enemies rotate extremely aggressively. Your job is to find the backup plan for your team, and cut off the enemy’s backup plans. The role looks a bit different depending on whether you’re attacking or defending. As an attacker, you play more of a lurk position. Meaning you’re separating from your team, pushing up very slowly, clearing every angle, taking control, and listening for rotations.
The most important thing to remember when lurking as an attacker is to not let the enemy know you’re there. Then make sure not to die, and wait until your team is pressuring to then pressure yourself. With you in position, your team doesn’t have to worry about the flank as much because the enemies aren’t pushing past you. With you in position, you can often hear the enemy’s rotation, which is when you push further and take control of the area. Successfully pulling this off allows for some incredible flanks on unsuspecting enemies. Sometimes even a free site that you’re waiting on the enemies to rotate back to once you tell your team to rotate. On the defenders’ side, your job is to punish the attackers for not watching the flank.
The flanker takes the long path around, getting behind the enemy’s set-up, and slowing down their pushes. The most important thing when flanking is to wait for the enemy team to show or pressure something. Without the enemy team focusing on something, your odds of dying randomly to a lurker are way higher. Even if you flank and die while the enemies are pressuring, you’re slowing down a push, and setting a precedent. Now your enemies have to be watching their flanks, taking away some of their manpower for future pushes.
In-Game Leader
Next, you have the In-Game Leader. This is the brains of the entire operation. While they can fill any of the other roles as well, they are the designated strategy caller. This is important because the team needs to move as a cohesive unit, requiring them to have one voice to listen to. Everyone on your team needs to be communicating and calling out. However, only the in-game leader should be allowed to call when to buy, rotate, and what strategy to use. Even if you don’t agree with the call, it’s better to do the wrong thing as a team than to do the right thing and let your team die without you.
In hectic situations, the team must follow the calls because the team has to be able to rely on you, and you rely on them. The in-game leader should communicate clearly, have map awareness, and be able to think on their feet and not just rely on predefined strategies. If you’re trying to become the in-game leader, be confident and clear, and pay attention to that minimap. The only way to improve is to practice.
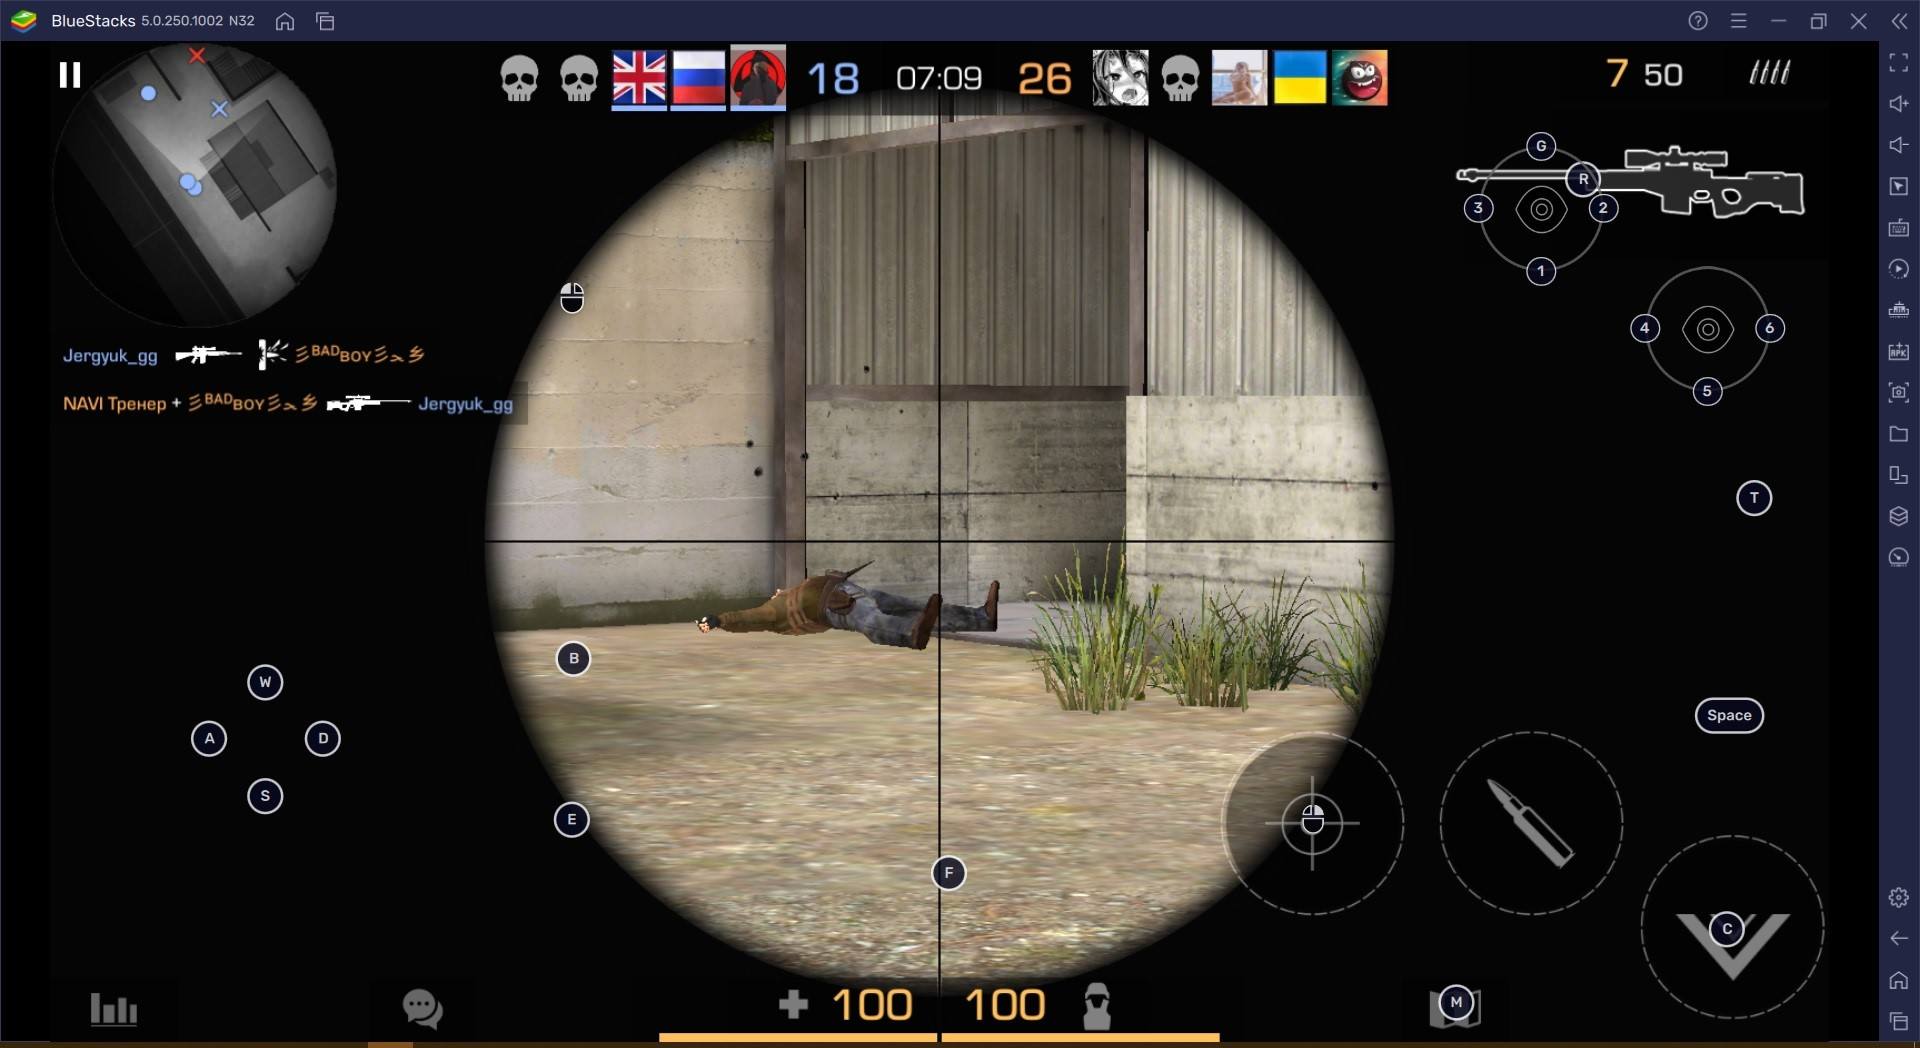
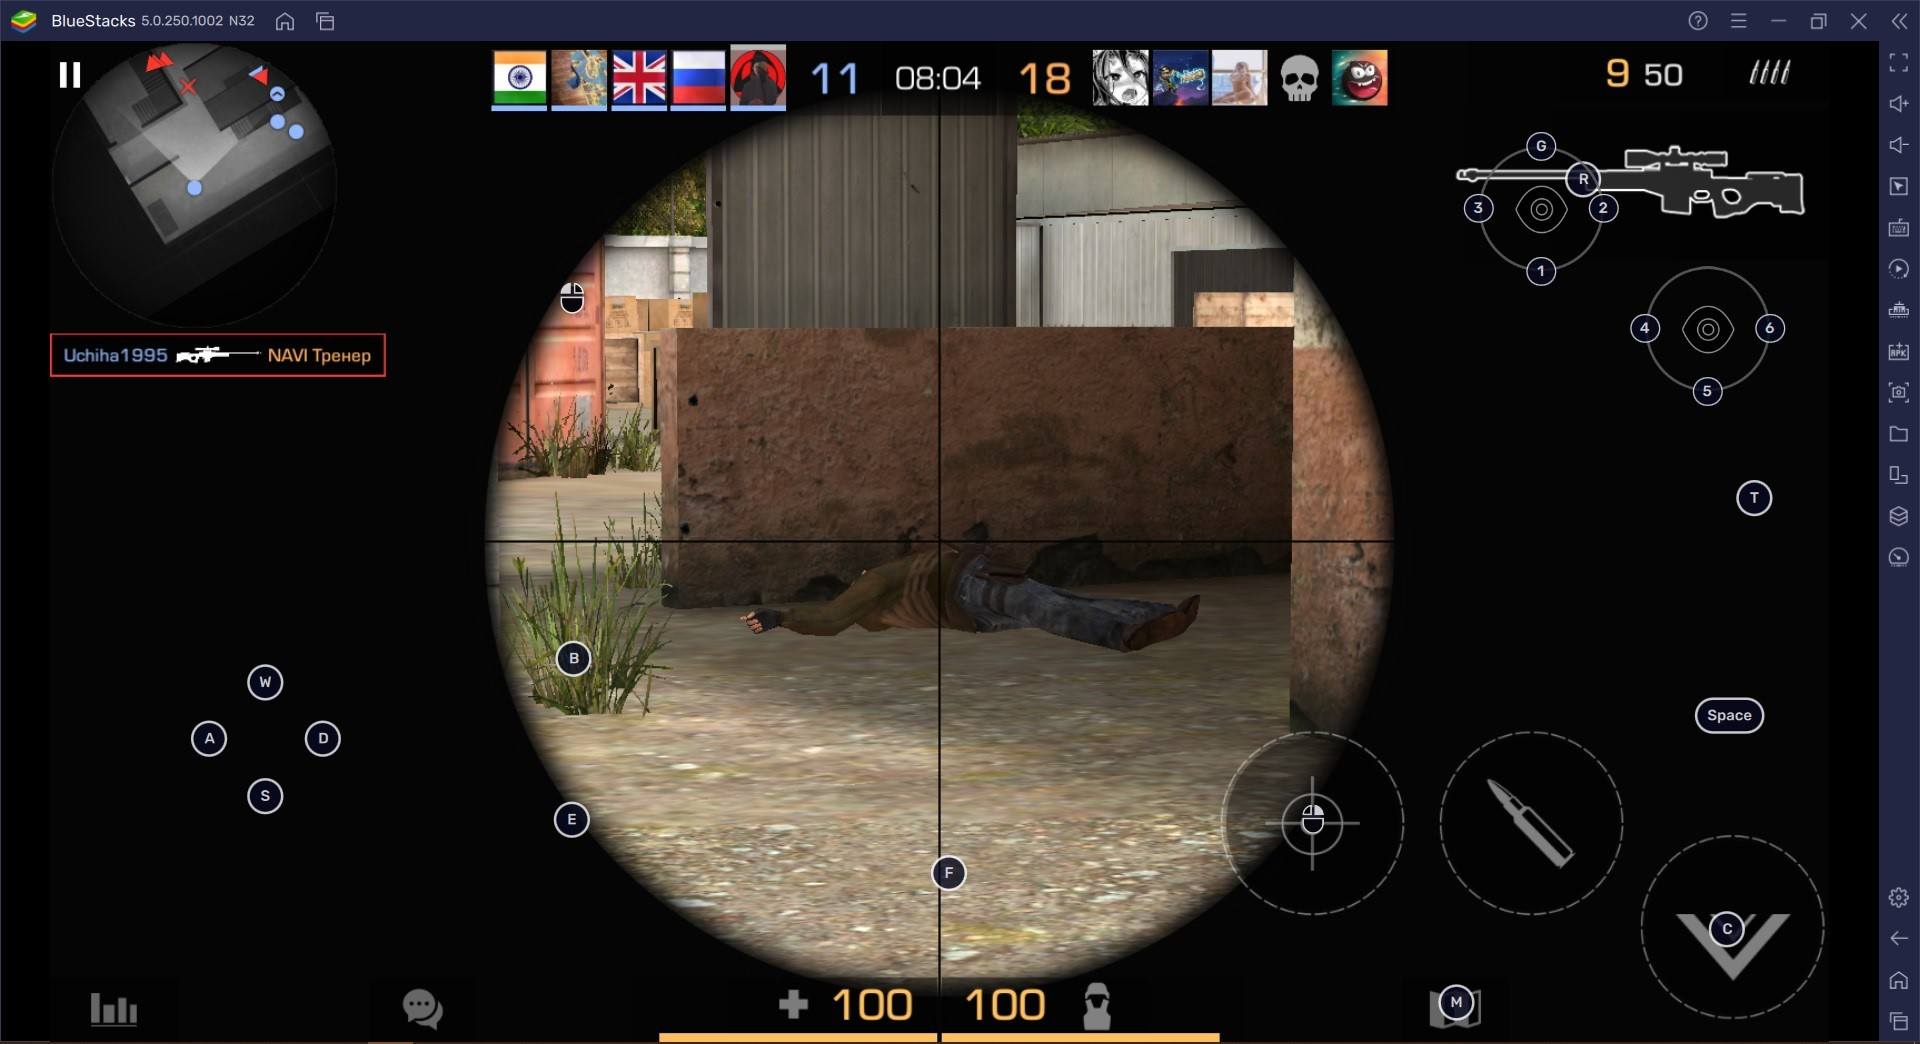
AWM King
Finally, let’s focus on the AWM because it’s such a force to deal with in almost every game. The AWM-er is the designated sniper for the team. They could be trying to lock down a site solo, hold control of a crucial point of the map, or going for aggressive angles early to get an opening pick. Either way, the most important thing for the AWM-er player is to leave themselves an area to fall back to. So many AWM players hold a very aggressive angle on defense. Only to die to the second man because they have nowhere to hide and no corner to fall back to.
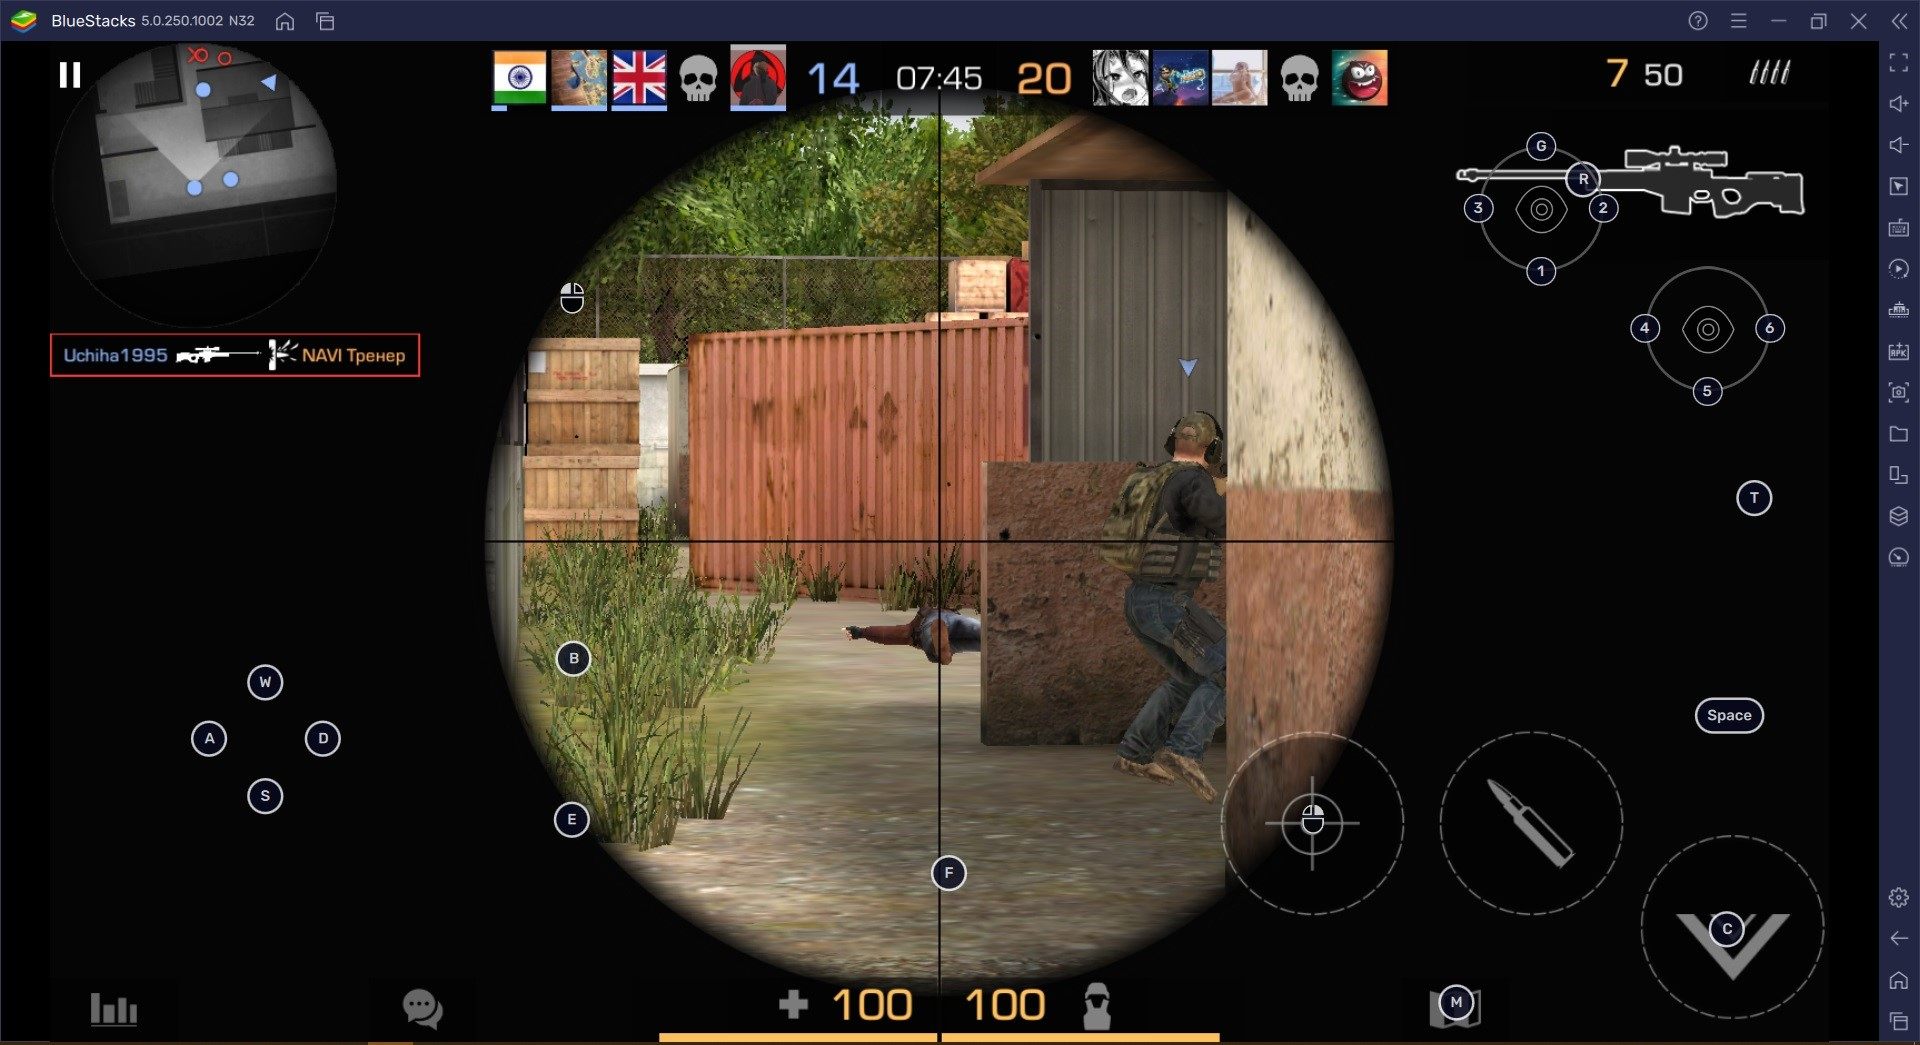
When it comes to AWM-ing it’s important to let your teammates know what your goal is for the round. You’re going to want to be constantly swapping up your peeks and angles, so you don’t get smoked off and become useless. Letting your team know whether you’re peeking or holding is necessary. This lets your team know not to worry as much about that area, and focus on other places. While not all teams need an AWM, an AWM is an invaluable tool for the team to utilize.
All in all, the most important thing when it comes to your role is to coordinate with the team. The most success comes from teams who are so good at playing in pairs and letting their AWM-er do their thing. When they do make a decision, they immediately swap into these roles and take control of their site.