The Beginner's Guide to Conquering Mighty Quest on PC


The Kingdom of Opulencia is filled with promising loot but riddled with monsters, and it is up to you to conquer both of these things in one of the more popular hack n’ slash dungeon crawler games out there in Mighty Quest for Epic Loot. However, with such a wide array of things to do and limited resources given to you as a beginner, you might need a little bit of help to push things into motion and start snowballing your way to the top of the ladder.
As a game, Mighty Quest for Epic Loot is definitely one of those games that’s fun to play. It combines the different elements that players have grown to love in traditional dungeon-crawling hack n’ slash RPGs but added a bit of twist into it to keep players interested in the game for a longer duration of time. This with the addition of a very engaging storyline filled with hilarious references definitely sets it apart from games in the same genre like it.
How to Start Your Mighty Quest Account
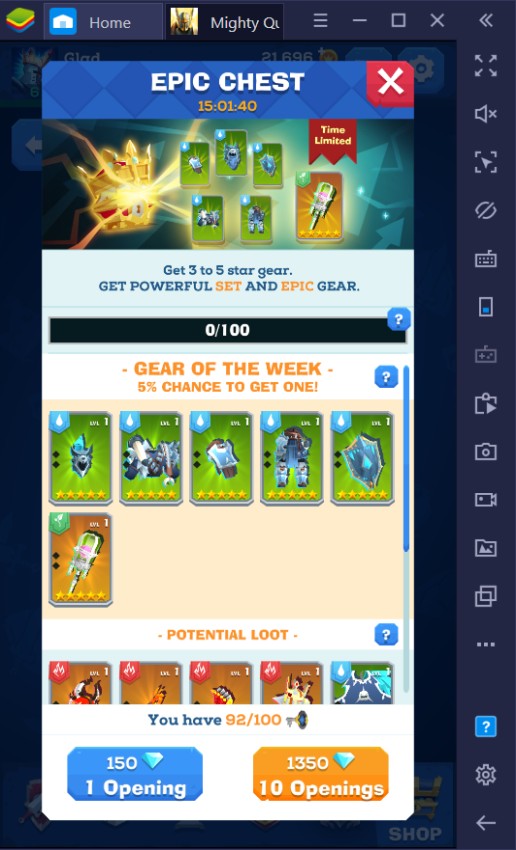
The best way to start your Mighty Quest account is ensuring that you have as many 3-star items as possible from the Rare Chest equipped to your character so that you can dedicate saving up your gems for the more expensive 5-star gear which is done by rolling Epic Chests. Fortunately for you, you can get free 3-star Chest and Leg armor pieces from the daily log-in feature in just 3-days. This means you’ll only need to look for the weapon, gloves, boots, and shield.
A great way to ensure that you get the 3-star gears you need is by account re-rolling which is popular in games that have loot boxes that distribute epic items through a random rewards system. Using a smartphone to do this might take you forever to accomplish but with BlueStacks Multi-Instance Manager. you can achieve this goal in a fraction of the time it’d take otherwise. Using this feature to your advantage will prove to help you boost your account in the long run.
Using The Multi-Instance Manager for Rerolling
It’s quite easy to use the multi-instance manager to re-roll for new accounts. All you’ll need to do is follow these simple steps to achieve victory over the dreaded RNG system that has long prevented you from getting the things you need.
- Open the Multi-Instance Manager found on your Desktop page.
- Download Mighty Quest for Epic Loot in that Instance (You can use an APK so that you don’t have to link a new google account for each instance).

- Once the game is downloaded, close it. Go back to the Multi-Instance Manager and clone the primary instance as much as you want so you don’t have to download Mighty Quest on each new instance.
- Open one of your cloned instances, start the Macro Recorder feature, then play at a normal pace as you let the Macro Recorder record your commands until you have saved up 180 gems on that instance.
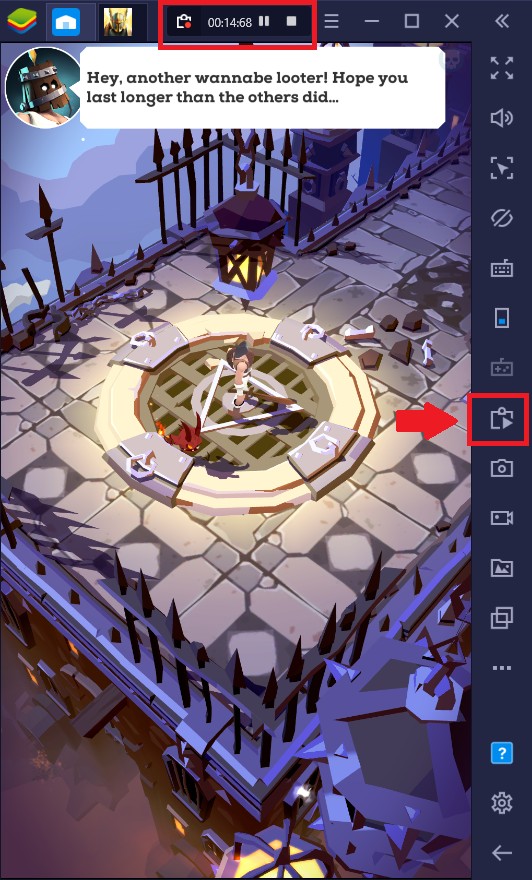
- Save the Macro you have recently completed and share it on the macro community.
- Now you can use this macro on all your cloned instances so you don’t have to play all of them one-by-one. Just come back in a few minutes and all of your open instances will have finished their tasks. Do this until you get the loot you need.
Make Full Use of Your Energy and Dailies
One of the biggest issues in this game is that the energy pool given to you is really low with a relatively long refresh timer. If you’re not planning to spend on the VIP pass to remove this limitation, then it’s best you learn how to properly use your energy wisely.
1. Never let your energy overflow, always do a dungeon run when you have 5 or more energy. Before you sleep, empty out your energy bar so that it’ll be full again when you wake up.
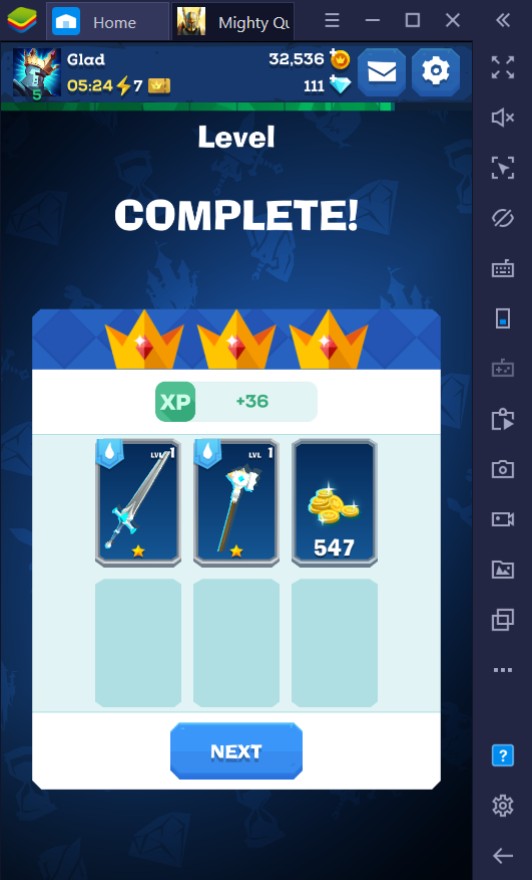
2. Take all your runs seriously. Get all the chests, slay all the enemies, and do it at the shortest possible time so that you’ll complete the 3 Crown requirement. It might prove to be a waste of energy for you to go back and re-run a dungeon just for the sake of completion.
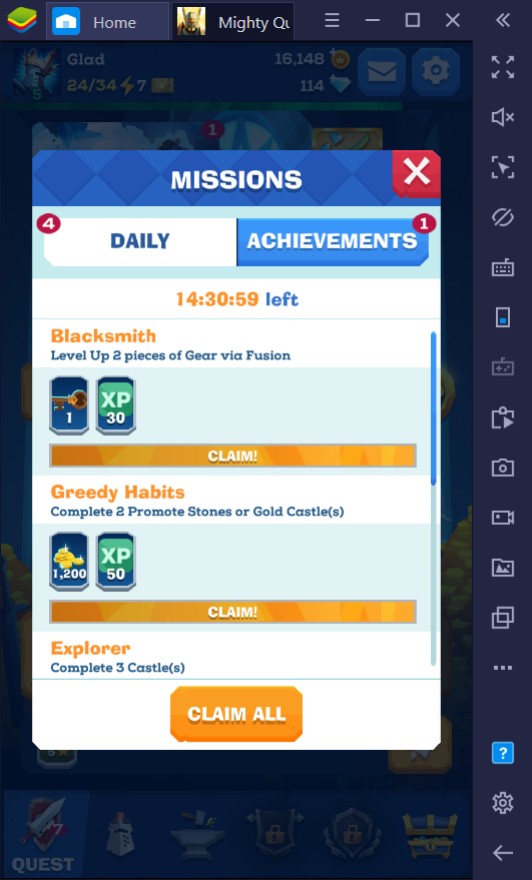
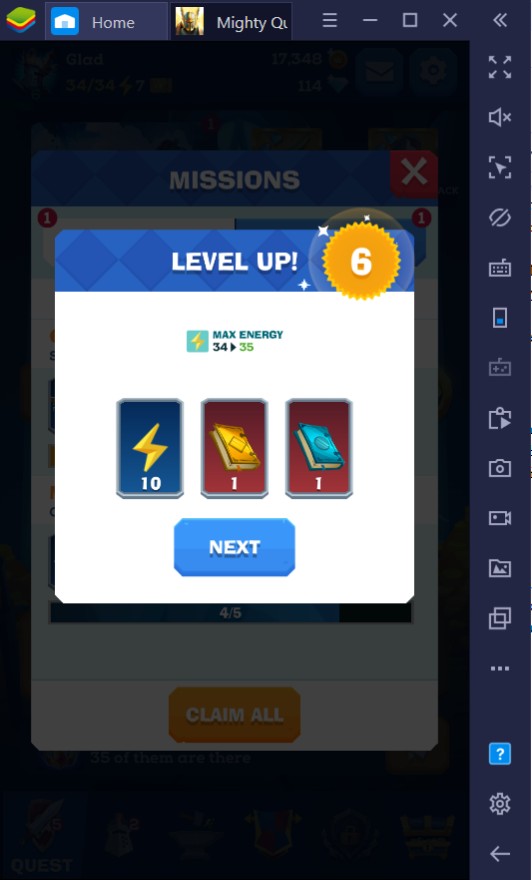
3. Complete all your daily quests. A great way to refill your energy bar is to level up, it just so happens that quests and achievements offer a great amount of EXP so you’ll want to complete all of these quests to reap the rewards.
4. Finish all your daily trials. The Daily Trials are only limited per day, this means that you’ll want to maximize doing all of them as the loot here is needed for you to upgrade your equipment in the future.
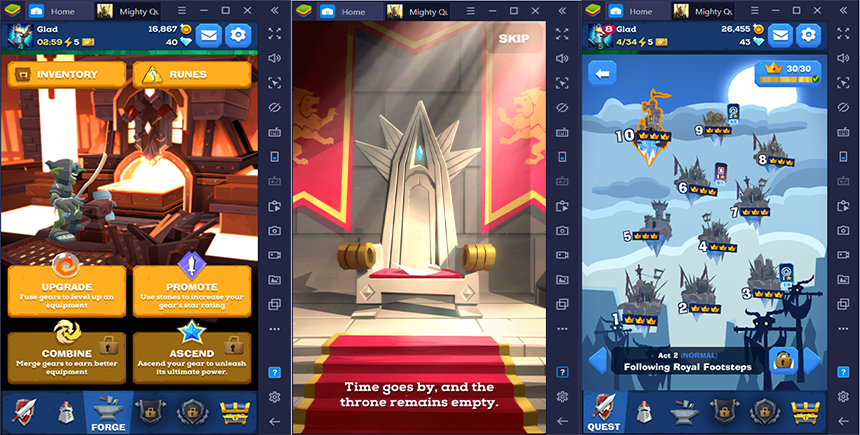
Don’t Be Shy to Upgrade Your Gear!
At first, upgrading your gear may seem very hard to do especially since you’ll feel like you don’t have enough Gold or Upgrade Orbs to feed your equipment. In fact, you’ll unlock the Gold Trial which will provide you with enough gold to upgrade your equipment. Also, don’t be afraid to feed the 1-star or 2-star equipment you get from dungeons or failed chests pulls which you have no plans on using in the future but be sure to at least leave one element of each kind.

However, make sure that you’re smart about your choice to upgrade which gear you want since 1-stars and some 2-stars aren’t really worth upgrading. Make sure to upgrade the gear which you know you’ll be using for the future instead of wasting precious gold on 3rd-rate gear which is easily replaced once you hop on the Rare Chest tab and have a chance to get stronger gear in the process.
Engage with the Community!
Finally, engaging with the community is a great way to learn a lot of things not mentioned in this guide. The game has a Global Chat feature in the main lobby which you can use to ask players everything about the game. Go to the BlueStacks Game Guides and learn about other things surrounding the game and learn how to fully utilize your Mighty Quest experience on PC with simple tricks to make sure you’ll find your way to the top.