(Old) How to Install and Play Call of Duty: Mobile on PC with BlueStacks
Edit: Call of Duty Mobile launched Globally on Oct 1, 2019 and has since been available to play on BlueStacks without any location constraints. Read the latest Blogpost about playing Call of Duty Mobile on PC with BlueStacks here.
Call of Duty: Mobile is poised to be one of the most expected game releases for the mobile gaming market. It’s not so much that Activision is all-in on delivering an amazing shooter experience, nor the fact that we’ll finally have a serious competitor to PUBG: Mobile, but that we’re going to see a mobile Call of Duty. Mobile! CoD! It better be good. If you want, we’ll let you in on a secret – the game is fan-friggin-tastic. It’s an l33t level awesome. Woot, woot!
You can read all about it in our game review, here. For now, though, let’s focus on getting you to play it as well. You may have heard that CoD is in closed beta-testing. Sadly, it’s true. While users from India and Australia can play it just by downloading the app from the App Store, the rest of us have to jump through hoops.
But don’t despair – our method of getting you to play CoD: Mobile on BlueStacks is super clean and easy. Ready, soldier?
Here’s a video version of this tutorial.
Getting Everything You Need
Step 1: Get VPN
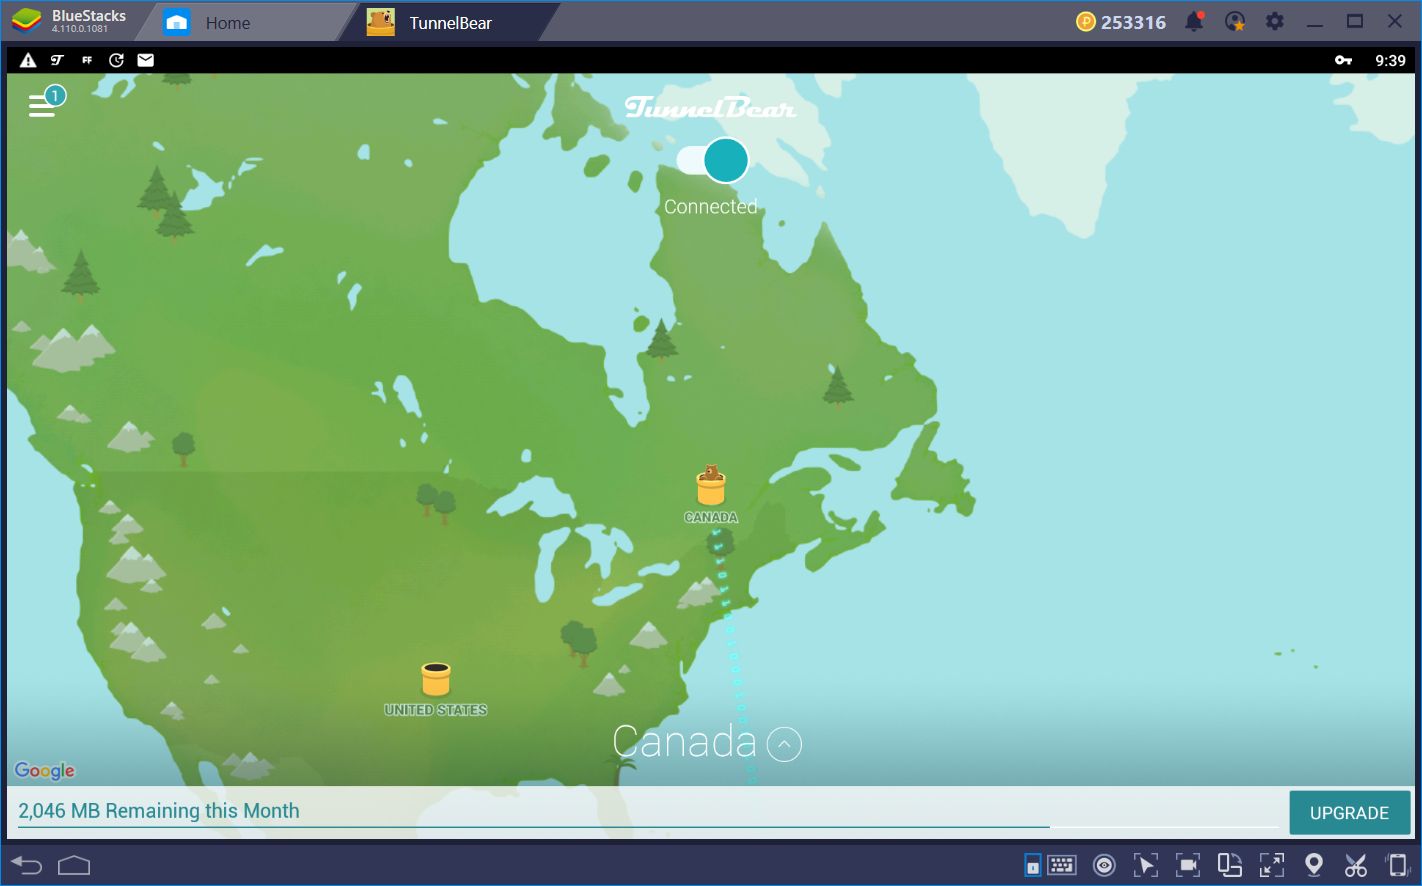
Since the game is still in regional-blocked beta, you’ll need a VPN to mock your location. For our purposes, the free Tunnel Bear worked just fine, but you might want a better, paid service.
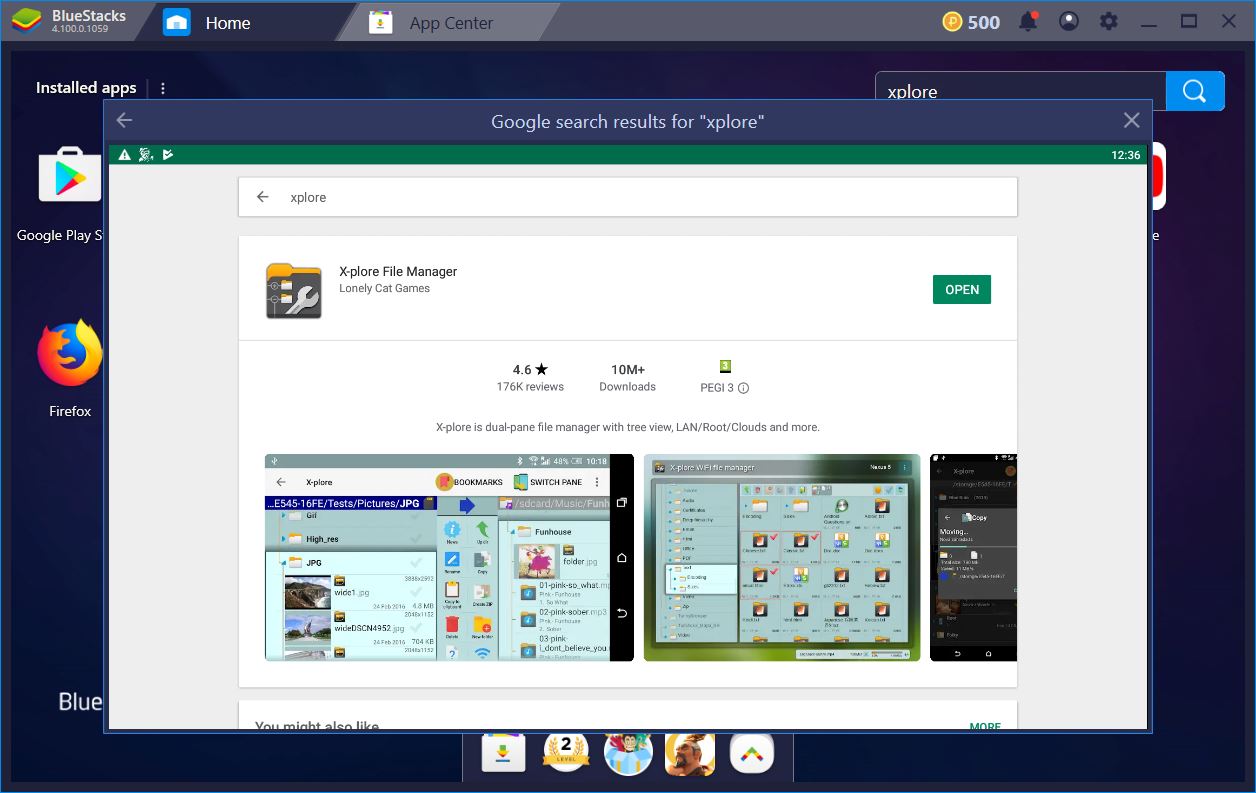
Step 2: Download a File Manager
The next thing you want to have installed on your BlueStacks is the X-plore file manager. The latter will ensure we can create the game’s directory where we need it to be.
Step 3: Create the appropriate OBB Folder
When the file manager is done installing, open it and navigate to your SD card/Android/OBB location. You can tell you’re in the right place because this is where all your installed BlueStacks games are placed.
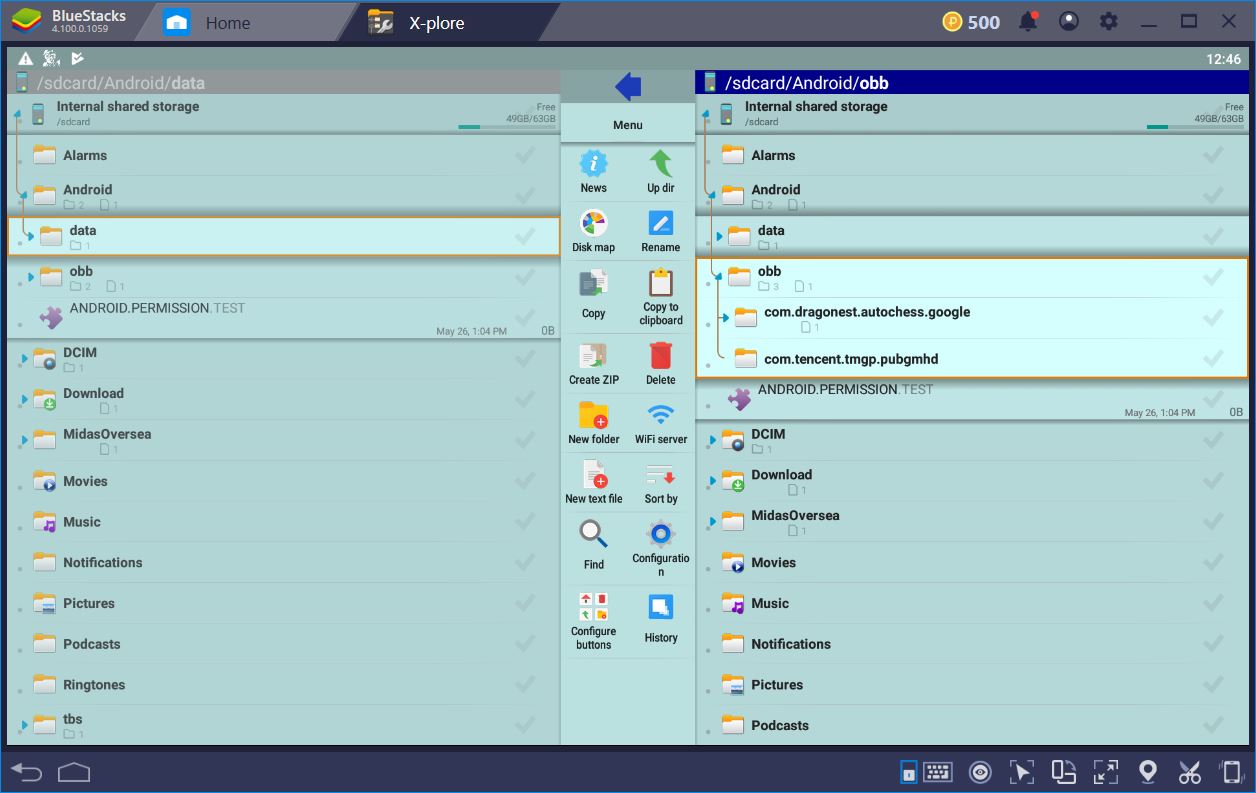
There, create a new folder called com.activision.callofduty.shooter. This is what the application would have done had it been downloaded from the App Store. Since we’re doing it manually, the folder also has to be generated by us.

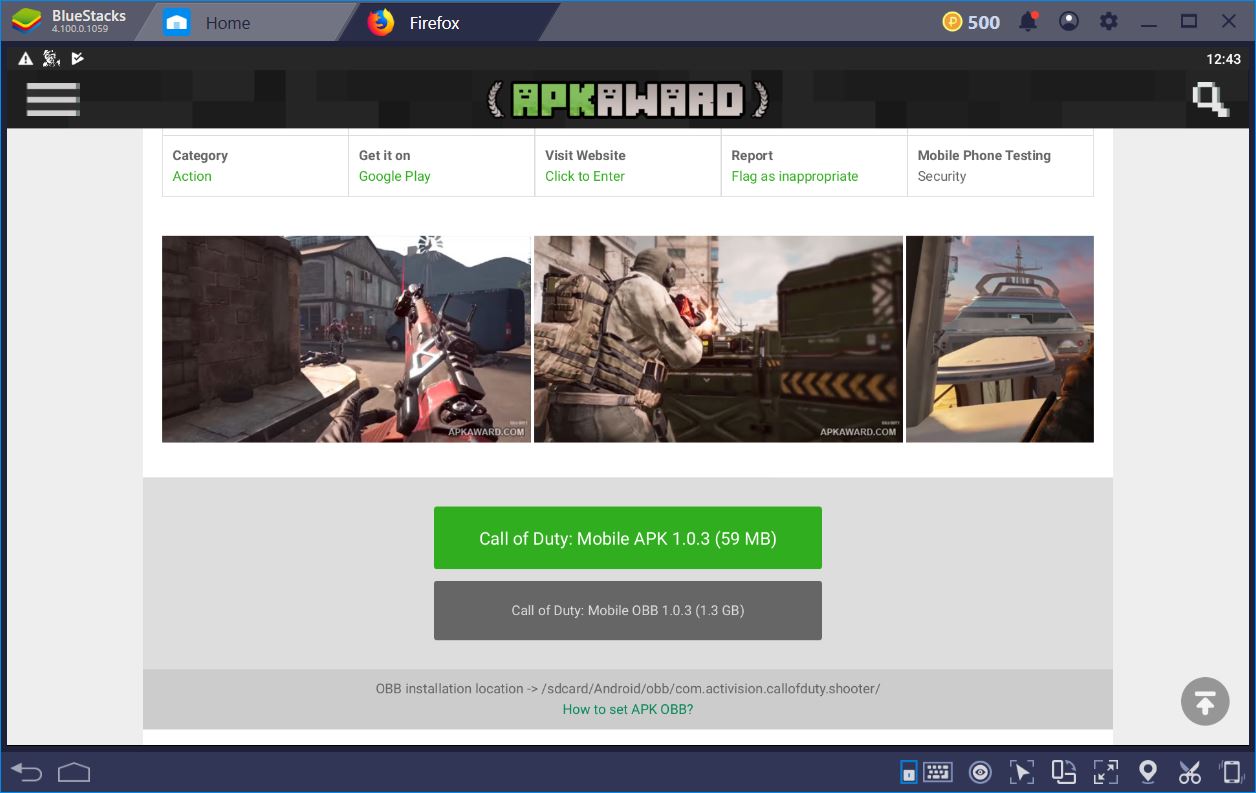
Step 4: Download the APK and OBB
What’s left now is to copy the actual OBB file in there. To get the updated OBB, head over to APK Award and download both files there. You don’t even have to exit BlueStacks to do so – just use your favorite browser within the emulator. It also makes things easier, as you’ll see in a moment.
The Installation
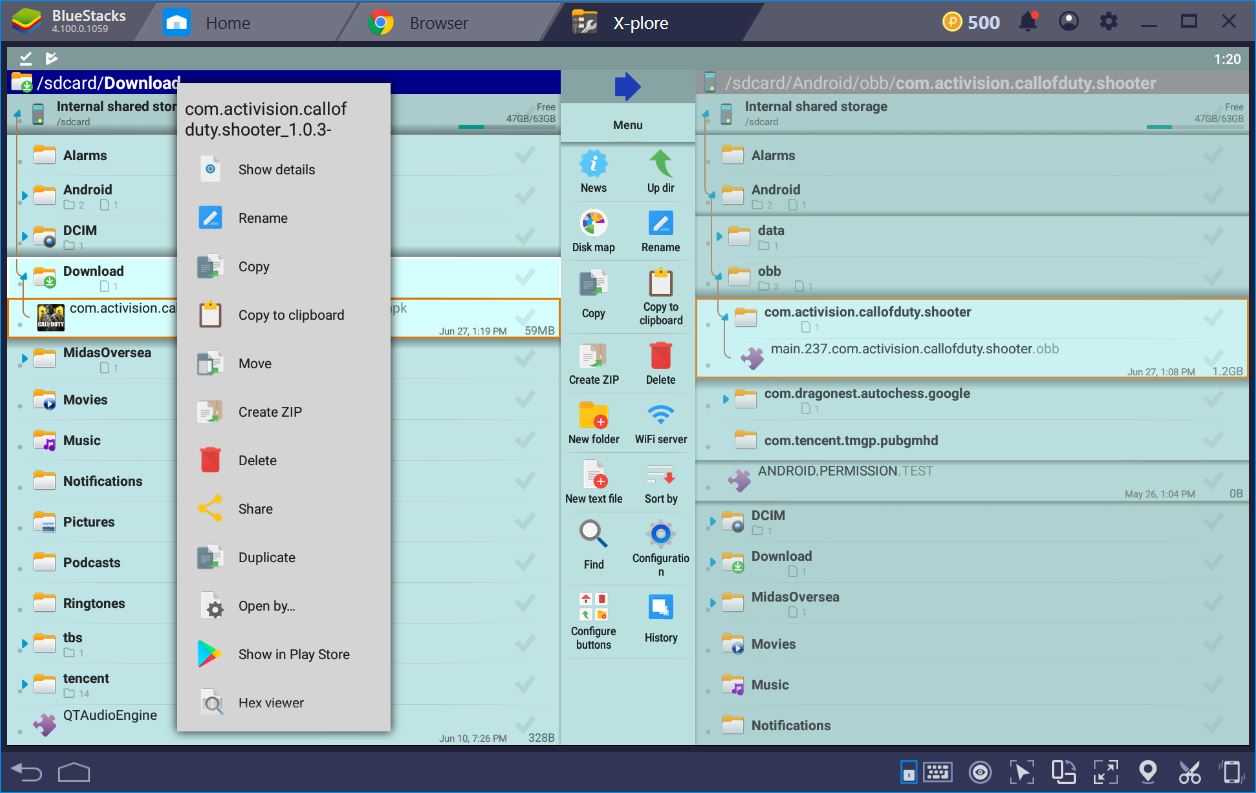
Step 5: Copy the Files
Once the download is complete, open your Xplore. Use the left window to navigate to the downloads folder, while the right window is set on the com.activision folder. Then, long press left click on the OBB and select copy from the drop-down menu. You can do the same for the APK if you want, although it’s not necessary. Be careful with the latter, though, as you can trigger the install. If this happens at this point, just cancel. We’re not there just yet.
Play Call of Duty: Mobile on BlueStacks
Step 6: Start Your VPN
Before you trigger the installation, we need to pop-up the VPN and set it to an Australia server. It might work without the VPN for the installation part, but we’re not taking any chances. We want to play CoD as soon as possible. Please note that the first round of Closed Beta was in India, hence some images in this article might show India VPN. The game has since moved on to a second round of closed beta and now can be accessed by connecting to an AU server. Other than that, the process remains the same.
Step 7: BlueStacks Location
While we’re at it, also use the BlueStacks Set Location feature (the icon on the bottom right of the screen looking like a Google maps indicator) to “move” yourself to Australia. This will prevent any conflicts between application/IP.

Troubleshooting
Step 8: Fixing Installation Error
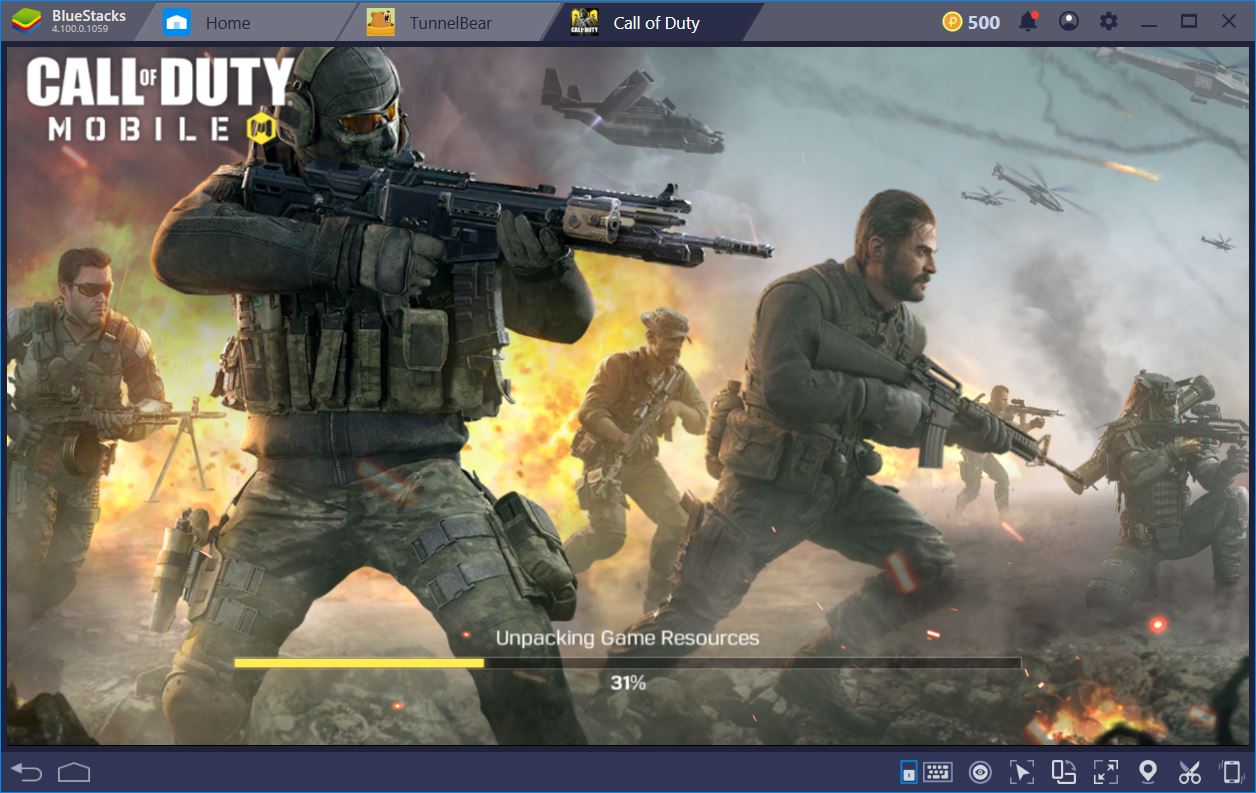
If you happen to get an Exclamation mark on the application after the installation process or if you notice that it starts but does not load beyond the Activision logo, it’s likely because of the settings.
CoD’s engine relies on the OpenGL driver, so make sure to switch over to it in the BlueStacks engine, as well as to enable advanced graphics. Do not, under any circumstance, enable Dedicated computer graphics. This option is to be used only if you do not have a video board. Then, restart the emulator. Before starting the game, don’t forget to turn on the VPN.
Step 9: Network Connection Error
This can be frustrating, particularly after everything we’ve done up to this point. But fret not, we’ve got you covered. After all, we’ve been through so far, we’re comrades in arms. Also, we did say we’ll stop at nothing to get our hands on some of that titillating CoD action. The error is almost always generated by a failed connection, such as with the VPN. Everything you have to do is switch to a different one. Jet VPN, although not amazing, will get the job done.
Play Like the Pros Do
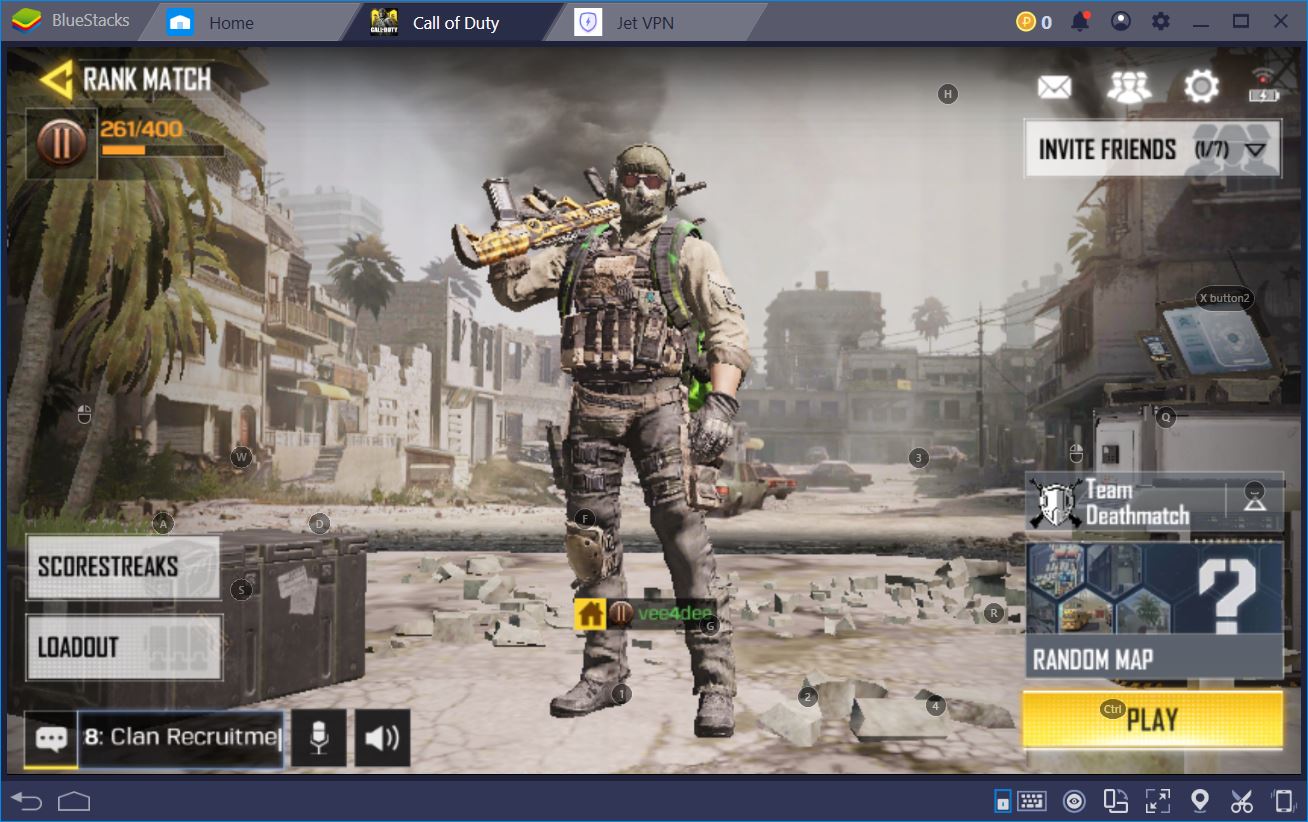
Once this is done, you can launch your VPN, set the server to India and let it connect. Afterward, launch the game in BlueStacks. That’s it! You can now play CoD: Mobile on BlueStacks even if you’re not in India or Australia. After connecting to the game server, you can drop the VPN because the location-check is only performed on login.
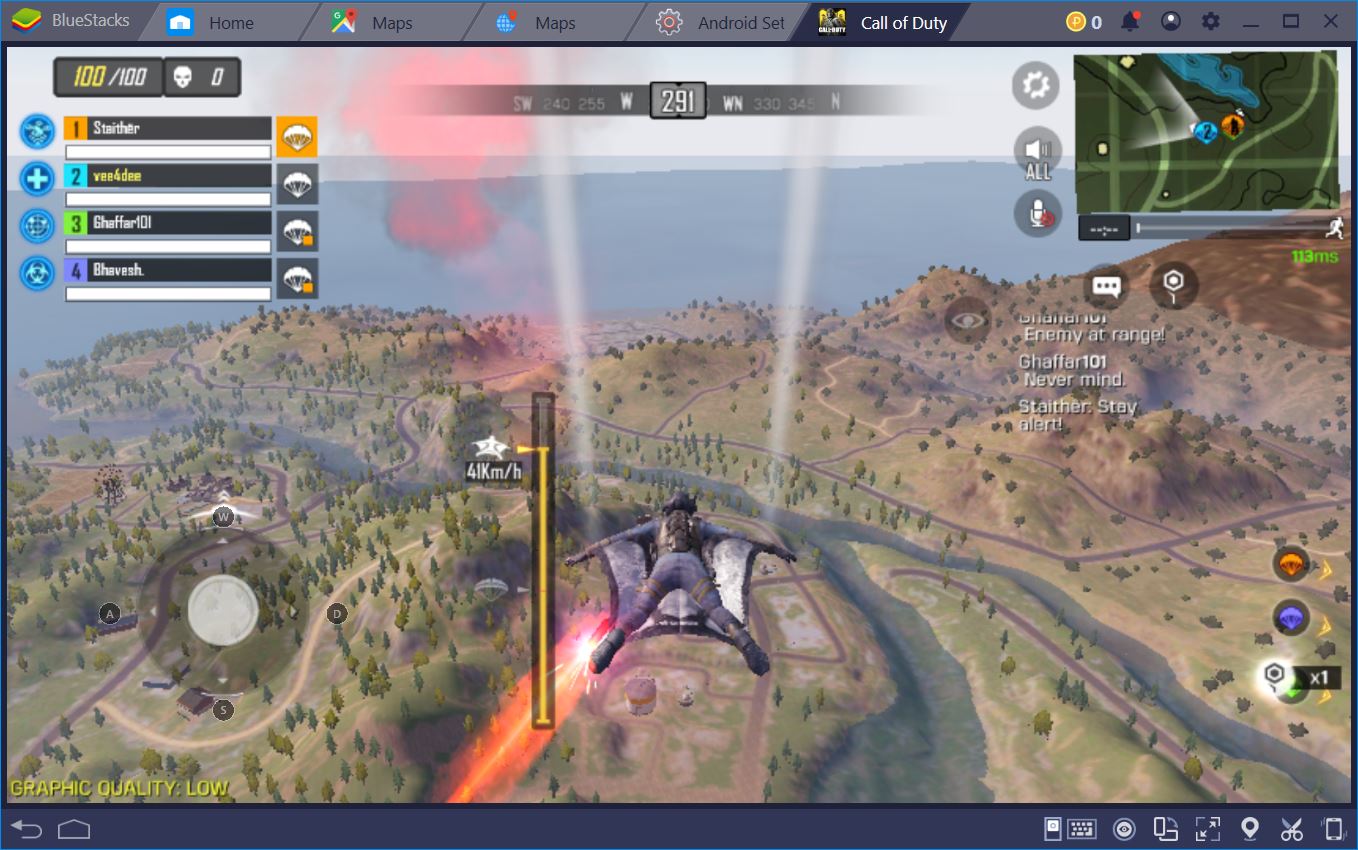
One thing you can be sure of is that pro-CoD players won’t be using their phones to climb the ladder. Instead, they will be using a mouse and a keyboard with an emulator such as BlueStacks. The increased accuracy with this set-up will enable you to defeat anyone 1v1. See you on the front line, soldier!
Download BlueStacks Now!